Introduction
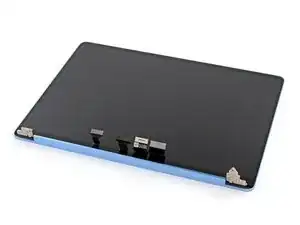
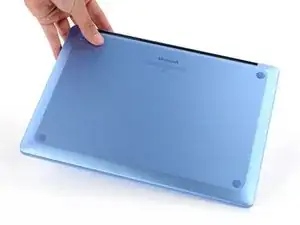
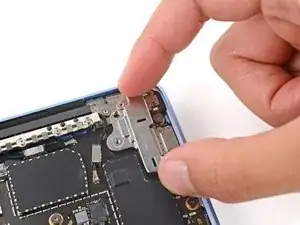
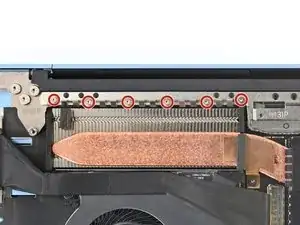
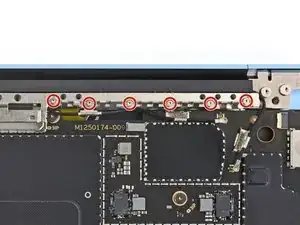
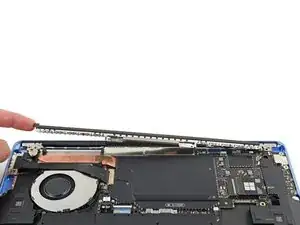
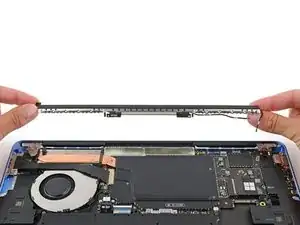
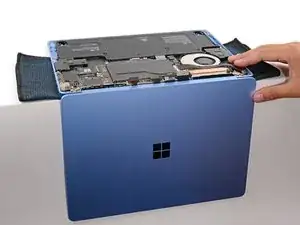
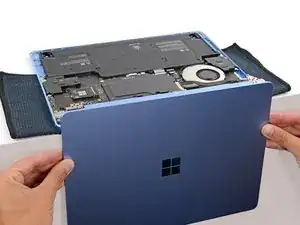
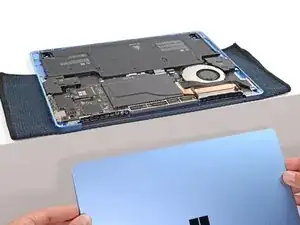
Follow this guide to replace a broken or cracked screen on your Microsoft Surface Laptop 7 (13.8‑inch).
Tools
Parts
-
-
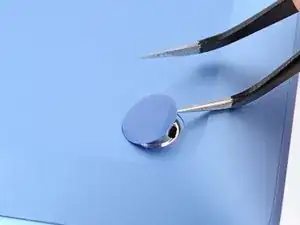
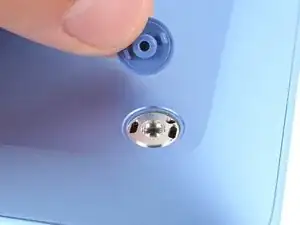
Gently slide one arm of your angled tweezers into the recess near the upper right edge of one of the feet.
-
Use your tweezers to pry up and remove the foot.
-
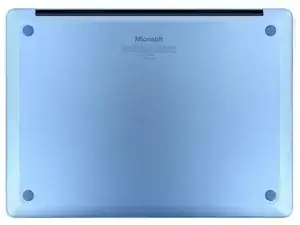
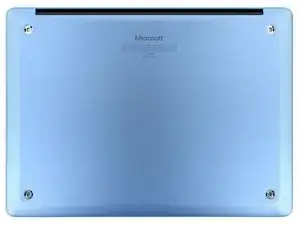
Repeat the process to remove the remaining feet.
-
-
-
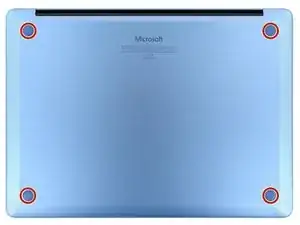
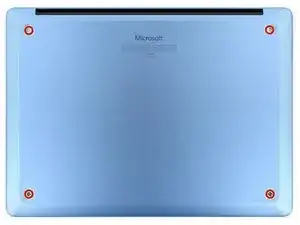
Use a Torx Plus 5IP screwdriver to remove the four 4.5 mm‑long screws (with washers) securing the lower case.
-
-
-
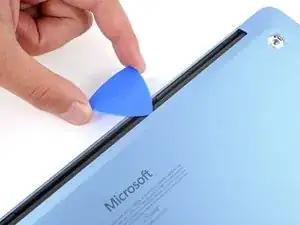
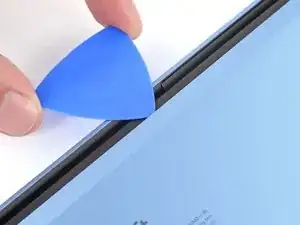
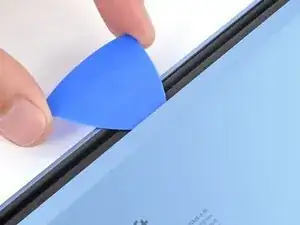
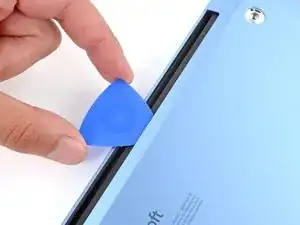
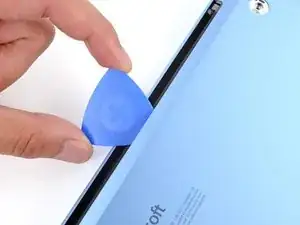
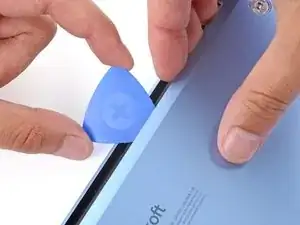
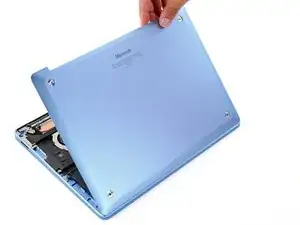
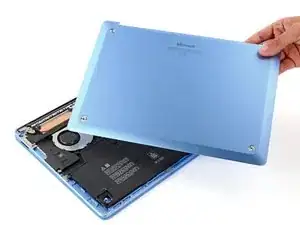
Insert the tip of an opening pick under the top edge of the lower case, about an inch (2.5 cm) to the left or right of the Microsoft logo.
-
-
-
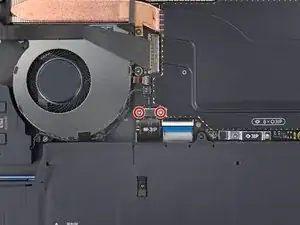
Use a Torx Plus 3IP screwdriver to remove the two 2.3 mm‑long screws securing the battery connector cover.
-
-
-
Insert the flat end of a spudger under the top edge of the battery press connector and pry up to disconnect it.
-
-
-
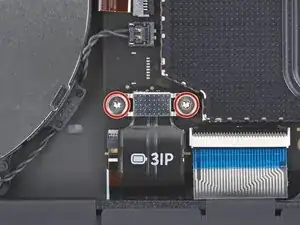
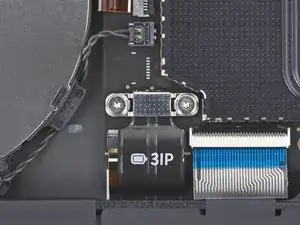
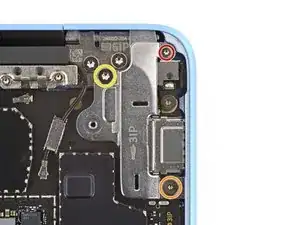
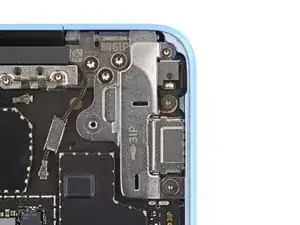
Use a Torx Plus 3IP screwdriver to remove the two screws from the right edge of the audio jack cover:
-
One 3 mm‑long screw in the top right corner
-
One 4.7 mm‑long screw in the bottom right corner
-
Use a Torx Plus 6IP screwdriver to remove the remaining 6.3 mm‑long screw in the top left corner.
-
-
-
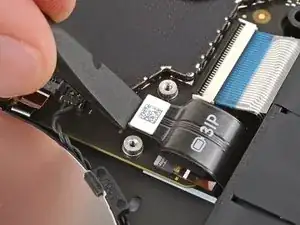
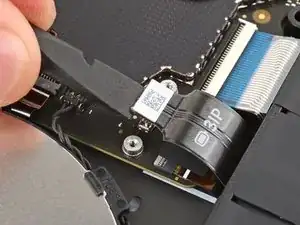
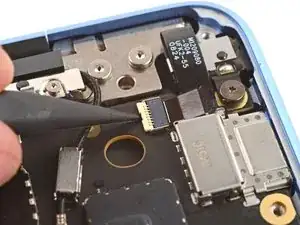
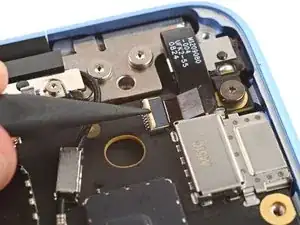
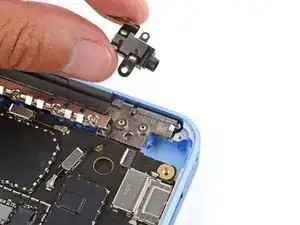
Use a spudger to lift the hinged locking flap on the audio jack ZIF connector.
-
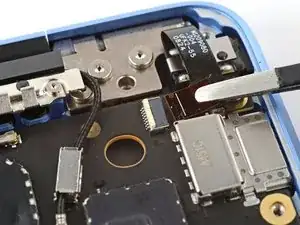
Use tweezers to grip the audio jack cable's pull tab and slide the cable out of its socket.
-
-
-
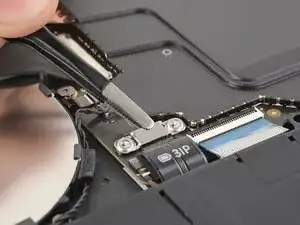
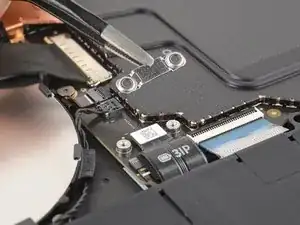
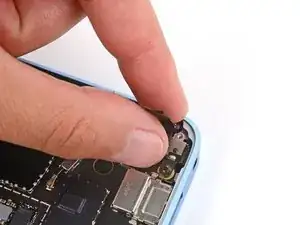
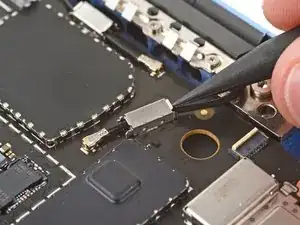
Use the point of a spudger to pry up and remove the two antenna cable covers from the top right corner of the motherboard.
-
-
-
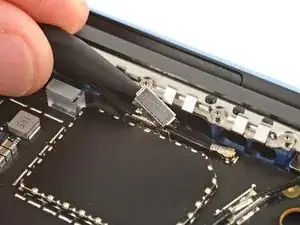
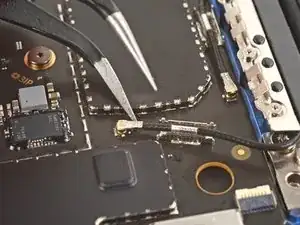
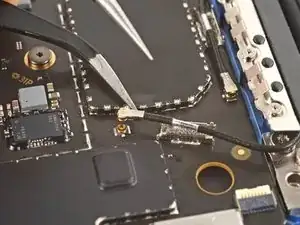
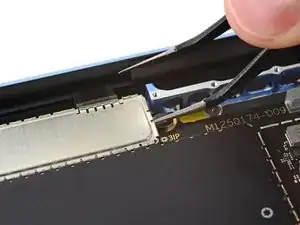
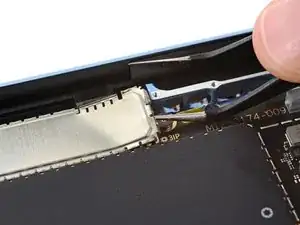
Slide one arm of a pair of angled tweezers under the metal neck of one of the antenna cable coaxial connectors and lift straight up to disconnect it.
-
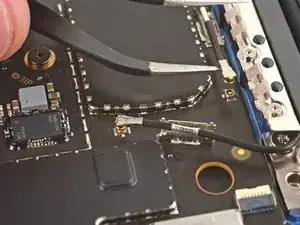
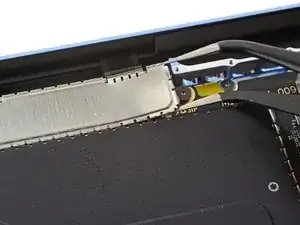
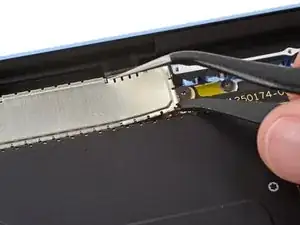
Repeat the process to disconnect the other antenna cable.
-
-
-
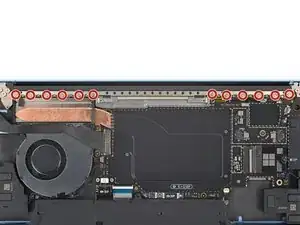
Use a Torx Plus 3IP screwdriver to remove the twelve 2.4 mm‑long screws securing the antenna bar.
-
-
-
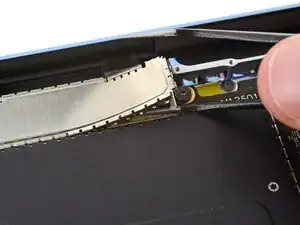
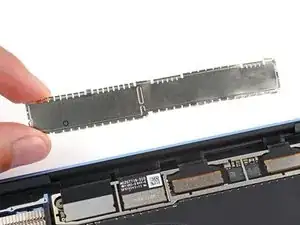
Slide an arm of a pair of angled tweezers into one of the gaps on the right edge of the display cable shield.
-
Gently pry the shield up to begin unclipping it.
-
-
-
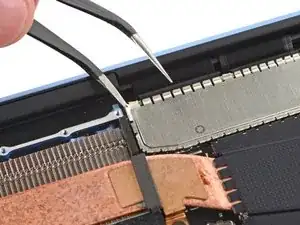
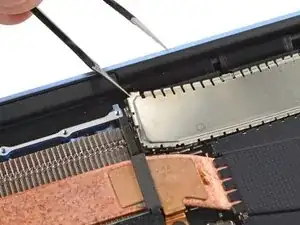
Slide an arm of your tweezers under the bottom edge of the display cable shield, closest to the right edge.
-
Twist your tweezers and pry up to further unclip the shield.
-
-
-
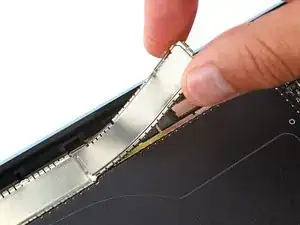
Use your fingers to gently lift and unclip the right side of the shield.
-
Grip the left side of the shield with your fingers and fully remove it.
-
-
-
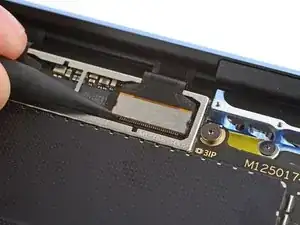
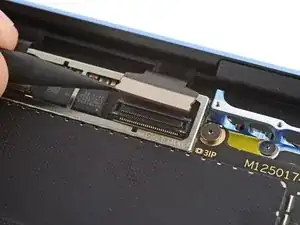
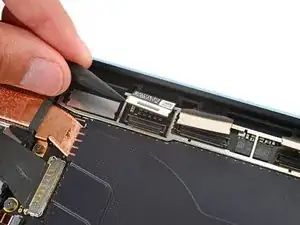
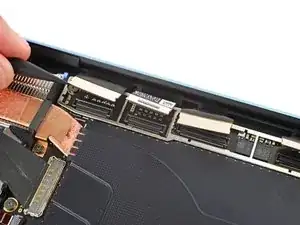
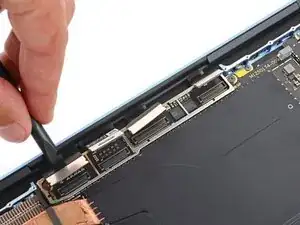
Insert the point of a spudger under the bottom left corner of the rightmost display cable press‑connector and pry up to disconnect it.
-
-
-
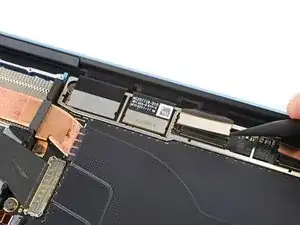
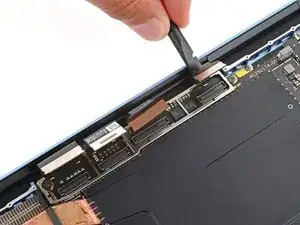
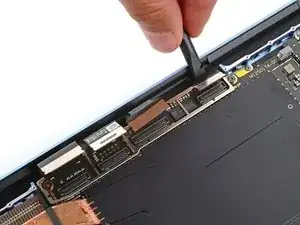
Use the point of a spudger to disconnect the three remaining display cable press‑connectors.
-
-
-
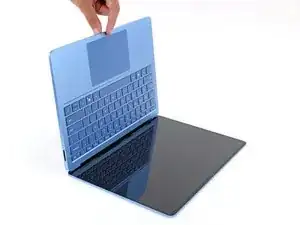
Open your laptop 90 degrees and gently place it keyboard side down on a table, so the screen hangs over the edge.
-
-
-
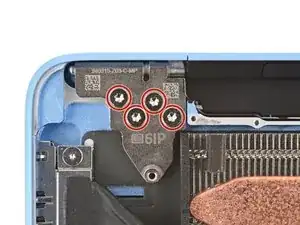
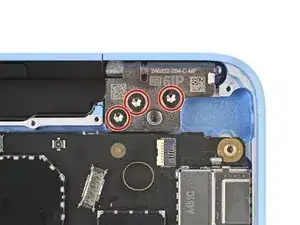
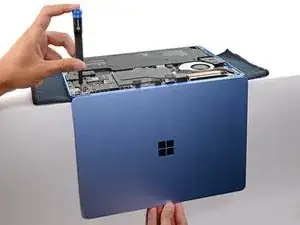
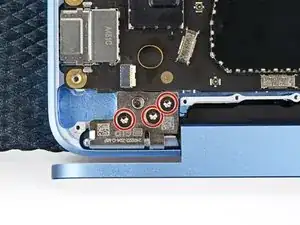
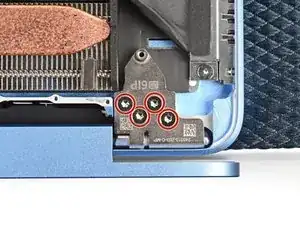
Support the screen with one hand and use your free hand to remove the seven 6.3 mm‑long Torx Plus 6IP screws securing the hinges.
-
-
-
Hold the screen with both hands and lift the hinges out of their recesses to remove the screen.
-
Make sure the screen hinges are open 90 degrees and guide them into their recesses in the frame.
-
Install and partially tighten the seven hinge screws.
-
Close your laptop and make sure the screen is properly aligned. If it clicks or snaps, readjust the alignment.
-
Fully tighten the hinge screws.
-
To reassemble your device, follow these instructions in reverse order.
Take your e-waste to an R2 or e-Stewards certified recycler.
Repair didn’t go as planned? Try some basic troubleshooting, or ask our Answers community for help.
