Introduction
-
-
Objective: remove the rear case from the Motorola Droid X phone.
-
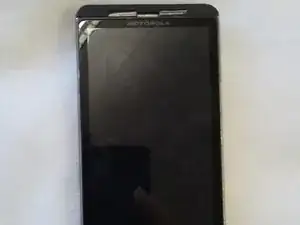
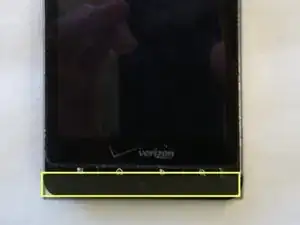
This is what the Motorola Droid X looks like before disassembly. In the front, there is a large LCD touch screen.
-
-
-
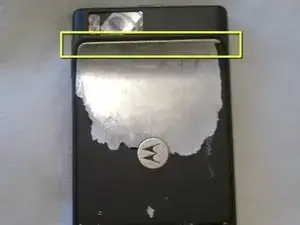
INSTRUCTION 1: Push on the upper side of the casing located under the camera lens.
-
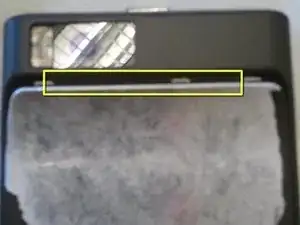
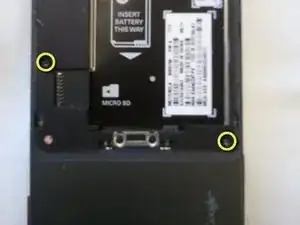
INSTRUCTION 2: Slide down the battery case plate.
-
-
-
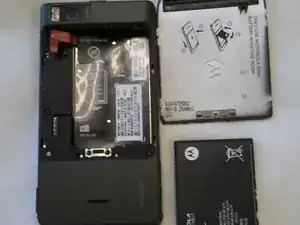
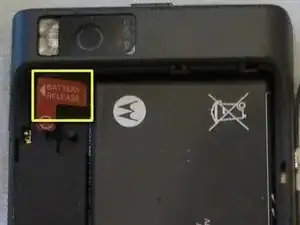
INSTRUCTION: Grab the red tab that says "Battery Release" and slowly lift it up. This will remove the battery.
-
-
-
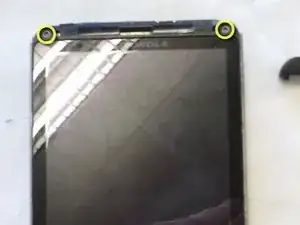
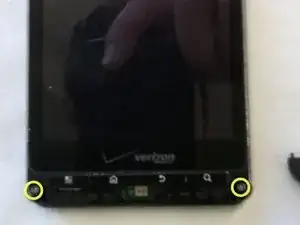
Objective: remove the two plastic pieces in front of the phone - they cover the remaining screws.
-
-
-
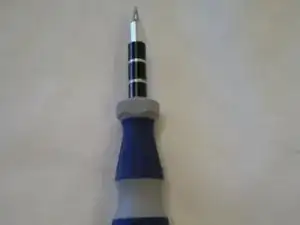
INSTRUCTION: Use the iFixit tool as a crowbar to pry the top plastic cover piece off of the phone. It will pop off.
-
-
-
INSTRUCTION: Use the iFixit tool as a crowbar to pry the bottom plastic piece off the phone.
-
-
-
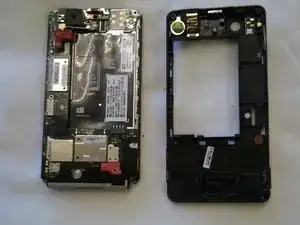
Objective: remove the rear case from the phone in order to provide access to inside the phone.
-
The phone is now held together by the casing alone. You need to pop the two halves apart.
-
-
-
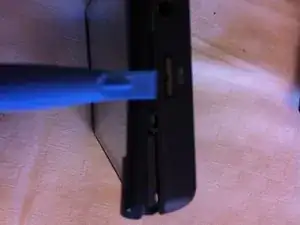
INSTRUCTION: Use the iFixit tool like a crowbar to pry apart the front and rear halves of the casing. They will pop apart.
-


To reassemble your device, follow these instructions in reverse order.