Introduction
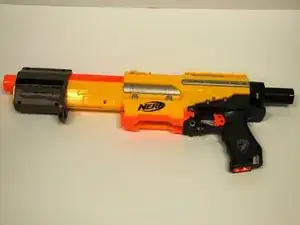
A broken plunger may inhibit your gun from firing correctly. This guide will show you how to replace the plunger and return your riffle to firing condition.
Tools
-
-
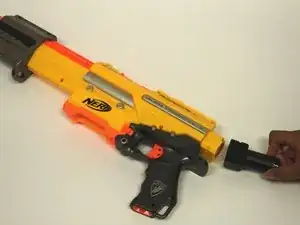
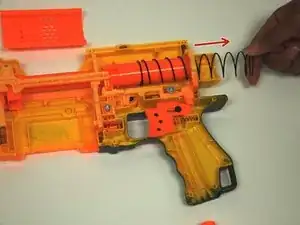
Look at the rear of the rifle. Remove the two 10 mm Phillips head screws that hold the black cap to the rear of the rifle.
-
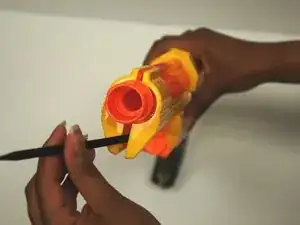
Gently remove the black cap.
-
-
-
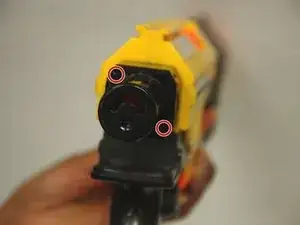
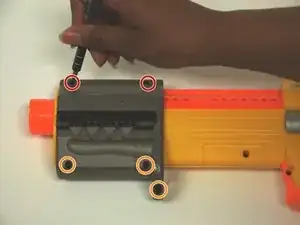
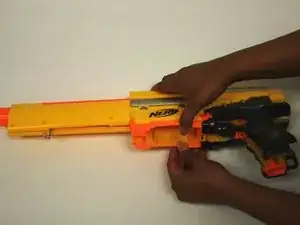
Point the barrel of the device to the left, screw side up. Remove the two 8 mm Phillips head screws (the top two) holding the device slide together.
-
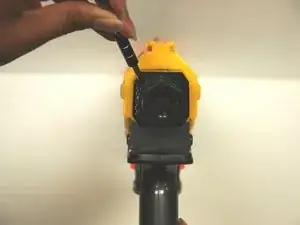
Keep the device in the same position, remove the three 10 mm Phillips head screws from the bottom of the device slide.
-
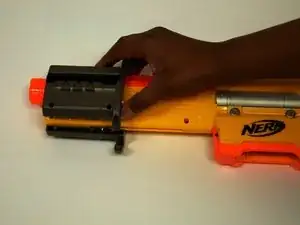
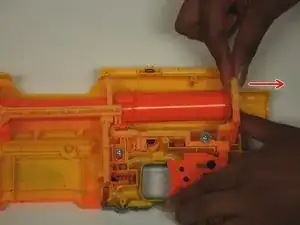
Once all screws are removed, carefully separate the two halves of the device slide and put them aside.
-
-
-
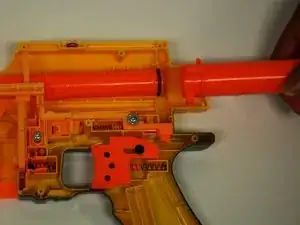
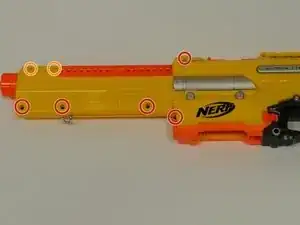
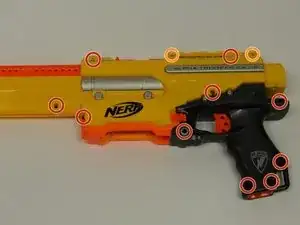
Keeping the barrel in the same position as step 3, remove the fourteen 10 mm Phillips head screws from the body of the device.
-
With the device in the same position, remove the 4 remaining 5 mm Phillips head screws from the body of the device.
-
-
-
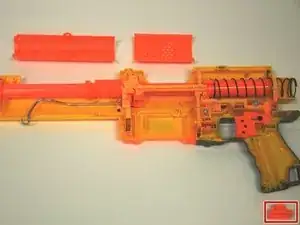
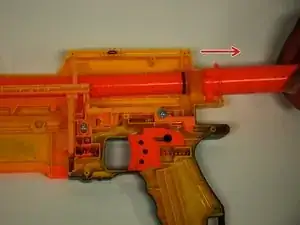
Grip the cartridge insert, and pull the two halves of the device apart.
-
Remove the access gate and barrel cover.
-


To reassemble your device, follow these instructions in reverse order.