Introduction
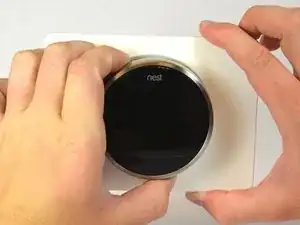
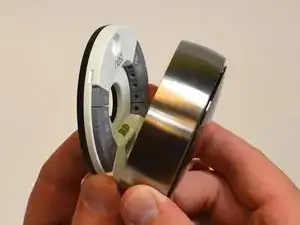
Replacing the main motherboard in the display is not difficult as long as the prerequisite guides are followed. The tools needed access the motherboard are a #0 Phillips Screwdriver, tweezers, and the plastic opening tools.
Tools
-
-
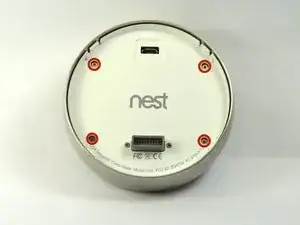
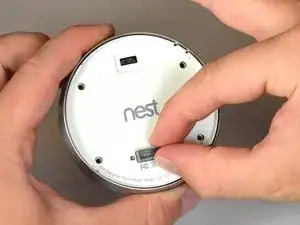
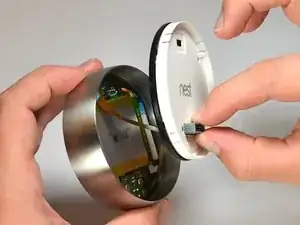
Turn the display over.
-
Remove the four 6 mm screws from the back of the display using a Phillips #0 screwdriver.
-
-
-
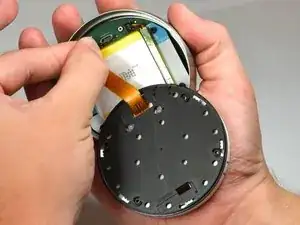
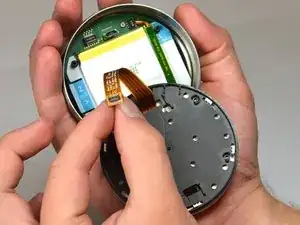
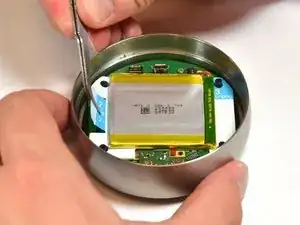
Locate the blue pull tab at the end of the ribbon which says, "1. Pull".
-
Grasp the tab with your fingers and pull directly away from the motherboard.
-
-
-
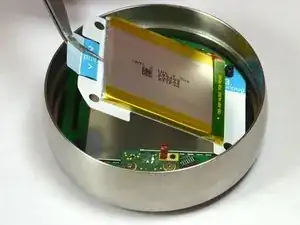
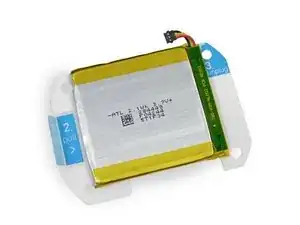
Locate the blue tab which says "3 unplug".
-
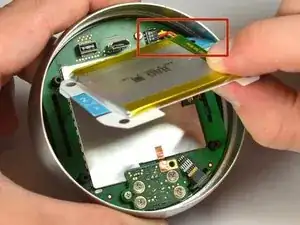
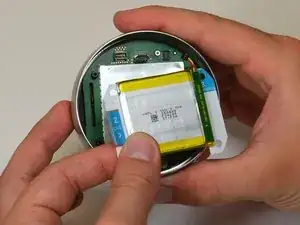
Grasp the battery with your fingers. Pull gently directly away from the display to unplug the battery from the motherboard.
-
-
-
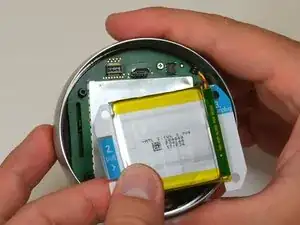
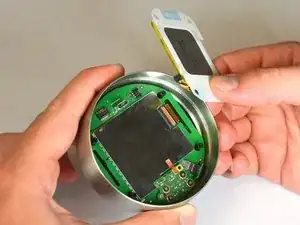
Grasp the battery with your fingers and pull directly away from motherboard to separate the battery from the display.
-
-
-
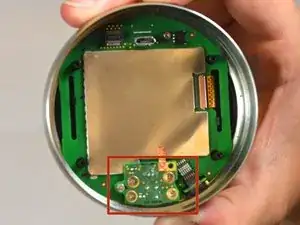
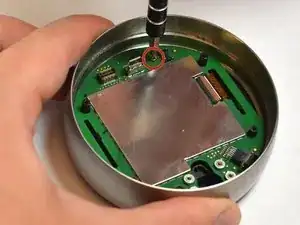
Remove the four 3mm screws with a #0 Phillips screwdriver.
-
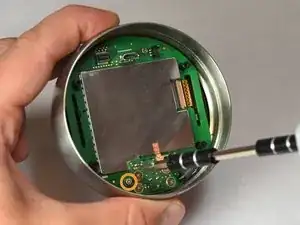
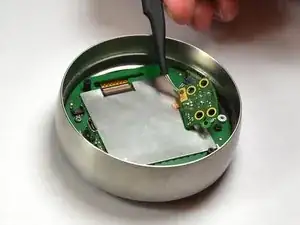
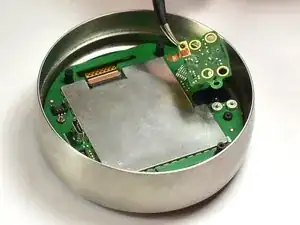
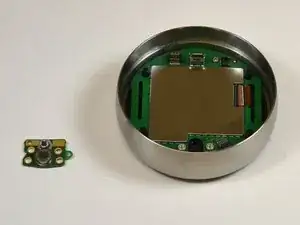
Remove the one 4mm screw located at the edge of the auto-away sensor. Use a #0 Phillips screwdriver.
-
-
-
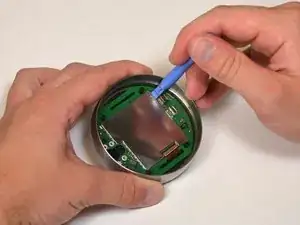
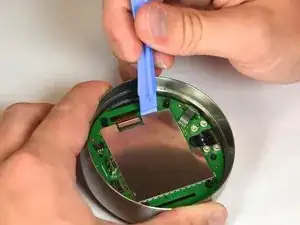
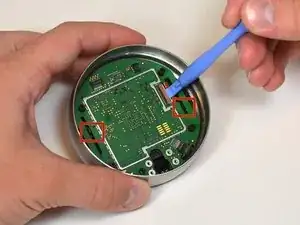
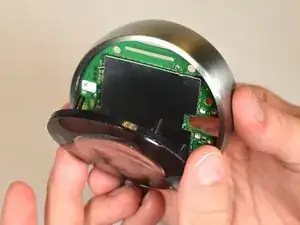
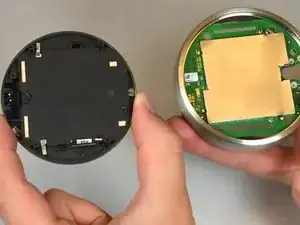
Locate the black tabs that hold the display to the motherboard.
-
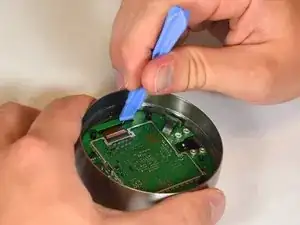
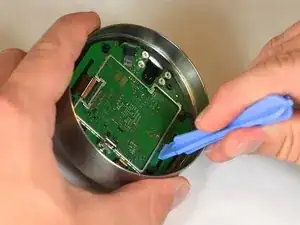
Push the black tabs gently away from the motherboard using the plastic opening tools.
-
-
-
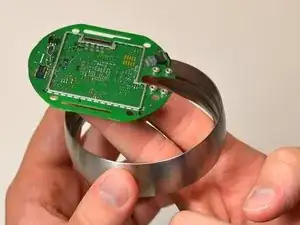
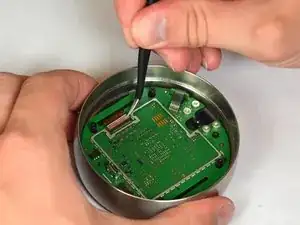
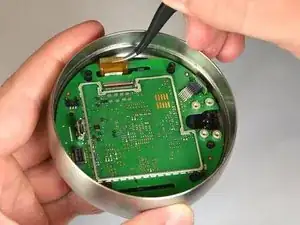
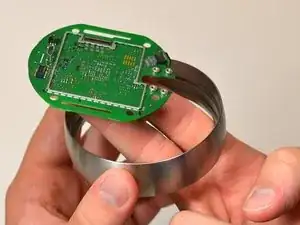
Using one hand to hold the steel ring, carefully lift the motherboard out of the ring using the other hand.
-
To reassemble your device, follow these instructions in reverse order.
