Introduction
Tools
-
-
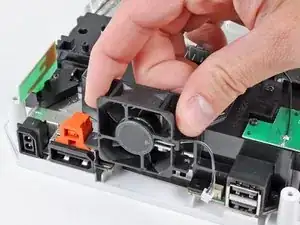
Remove the two 10 mm Phillips screws securing the fan to the fan shroud.
-
Remove the fan from the Wii.
-
-
-
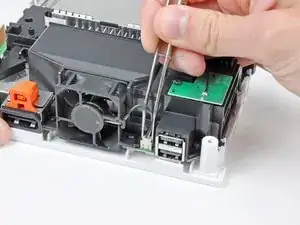
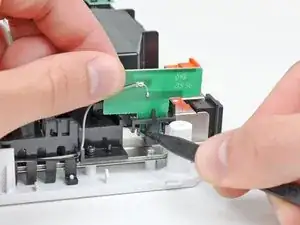
Use the tip of a spudger or another fine-pointed tool to carefully pry one of the black plastic retaining fingers attached to the fan shroud away from the Wi-Fi antenna board.
-
Lift the Wi-Fi antenna out of the fan shroud.
-
-
-
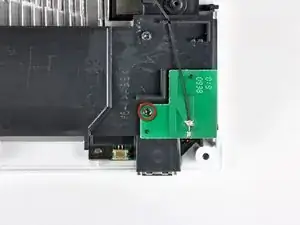
Remove the single 10 mm Phillips screw securing the second Wi-Fi antenna to the top of the fan shroud.
-
-
-
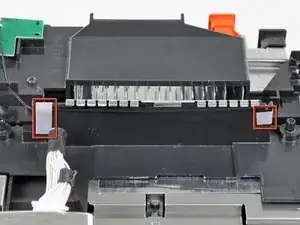
Remove the two pieces of tape securing the second Wi-Fi antenna cable to the plastic bracket near the heat sink.
-
-
-
Remove the three 10 mm Phillips screws securing the fan shroud to the Wii.
-
Lift the fan shroud off the heat sink and remove it from the Wii.
-
-
-
Remove the following six screws securing the EMI fingers to the bottom panel:
-
Four 7 mm Phillips screws
-
Two 11.3 mm Phillips screws
-
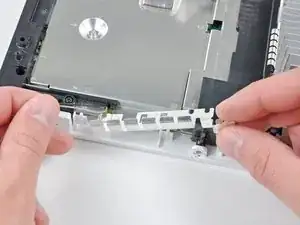
Remove both sets of EMI fingers from the Wii.
-
-
-
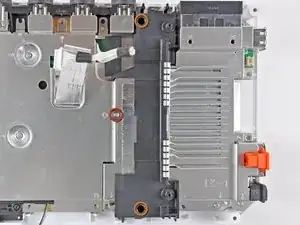
Remove the following three screws:
-
One 7 mm Phillips screw
-
Two 10 mm Phillips screws
-
Lift the bracket out of the Wii.
-
-
-
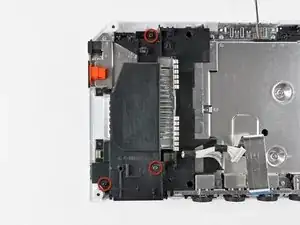
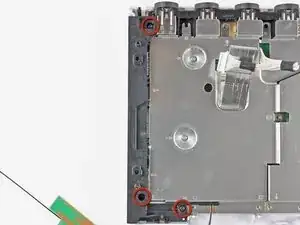
Remove the three 10 mm Phillips screws securing the black bracket to the bottom panel near the front of the Wii.
-
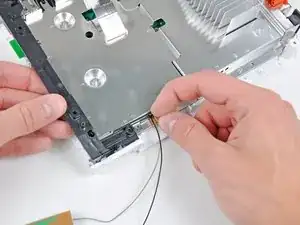
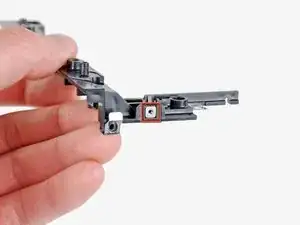
Slightly lift the bracket and use your other hand to pull the retaining clip away from where the Wi-Fi antennas enter the motherboard sheild.
-
Remove the bracket from the Wii.
-
-
-
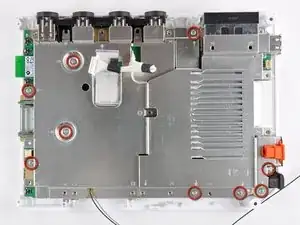
Remove the nine remaining 7 mm Phillips screws securing the motherboard cover to the bottom panel.
-
-
-
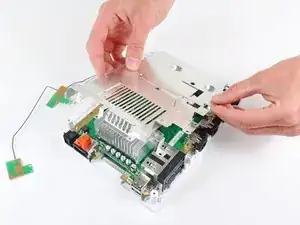
Carefully lift the motherboard cover off the motherboard, minding any cables that may get caught.
-
To reassemble your device, follow these instructions in reverse order.
