
Introduction
In the event of a drop, the rear camera on the Nokia 3310 3G can be damaged. This guide will show the steps necessary to replace it.
-
-
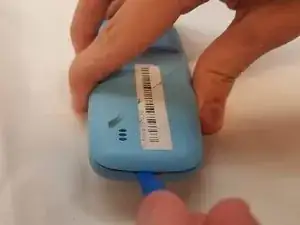
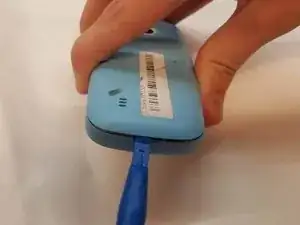
Using the thumbtab molded on the bottom of the phone, pry the back cover off using either a fingernail or a plastic opening tool.
-
-
-
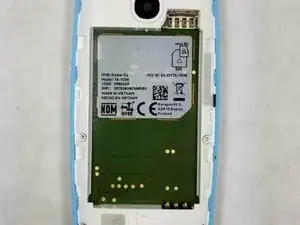
There is a molded notch in the white frame of the phone near the top right of the battery. Using either a finger or a plastic opening tool, utilize the notch to lift up on the battery, and remove it from the device.
-
-
-
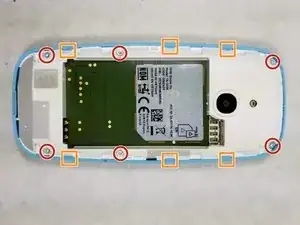
Using a T5 screwdriver bit, remove the (6) 5.0 mm screws along the outside edge of the frame.
-
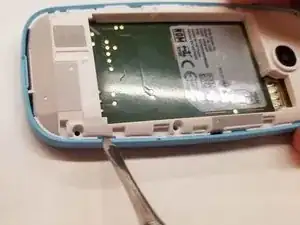
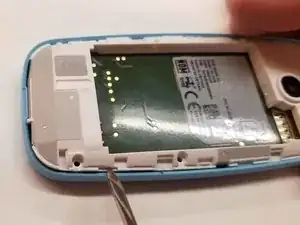
Using a metal spudger, wedge the 6 plastic tabs molded into the outer shell away from the frame to lift up and remove it.
-
-
-
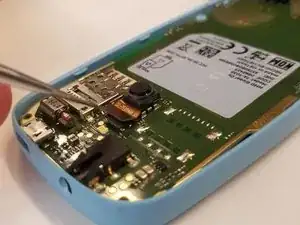
Using the pointed metal spudger from the metal spudger set, insert the tool underneath the small snap clip, and disconnect it by lifting it up.
-
-
-
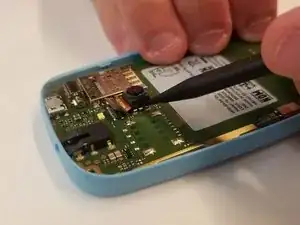
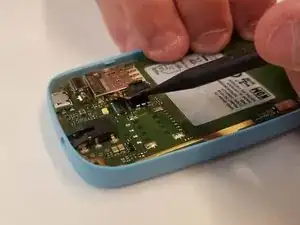
The camera is held in with double sided and foam. Using the spudger, lift up on the camera to remove it from the motherboard of the phone.
-
To reassemble your device, follow these instructions in reverse order.