Introduction
The battery is held down with adhesive and is soldered into the motherboard, so it will be hard to remove. Switching steps 3 & 4 may make the repair easier for some.Take your time with this repair and prepare to be frustrated.
-
-
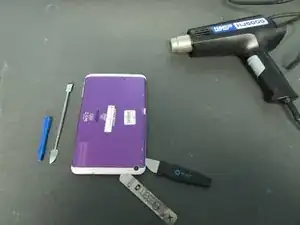
Use a Heat Gun to loosen the adhesive under the backing of the device.
-
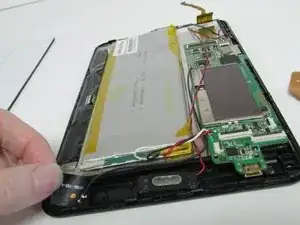
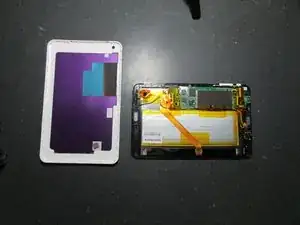
Use prying tools to lift up the back of the device to get underneath.
-
-
-
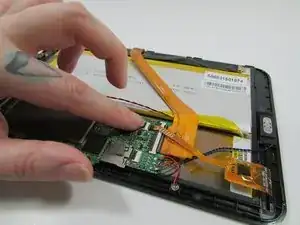
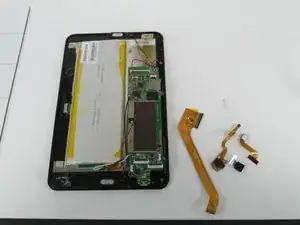
Unlock all of the ribbons that cross or interfere with the battery.
-
Remove the unlocked ribbons if you can- this will make it easier to work with the battery later.
-
-
-
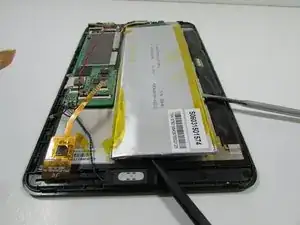
Use plastic prying tools to peel up the battery. Metal prying tools may puncture the battery and cause more damage. If you MUST use metal prying tools, go slow.
-
-
-
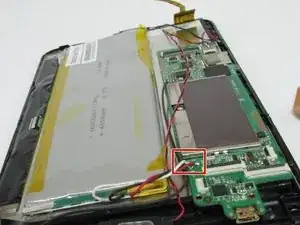
Desolder battery and wires from Motherboard HERE!
-
Once the wires are free, so is the battery. You should be able to replace the battery and its wires in full (as a package deal).
-
To reassemble your device, follow these instructions in reverse order.