
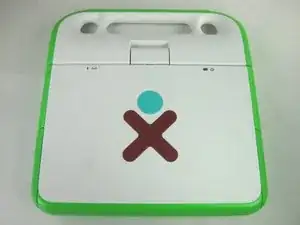
Introduction
Use this guide to remove and install a new lower case on your OLPC XO-4 Touch.
Tools
-
-
Pull the lock tabs towards the green outer edges of the laptop.
-
Hold the left lock tab in the unlock position until the battery is completely removed in the next step.
-
-
-
Flip the laptop over to its normal position.
-
Lift the two antennas on both sides to unlock the screen.
-
Open the laptop.
-
-
-
Gently lift up on the back of the keyboard.
-
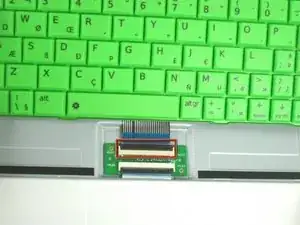
Pull the keyboard up far enough to expose the ribbon cable.
-
-
-
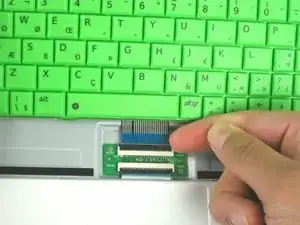
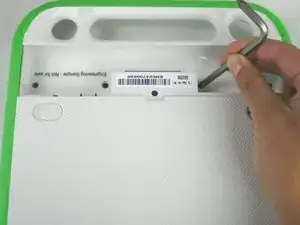
Gently lift up on the black connector to release the ribbon cable.
-
Gently pull the blue plastic tab up and away from the black connector.
-
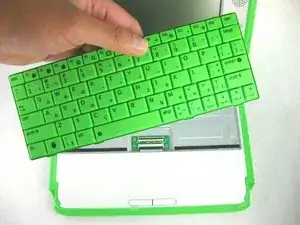
Remove the keyboard from the laptop.
-
-
-
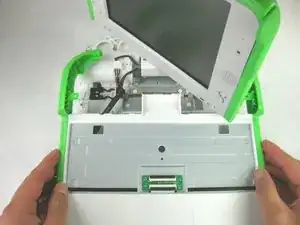
Flip the laptop over, showing the top of the device.
-
Open the laptop and rotate the screen ninety degrees.
-
Tilt the screen so the lower right corner of the screen is closer to the lower case.
-
-
-
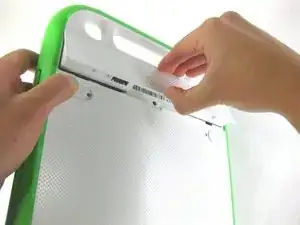
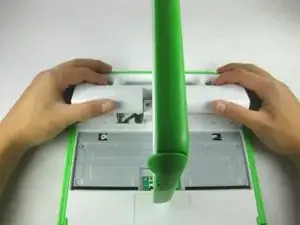
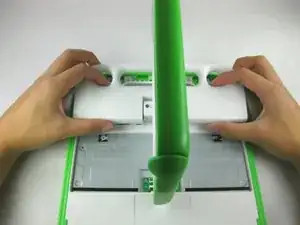
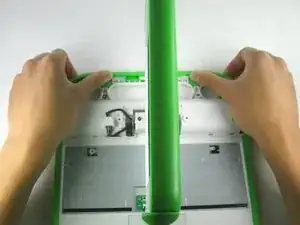
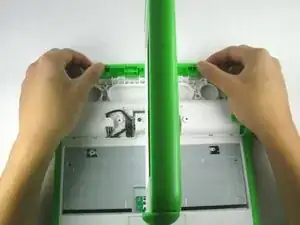
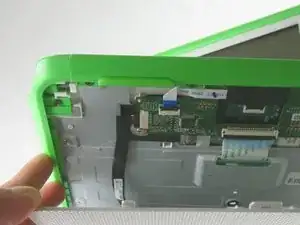
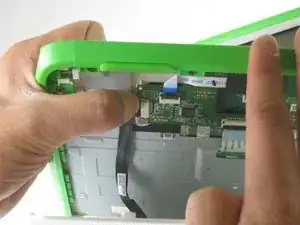
Push in and lift up on the keyboard edge of the white handle piece.
-
Pull the piece towards yourself to remove it from the laptop.
-
-
-
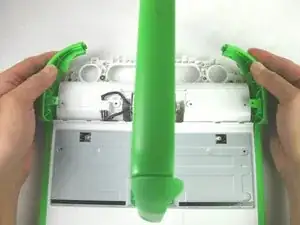
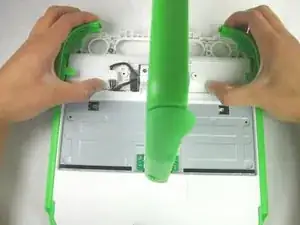
Remove the four 4mm Phillips #1 screws attaching the green trim to the body of the computer.
-
-
-
Unplug the cable from the mouse buttons controller to completely remove the lower frame from the device.
-
-
-
Rotate the entire lower assembly up slightly, and pull it away from the screen to free it from the screen hinge.
-


To reassemble your device, follow these instructions in reverse order.