Introduction
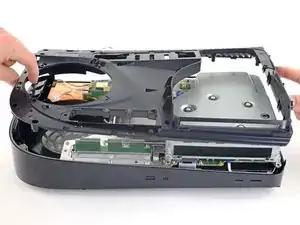
Follow this guide to remove and replace the laser on a PlayStation 5.
Before you begin, completely power down and unplug all cables from your console. Remember to follow general electrostatic discharge (ESD) safety procedures while repairing the console.
-
-
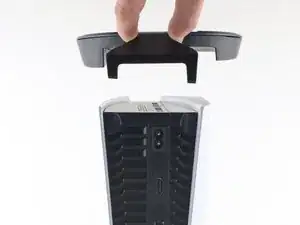
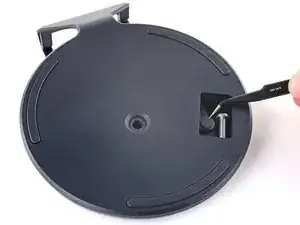
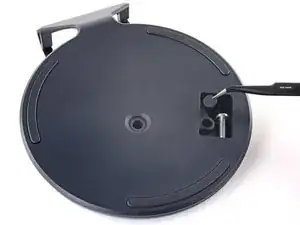
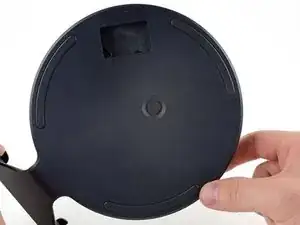
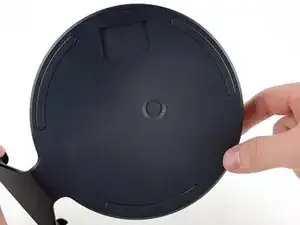
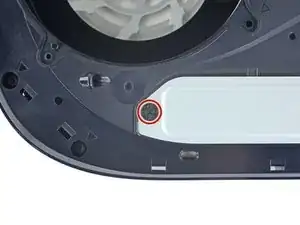
If your PlayStation 5 is in its vertical orientation, flip it upside down so the stand is facing up.
-
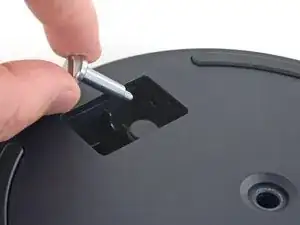
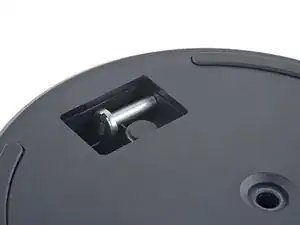
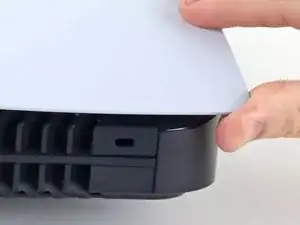
Use a coin or a flathead screwdriver to remove the 26.5 mm-long stand screw.
-
-
-
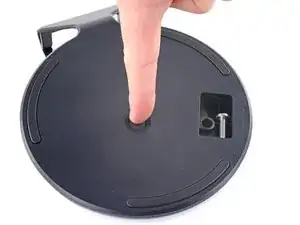
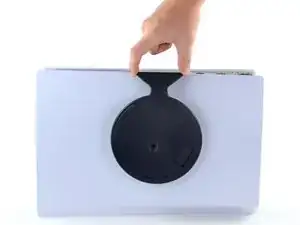
If your PlayStation 5 is in its horizontal orientation, rest it on its face with the charging port facing up.
-
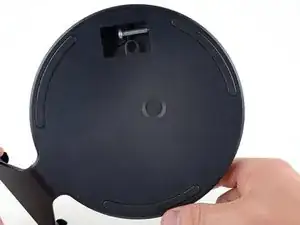
Lift the stand straight up to remove it.
-
-
-
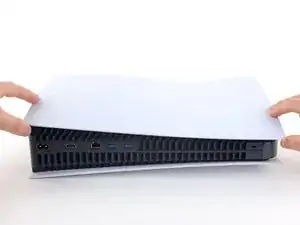
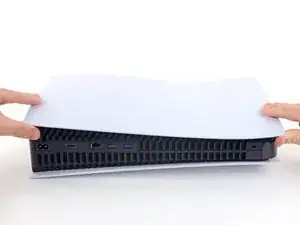
Flip the device over so that the USB and ethernet ports are on the left side from your perspective.
-
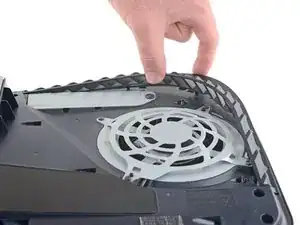
Lift up the corner of the faceplate to unclip it from the case.
-
-
-
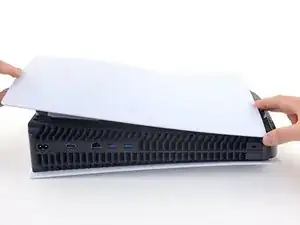
While lifting up the corner, slide the faceplate towards the bottom of the device.
-
Remove the right faceplate.
-
-
-
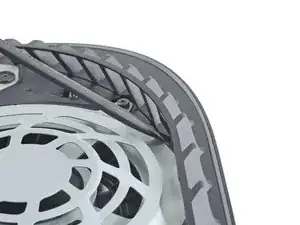
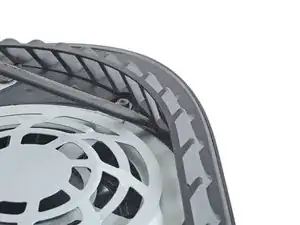
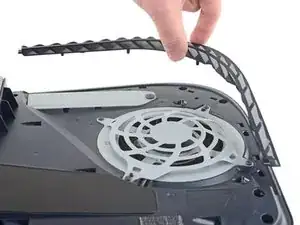
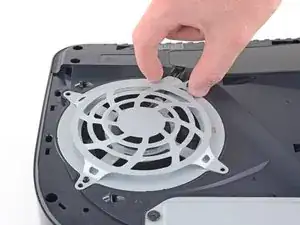
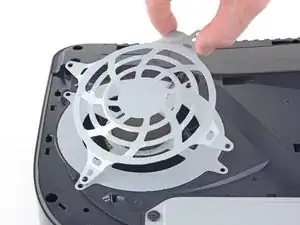
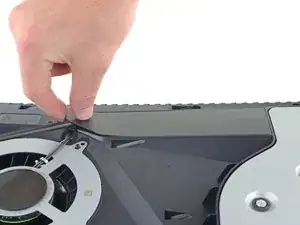
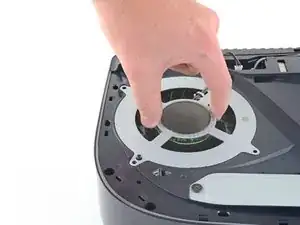
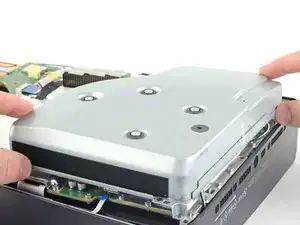
Insert the flat end of a spudger underneath the grille and into the gap above the fan.
-
Lift up with the spudger to pry the grille away from the case.
-
-
-
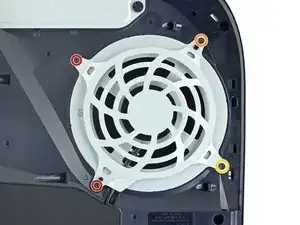
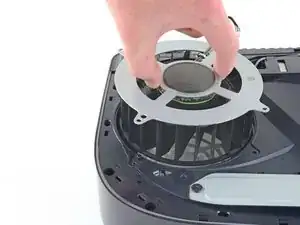
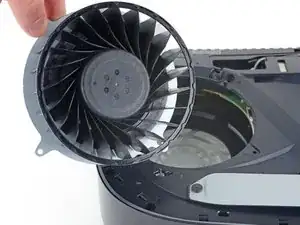
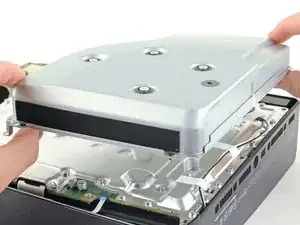
Use a TR8 Torx security driver to remove the four screws securing the fan shroud to the case:
-
Two 23.3 mm-long screws
-
One 11.4 mm-long screw
-
One 31 mm-long screw
-
-
-
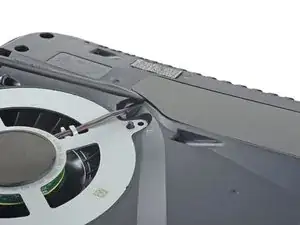
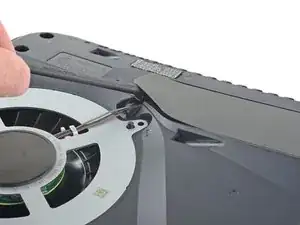
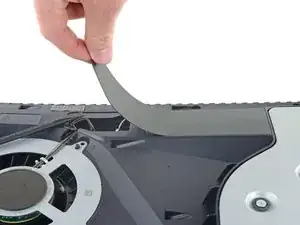
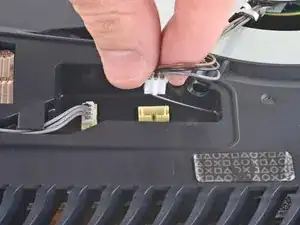
Insert the flat end of a spudger beneath the black wire cover and into the gap above the fan wires.
-
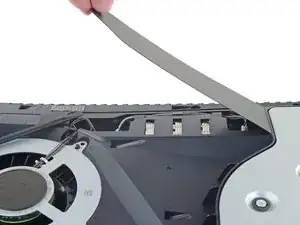
Use the spudger to peel up the wire cover until you can grip it with your fingers.
-
-
-
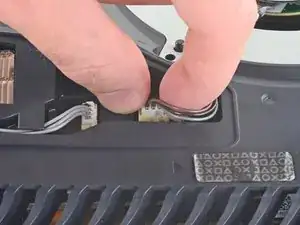
Use your fingers to grip the edges of the fan cable connector, and pull up to disconnect it from the motherboard.
-
-
-
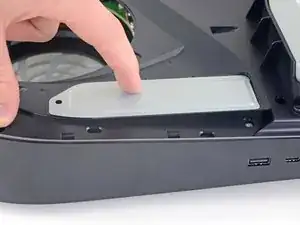
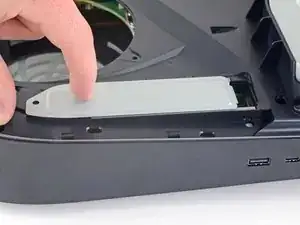
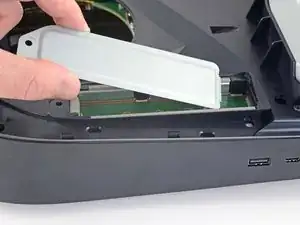
Use your finger to slide the SSD cover towards the top of the device to unclip it from the case.
-
Remove the SSD cover.
-
-
-
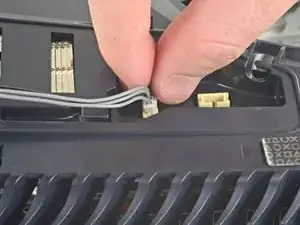
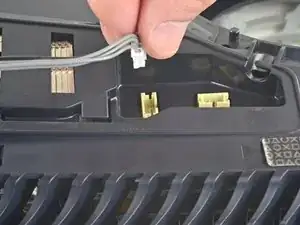
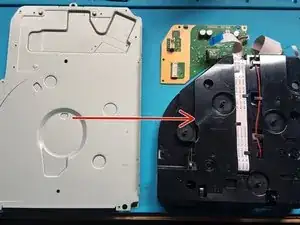
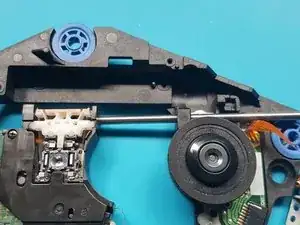
Use your fingers to grip the edges of the optical drive cable connector, and pull up to disconnect it from the motherboard.
-
-
-
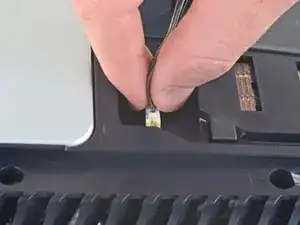
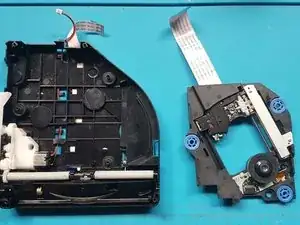
Use your fingers to grip the edges of the optical drive cable connector, and pull up to disconnect it from the optical drive.
-
-
-
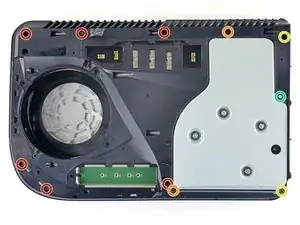
Use a T8 Torx driver to remove the eleven screws securing the case:
-
Six 18.6 mm-long screws
-
Two 23.3 mm-long screws
-
Two 43.2 mm-long screws
-
One 7.3 mm-long screw
-
-
-
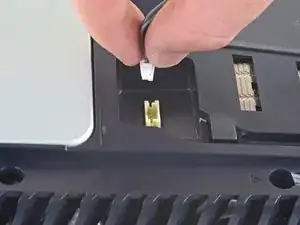
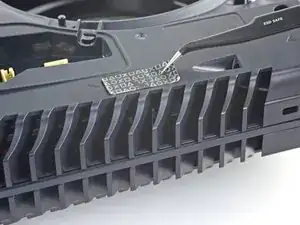
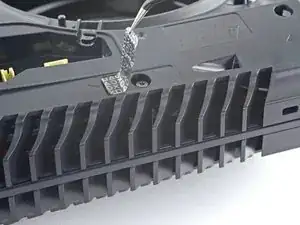
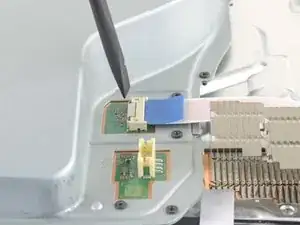
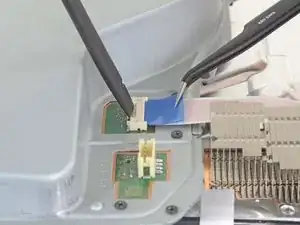
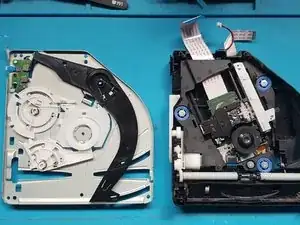
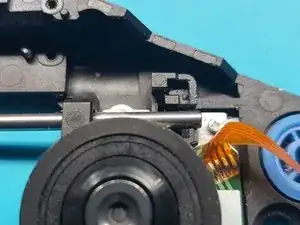
Use the flat end of a spudger to press down on the optical drive connector's metal locking tab.
-
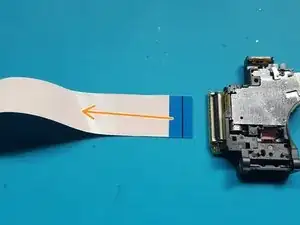
With the metal tab depressed, use a pair of tweezers to pull the blue pull tab directly away from the connector to disconnect the cable from the optical drive.
-
-
-
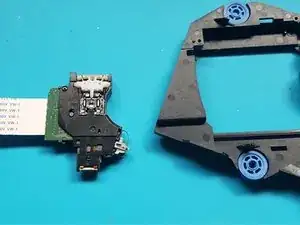
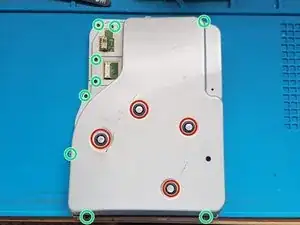
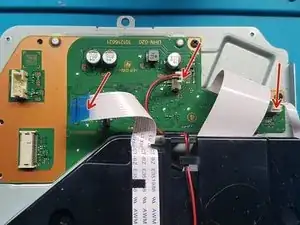
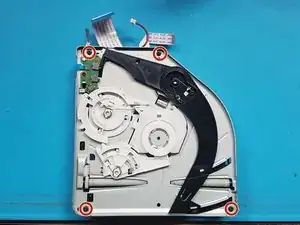
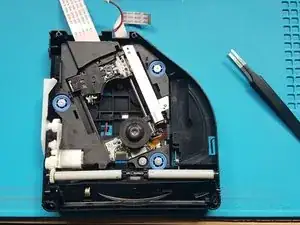
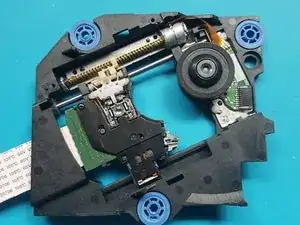
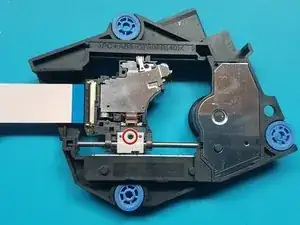
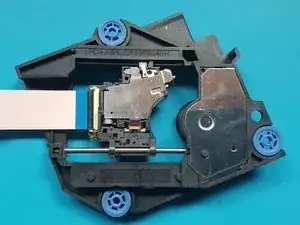
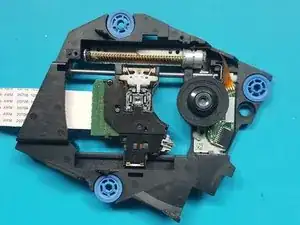
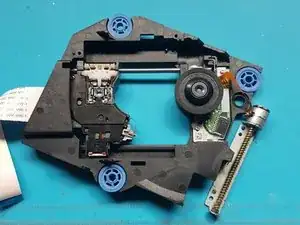
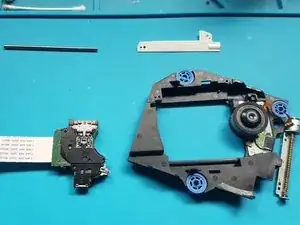
silver screws: 4x M1.6 X 3.7mm, with 6.5mm head.
-
black screws: 9x M1.6 x 3.8mm.
-
Remove screws with Phillips #1 screwdriver.
-
-
-
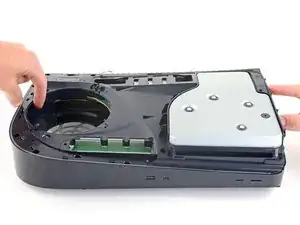
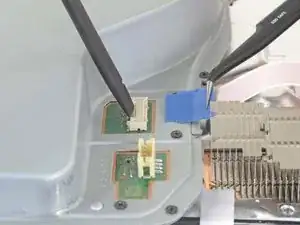
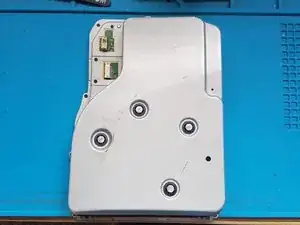
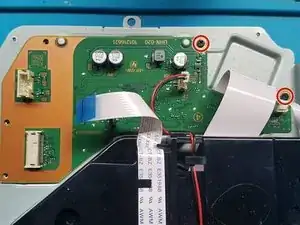
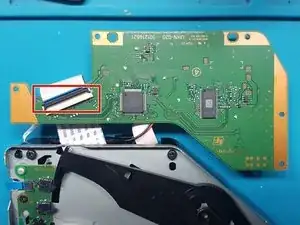
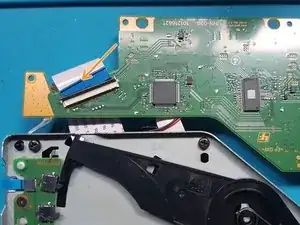
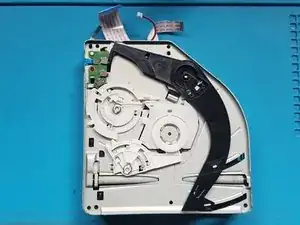
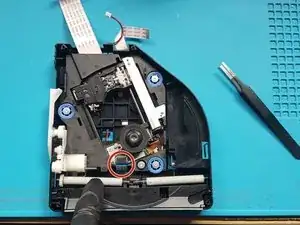
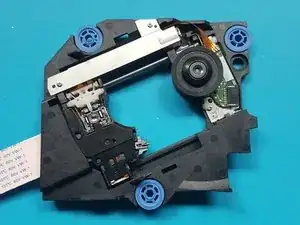
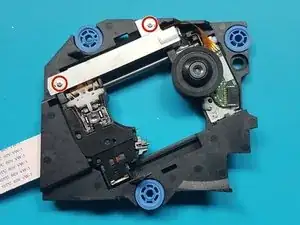
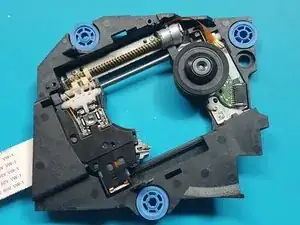
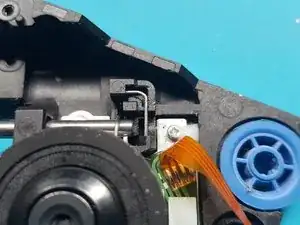
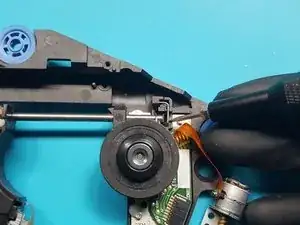
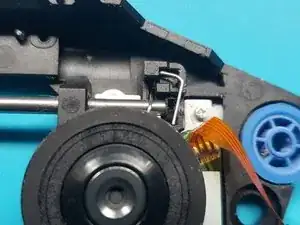
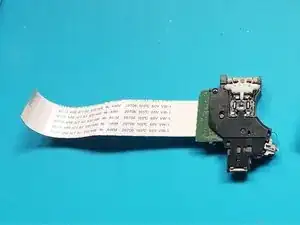
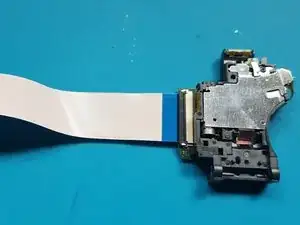
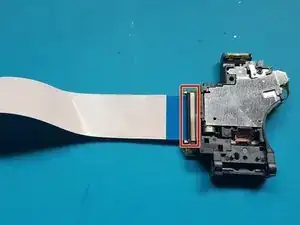
Unlatch the wide FFC socket.
-
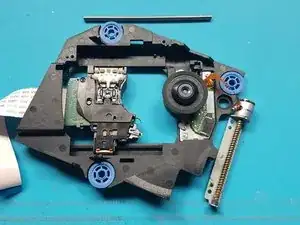
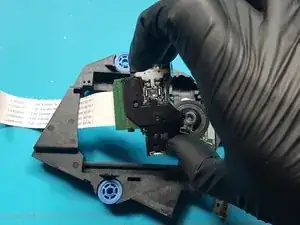
Gently remove the wide FFC cable from the socket and set aside the PCB.
-


To reassemble your device, follow these instructions in reverse order.
Take your e-waste to an R2 or e-Stewards certified recycler.
Repair didn’t go as planned? Try some basic troubleshooting, or ask our PlayStation 5 Answers community for help.
2 comments
Danke für die tolle und ausführliche Anleitung!
Discs werden wieder gelesen *freu*
where do we get the replacement laser?
canegosh -