Introduction
-
-
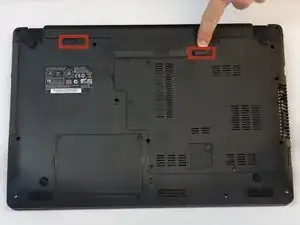
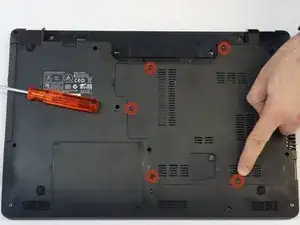
Push the screwdriver a few millimeters under the cover so that it can be touched with your fingers.
-
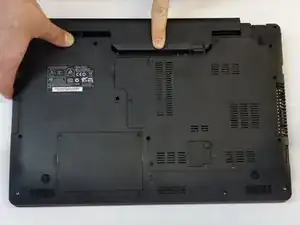
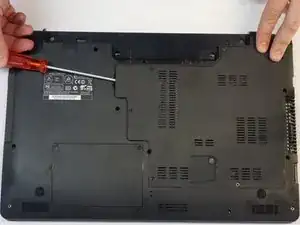
Now lift the cover carefully.
-
Attention! Disconnect the ventillator cable so that the cover can be completely removed (see next step).
-
-
-
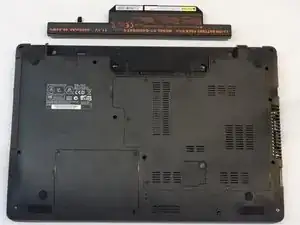
Since the ventillator is mounted under the cover, its power supply cable must first be disconnected so that the cover can then be completely removed.
-
-
-
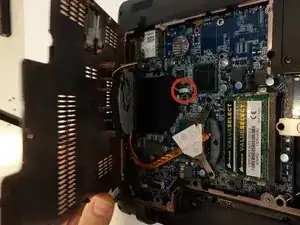
Using the Phillips # 1 screwdriver, unscrew the 3 mounting screws of the processor heat sink.
-
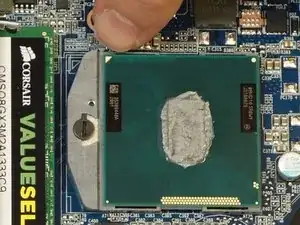
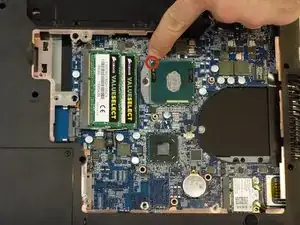
Note position of marker triangle as this will determine the positioning of the processor during replacement.
-
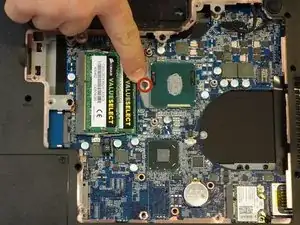
Unlock the coupling system of the processor with a classic screwdriver.
-
Make sure that you do not remove the heat-dissipating paste between the processor and the heat sink, as this is the only way to ensure that the processor is properly cooled.
-
-
-
Carefully disconnect the processor from its holder.
-
Now place the processor aside, taking into account the position of the triangle.
-


For reassembly, follow the instructions in the reverse order