
Introduction
Use this guide to replace a faulty front-facing camera.
-
-
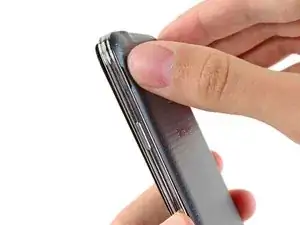
Insert a fingernail or plastic opening tool into the divot to the left of the rear-facing camera.
-
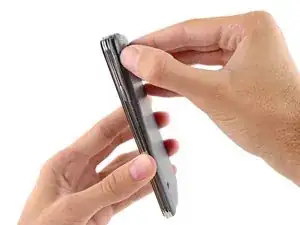
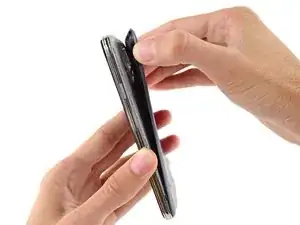
Gently pry and twist the flexible rear cover off the back of the phone.
-
-
-
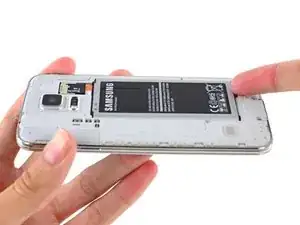
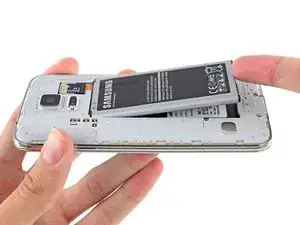
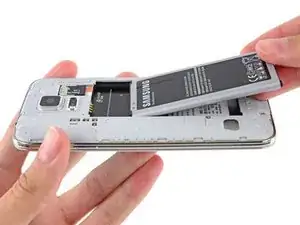
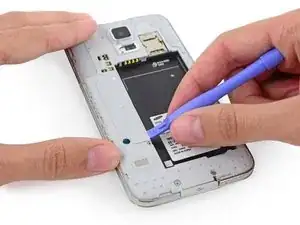
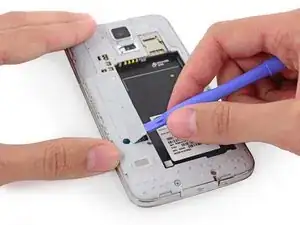
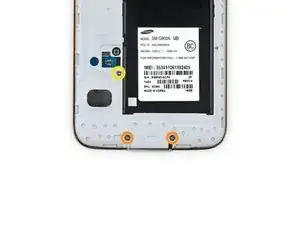
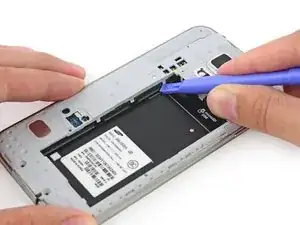
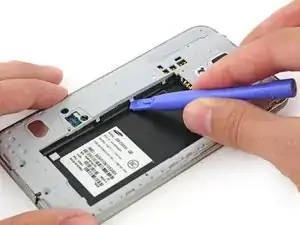
Insert a fingernail or plastic opening tool into the recess in the bottom right corner of the battery and lift upward.
-
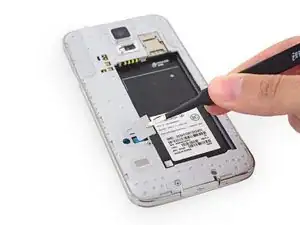
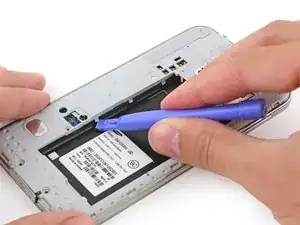
Remove the battery away from the phone.
-
-
-
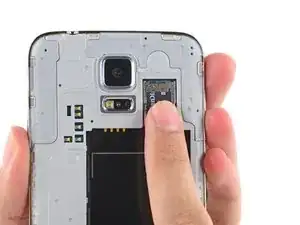
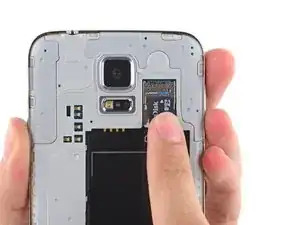
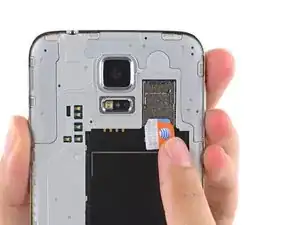
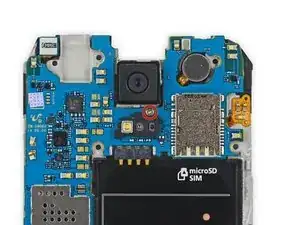
Using a fingertip, pull the microSD card straight down out of its slot.
-
Remove the microSD card from the phone.
-
-
-
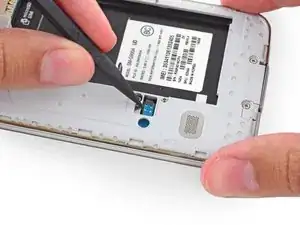
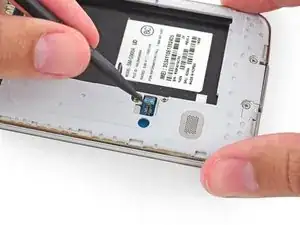
Use the sharp tip of a spudger to pry the home button cable connector straight up off its socket.
-
-
-
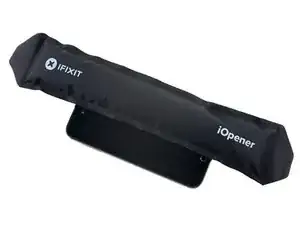
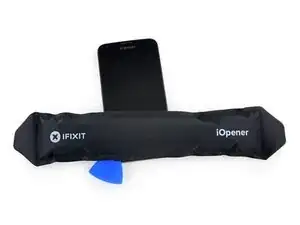
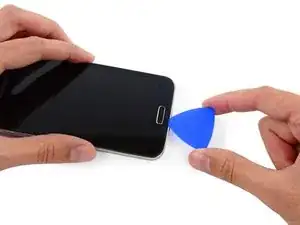
Place a heated iOpener on the left side of the phone for at least 90 seconds.
-
Reheat the iOpener and place it on the right half of the phone.
-
-
-
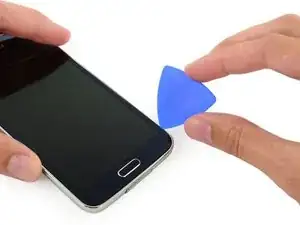
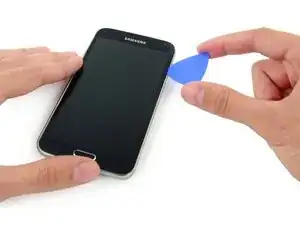
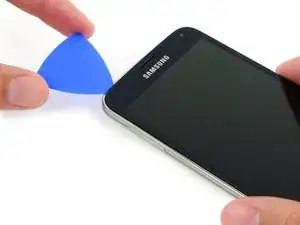
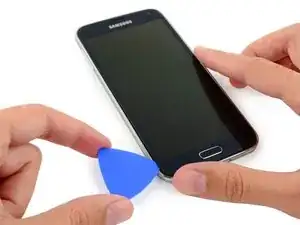
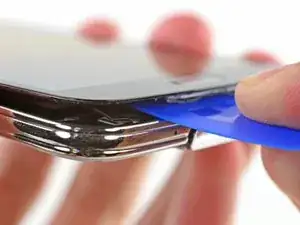
Carefully slide the pick around the corner, stopping before the speaker grille at the top of the phone.
-
-
-
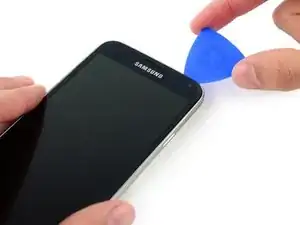
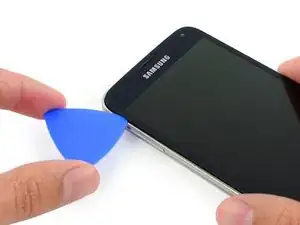
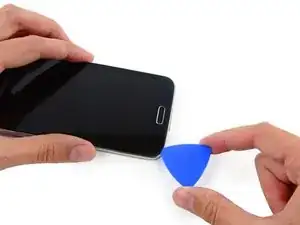
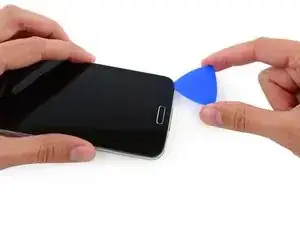
Slide the opening pick across the top of the phone, being very careful not to insert the pick too deeply.
-
-
-
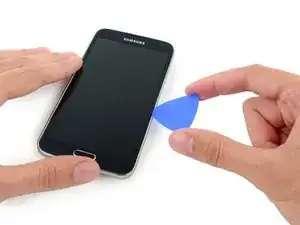
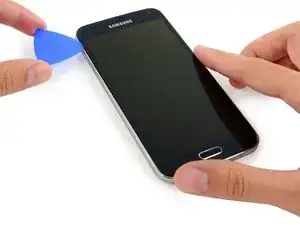
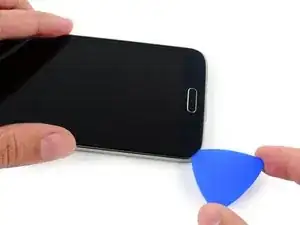
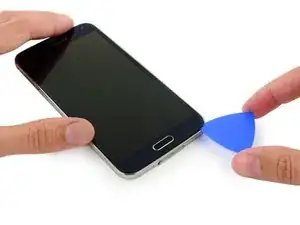
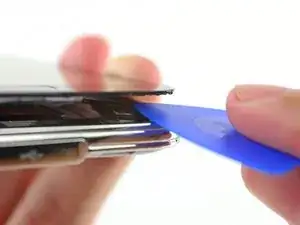
Slide the opening pick down along the left half of the phone stopping at the lower left corner.
-
-
-
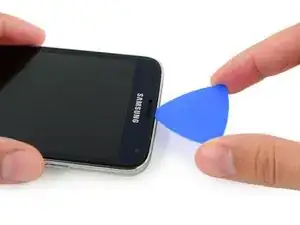
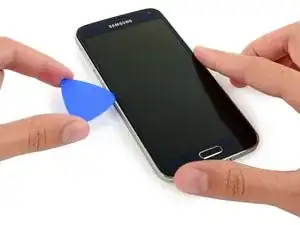
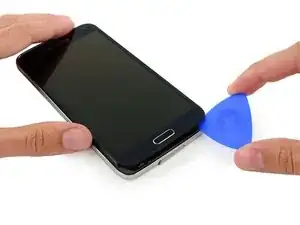
Slide the opening pick all the way to the bottom left corner of the phone, making sure it is securely placed.
-
-
-
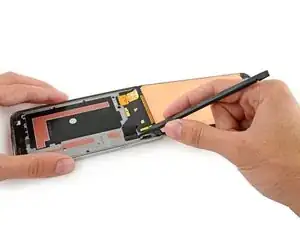
Slide the very end of the opening pick across the bottom edge of the display to separate the last of the remaining adhesive.
-
-
-
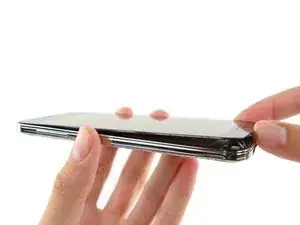
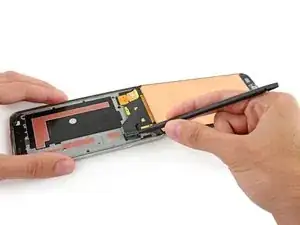
Insert an opening pick under the soft button icons on the display and pry the button cables down off the inside of the front panel.
-
-
-
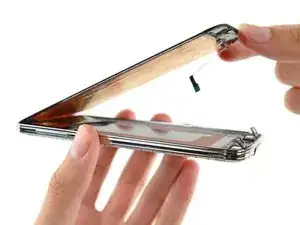
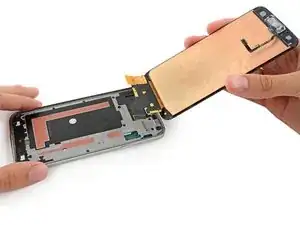
Use the sharp tip of a spudger to lift the front panel assembly cable connector straight up off its socket on the motherboard.
-
Safely remove the front panel assembly from phone.
-
-
-
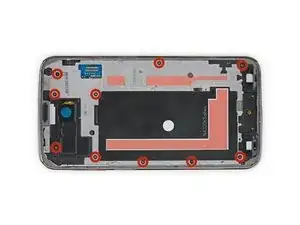
Two 4.4 mm Phillips #000 screws near the USB port on the battery side of the phone
-
One 4.4 mm Phillips #000 screw
-
-
-
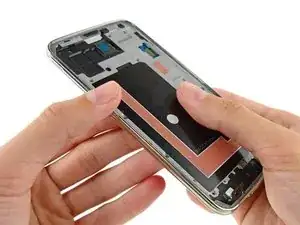
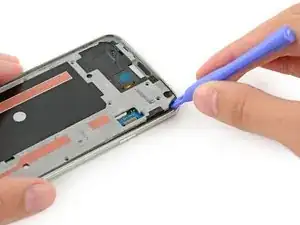
Gently run a plastic opening tool down along the left inner side of the interior frame to separate the three white plastic clips.
-
-
-
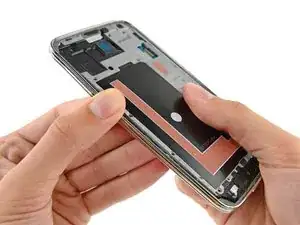
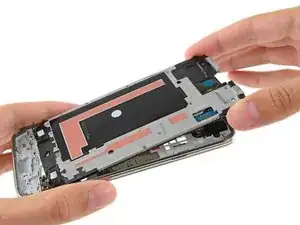
Gently pull the long sides of the silver bezel out away from the phone to separate the two halves of the midframe.
-
-
-
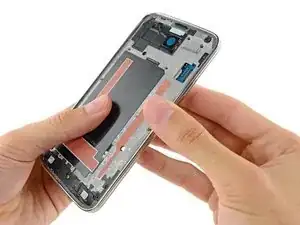
Continue on to the right side of the silver bezel, pulling away from the interior section of the midframe to separate the two halves.
-
-
-
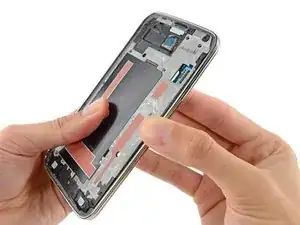
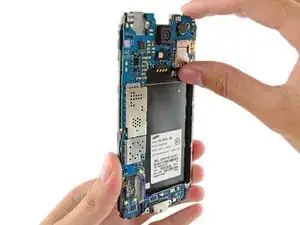
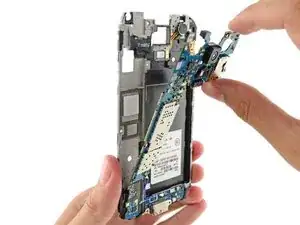
Pull, but do not remove, the motherboard away from the midframe to allow access to the connectors on the rear.
-
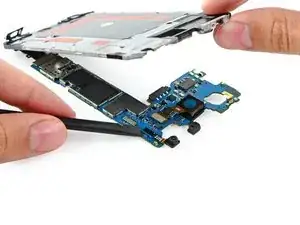
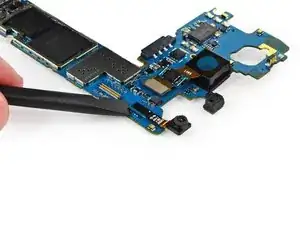
Lay the motherboard on a clean flat surface and support the interior midframe with one hand, leaving the other hand free to work on the motherboard assembly.
-


To reassemble your device, follow these instructions in reverse order.

3 comments
Good guide for everyone
i broke the LCD, it was replaced before and they putted to much adhesive, i am broke :(
thanks for sharing