Introduction
Built -in speakers are one of the benefits of owning a laptop, so any malfunctioning or broken speakers are an inconvenience to laptop users. Rather than purchasing external speakers or wearing headphones whenever audio is needed, this issue can be remedied in a more cost effective way by installing a new speaker into the laptop. This guide will show you how to replace the speakers in your laptop.
-
-
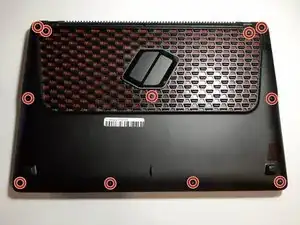
Remove the eleven 6.6 mm screws on the back of the computer using the Phillips #0 screwdriver.
-
-
-
Using the opening tool, gently pry apart the back corners until the plastic separates from the body of the laptop.
-
Work your way around the body of the laptop until the back cover is completely separated.
-
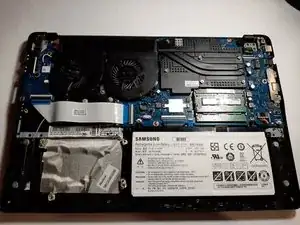
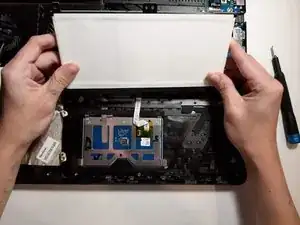
Remove the back casing.
-
-
-
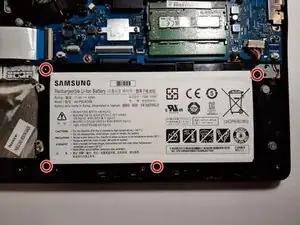
Remove the four 6.6 mm screws using the Phillips #0 screwdriver.
-
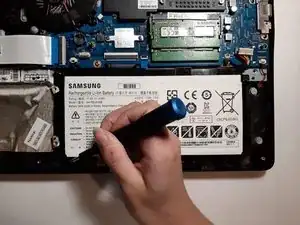
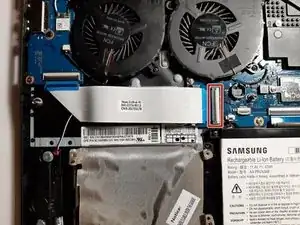
Remove the battery from the device.
-
-
-
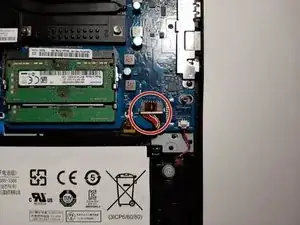
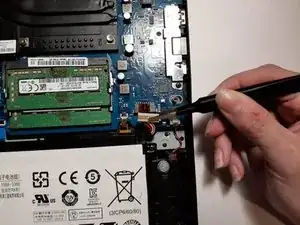
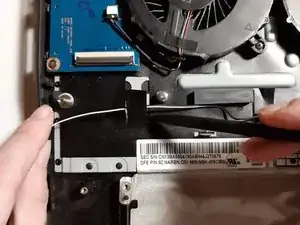
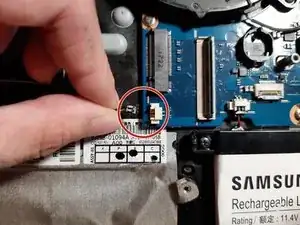
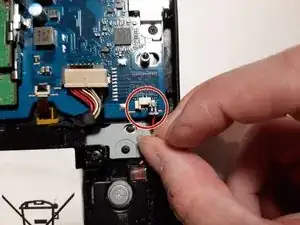
Using the spudger, lift the black tab to release the ribbon cable.
-
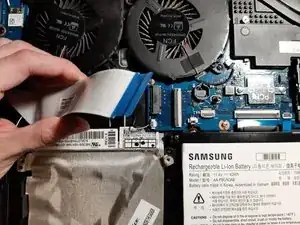
Disconnect the USB ribbon cable.
-
-
-
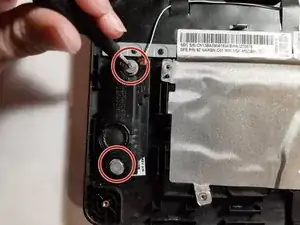
Using the Phillips #0 screwdriver, remove the four screws holding the speakers to device.
-
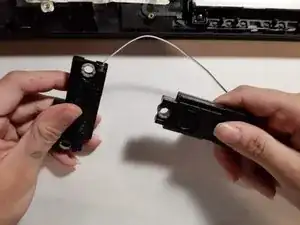
Remove the speakers from the device.
-


To reassemble your device, follow these instructions in reverse order.