Introduction
Wi-Fi card replacement may be done when the Wi-Fi card is suspected to be damaged. Take a look at the troubleshooting page before starting this guide to review the typical issues.
-
-
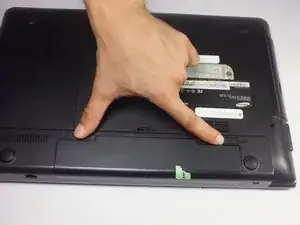
Locate two notches above the battery.
-
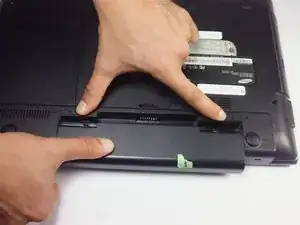
Slide both battery locking notches to either side to remove the battery.
-
Pull the battery out.
-
-
-
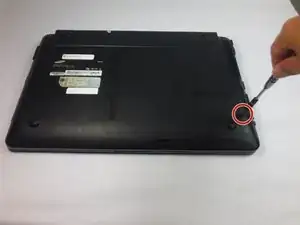
Using the Phillips #0 screwdriver, unscrew the one 5mm screw.
-
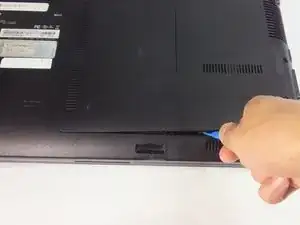
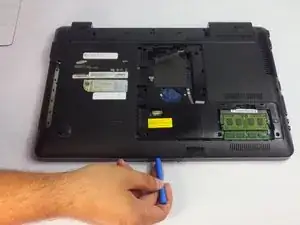
Using the blue plastic opening tools, wedge one in between the back panel and the laptop.
-
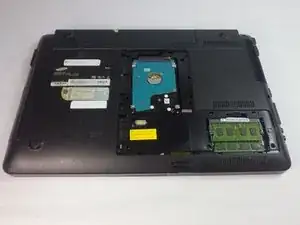
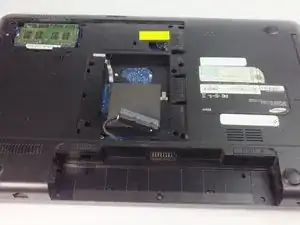
Carefully remove the back panel..
-
-
-
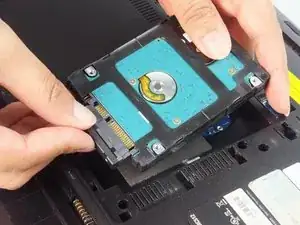
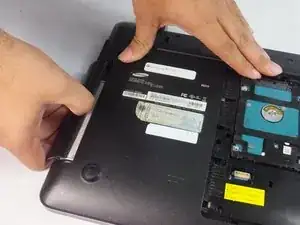
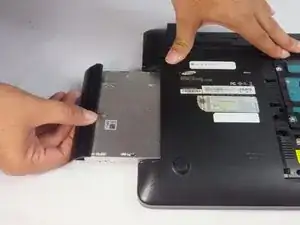
Use the spudger or fingers to gently pull the optical drive out.
-
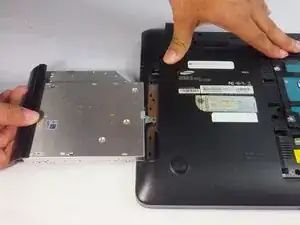
Slide the optic drive away from the laptop.
-
-
-
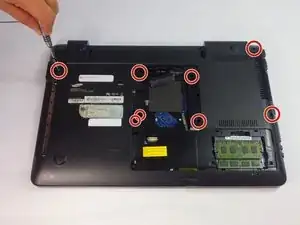
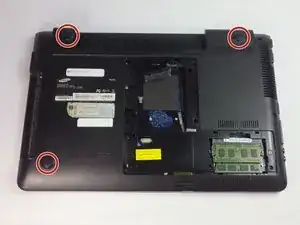
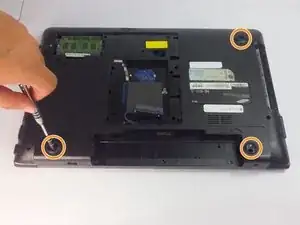
Remove the eight 5mm Phillips #0 screws using a Phillips #0 driver.
-
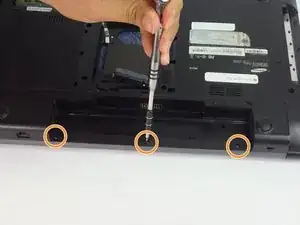
Also remove the three 5mm Phillips #0 using a Phillips #0 driver.
-
-
-
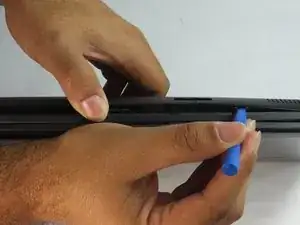
Insert a plastic opening tool into the back cover and the housing of the body.
-
Use the plastic opening tool to pop open the clamps that hold the casing onto the back cover.
-
Work your way around the all sides to completely take off the back cover.
-
-
-
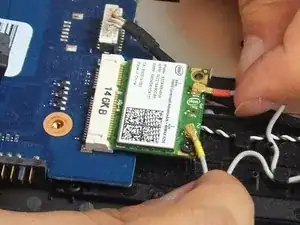
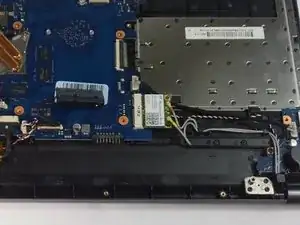
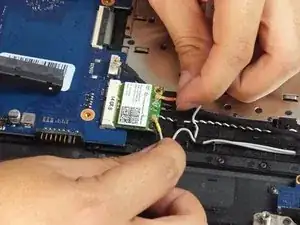
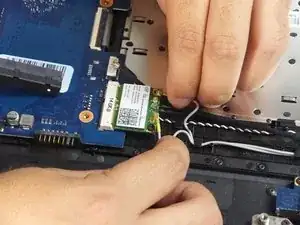
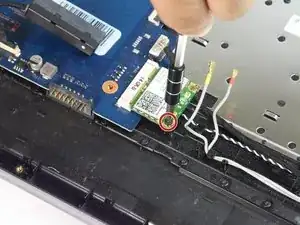
Remove one 5mm Phillips #0 screw using a Phillips #0 driver.
-
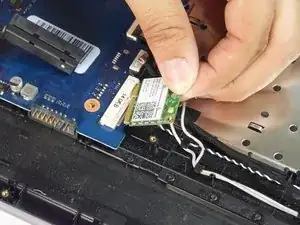
The Wi-Fi card will rise up itself after removing the Phillips #0 screw. Pull it out away from the slot.
-


To reassemble your device, follow these instructions in reverse order.