Introduction
Use this guide to replace your Samsung SGH A707 phone's camera.
-
-
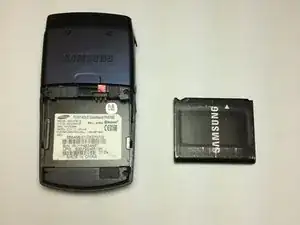
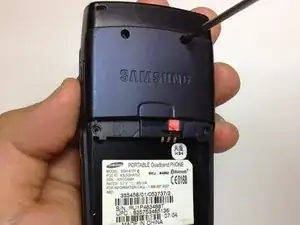
Use your fingers to pull the battery out of its position. You may also flip the phone and the battery will fall out.
-
-
-
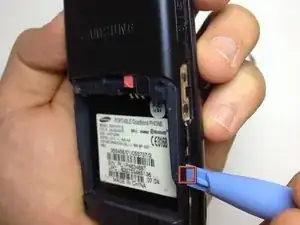
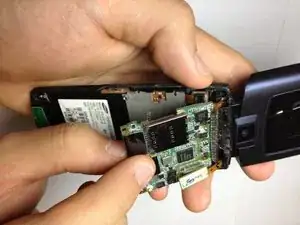
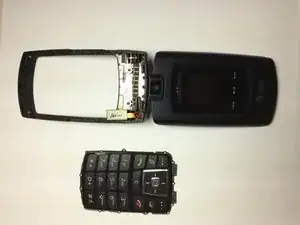
Hold the phone and gently separate the circuit board that holds the dome switches and the front face of the phone, revealing the rubber keyboard.
-
-
-
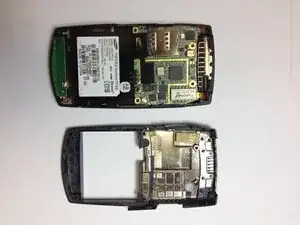
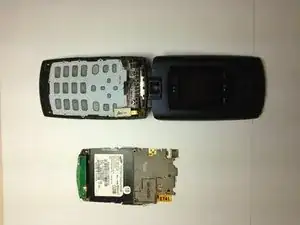
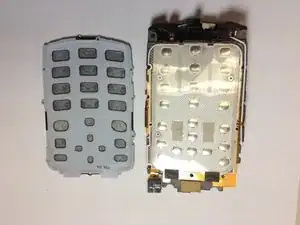
Here is the rubber keyboard and the dome switch circuit board. A quick inspection of these elements can reveal keypad malfunctions. Look for dirt or debris that do not belong there.
-
-
-
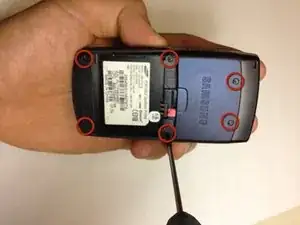
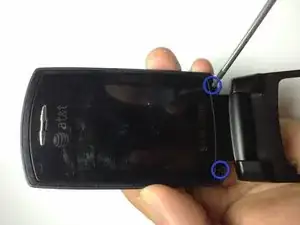
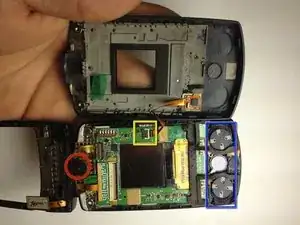
Use the Phillips #0 screw driver to remove the two screws.
-
Place the screws in a safe place.
-
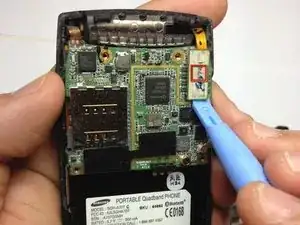
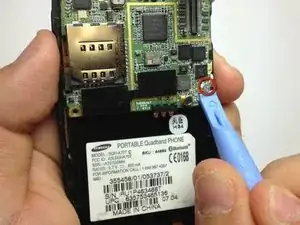
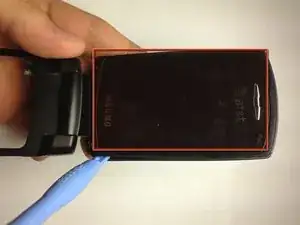
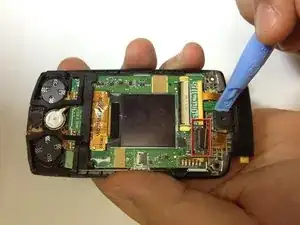
Use the prying tool to gently pry the screen off, by slowly moving the prying tool around the entire edge of the screen (roughly highlighted with a red rectangle). You must be very gentle, otherwise the screen will crack.
-
-
-
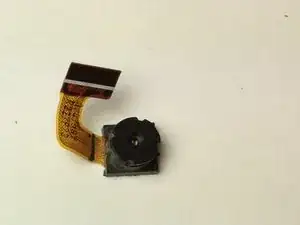
Now we have access to the camera.
-
We also have access to the speakers.
-
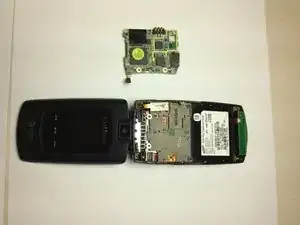
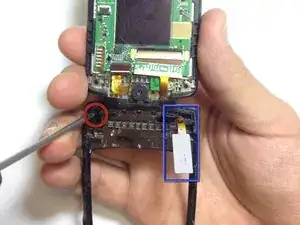
Disconnect the flat cable to separate the two pieces.
-
-
-
Separate the two flaps to make handling easier.
-
Use a screw driver to press a latch in along the axis of the hinge and simultaneously pull the pieces apart.
-
Gently pull the flat cable through the hinge.
-
-
-
Disconnect the flat cable for the camera from the circuit board.
-
Use the prying tool to remove the camera. It is secured in place by glue, so some force is needed.
-
Be careful not to slip the tool onto your hand as you apply force.
-


To reassemble your device, follow these instructions in reverse order.