Introduction
To replace a faulty microphone follow the steps in this guide. This may be your only option if you find yourself unable to make voice recordings anymore with your device.
-
-
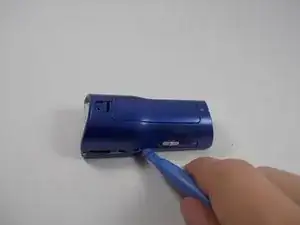
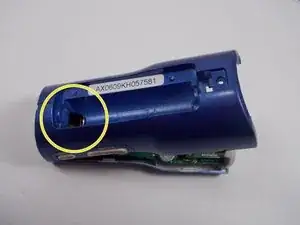
Locate the interlocking pegs along the seam of the device's casings.
-
Gently pry the pegs apart one at a time, working your way around the case.
-
-
-
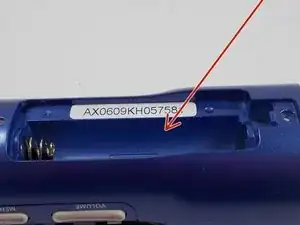
The battery contact springs may prevent the case from separating.
-
Push the battery contact springs down through the hole in the case.
-
-
-
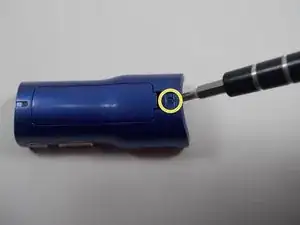
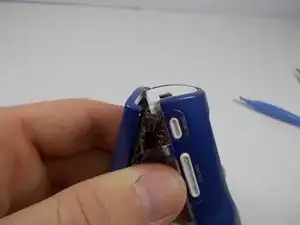
The casing protecting the USB and headphone jacks must be removed.
-
Locate and gently pry apart the two interlocking clips holding it in place.
-
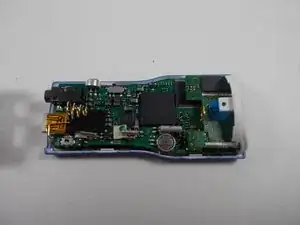
The outer casings may now be removed and the MP3 player should separate.
-
-
-
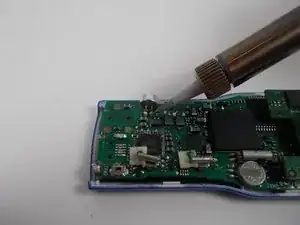
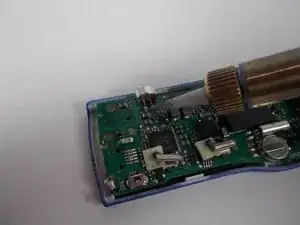
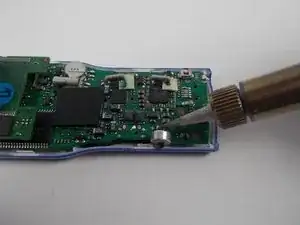
When not in use, be sure to always elevate the hot end of the soldering iron on a metal stand to prevent incidental burns.
-
-
-
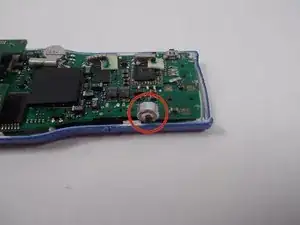
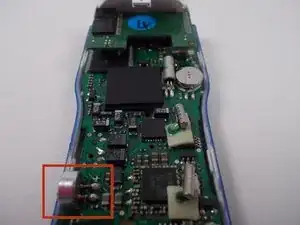
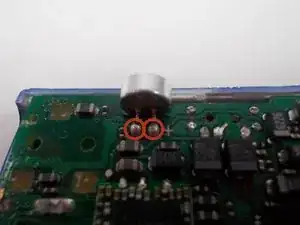
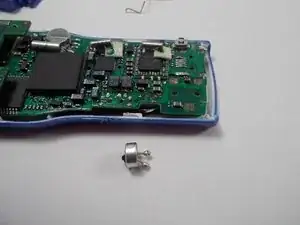
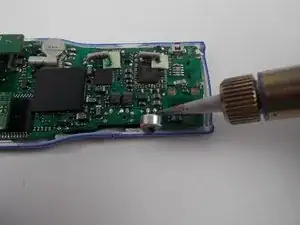
With the new microphone in place, use the soldering iron and solder to create a stable connection between the motherboard and microphone.
-
Give the new solder time to cool and harden.
-


To reassemble your device, follow these instructions in reverse order.