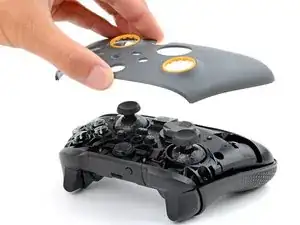
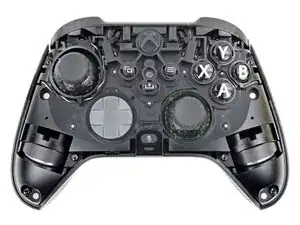
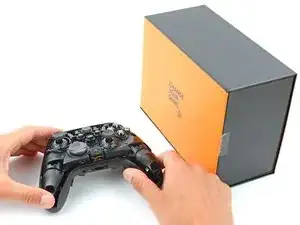
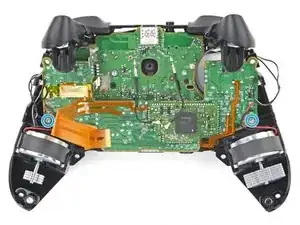
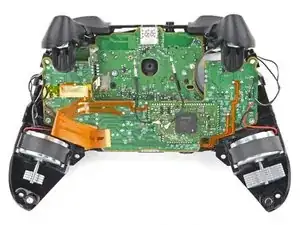
Introduction
Follow this guide to replace, change, or upgrade the buttons in your Scuf Instinct Pro Xbox controller.
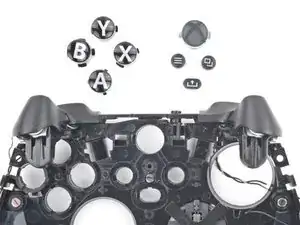
This guide shows how to replace three sets of buttons:
- A, B, X, and Y
- Xbox, view, share, and menu
- D-Pad button and components
-
-
Unplug all cables from your controller before starting.
-
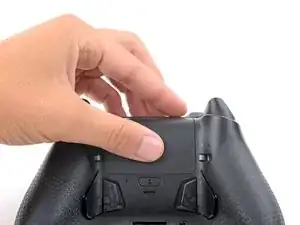
Completely power off your controller.
-
-
-
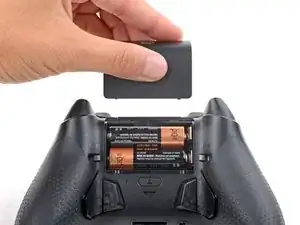
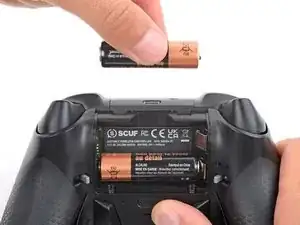
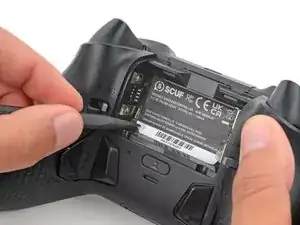
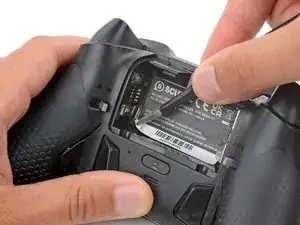
The sticker in the battery recess hides a back cover screw.
-
If you don't care about damaging the sticker, you can puncture through the center and skip the next step.
-
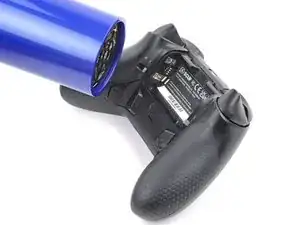
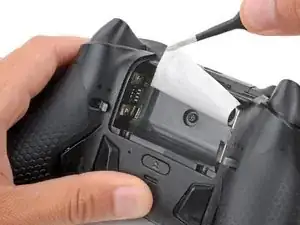
Use a hair dryer to heat the sticker and soften the adhesive securing it.
-
-
-
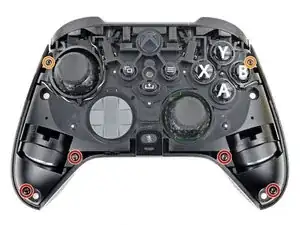
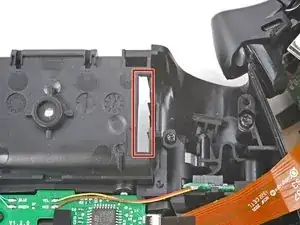
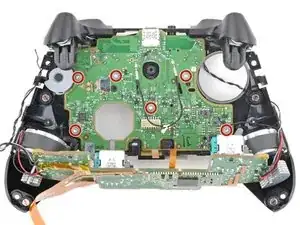
Use a T8 Torx screwdriver to remove five 9.3 mm‑long screws securing the midframe:
-
One back cover screw
-
Four screws on top of the midframe
-
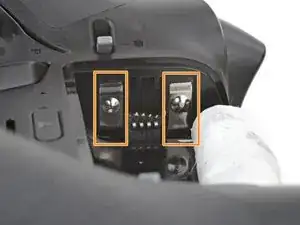
Use a T6 Torx screwdriver to remove the two 9.3 mm‑long screws securing the midframe.
-
-
-
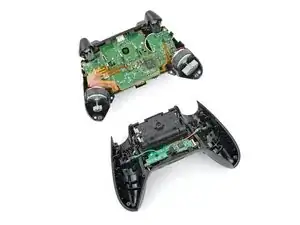
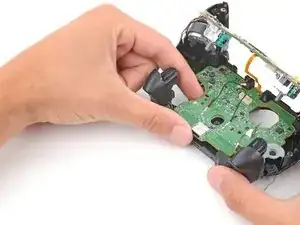
Insert the flat end of a spudger between the bottom edge of the midframe and back cover.
-
Pry the midframe up with the spudger to release the clips.
-
Continue prying along the bottom edge to release the remaining clips.
-
-
-
Put a box or a stack of books to the right of the controller so you can prop up the midframe while disconnecting its ribbon cable.
-
Secure the back cover with one hand, and use your other hand to grip the midframe's left edge.
-
Lift the midframe and rotate it over the right edge of the back cover, so the midframe's right edge is on your workspace.
-
Prop the midframe up, being careful not to strain the ribbon cable.
-
-
-
Guide the battery connectors on the midframe through their slot in the back cover.
-
Make sure the contacts slide into their grooves in the battery recess. If they aren't in the correct spot, the controller won't receive power.
-
-
-
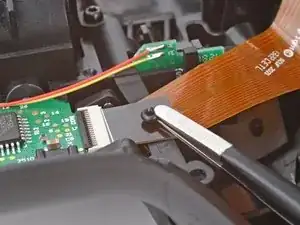
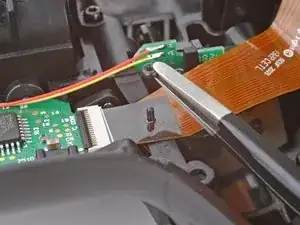
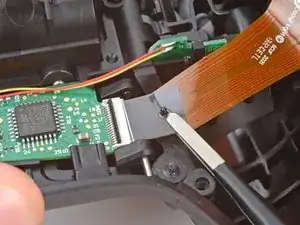
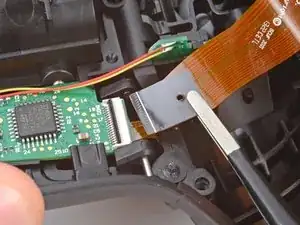
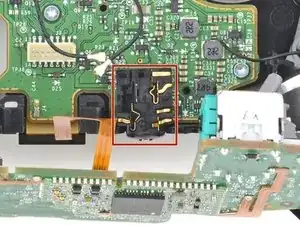
Use the flat end of a spudger or a clean fingernail to lift the hinged locking flap on the midframe cable ZIF connector.
-
-
-
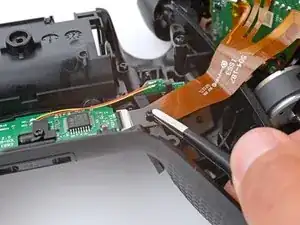
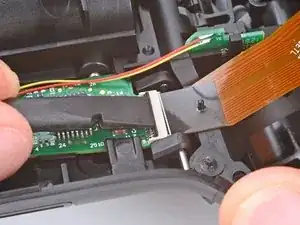
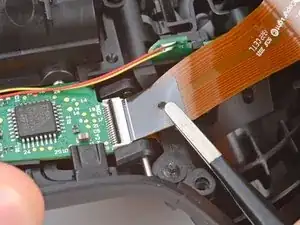
Use blunt nose tweezers to grip the black pull tab on the midframe cable.
-
Lift the midframe cable off its post and pull it straight out of its socket.
-
-
-
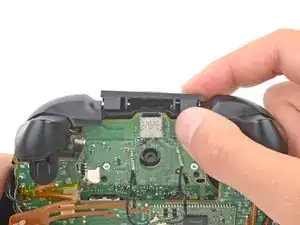
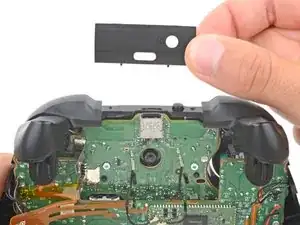
Rotate the underside of the USB‑C port cover up and away from the controller to release the bottom clips.
-
Unhook the plastic arms and remove the cover.
-
Hook the ends of the USB‑C cover's arms into their slots on either side of the Xbox button.
-
Rotate the cover downward until the bottom clips engage and the cover is flush with the bumpers.
-
-
-
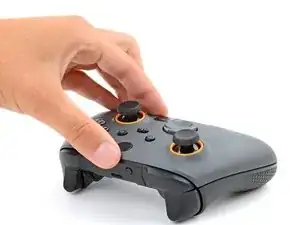
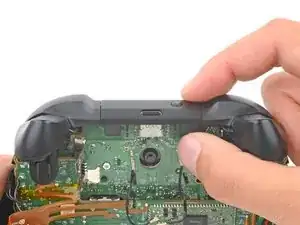
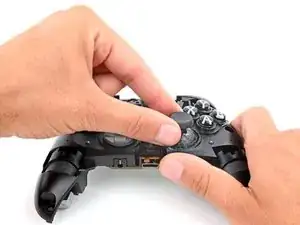
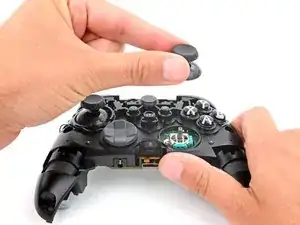
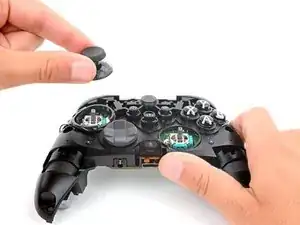
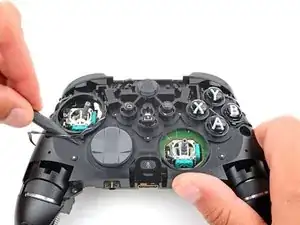
Firmly secure the controller with one hand, and use your other hand to lift the thumbstick covers straight off their modules.
-
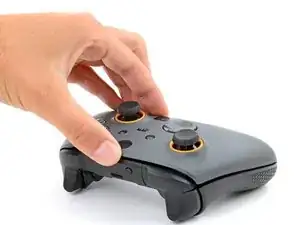
Place and rotate the cover on its module until it slides into place.
-
Firmly press down on the cover until it snaps into place or bottoms out.
-
-
-
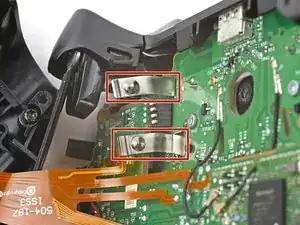
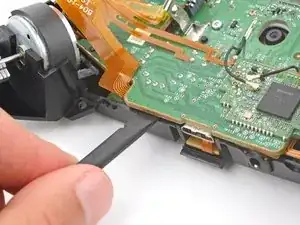
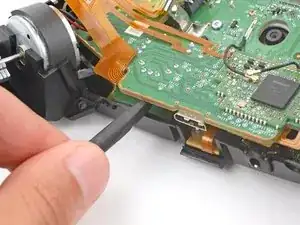
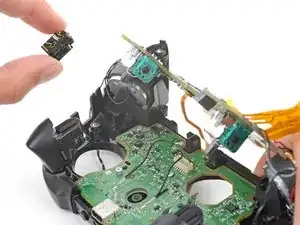
Use the point of a spudger to guide the trigger rumble motor wires out of their clips on the midframe.
-
-
-
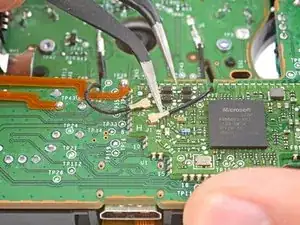
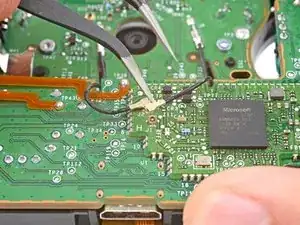
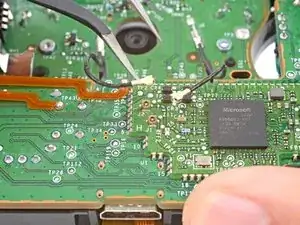
Flip your controller over.
-
Insert an arm of your angled tweezers under the metal neck of one of the coaxial connectors and lift straight up to disconnect it from the thumbstick board.
-
Disconnect the other connector.
-
-
-
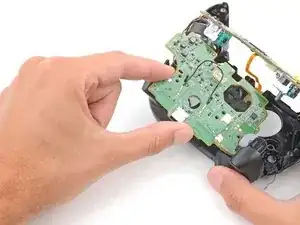
The thumbstick and charging boards are connected with a socket.
-
Insert the flat end of a spudger between the bottom edge of the thumbstick board and midframe.
-
Twist the spudger to separate the boards.
-
-
-
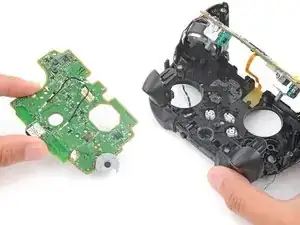
Gently lift the thumbstick board and reposition it over the bottom of the midframe so the board is standing upright.
-
Use the alignment posts to orient the board.
-
When lowering the board into place, make sure the black antenna cables don't get stuck under the board.
-
-
-
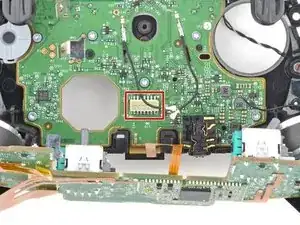
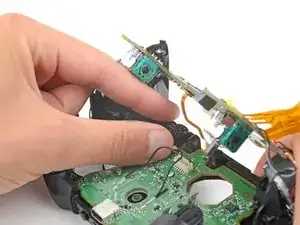
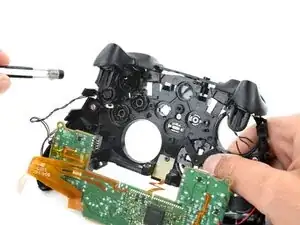
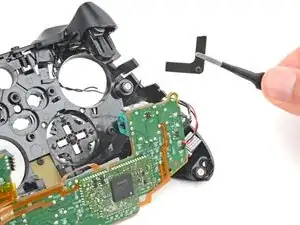
Remove the headset jack from the bottom right corner of the charging board.
-
Make sure the headset jack is properly oriented, with the socket on the bottom edge of the charging board and the gold contacts facing up.
-
-
-
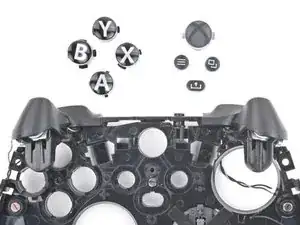
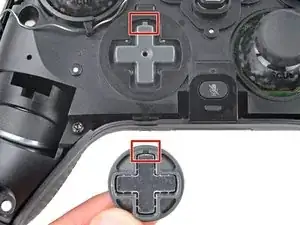
Lift the D-Pad button cover straight up to remove it.
-
Use the alignment cutout on the bottom of the cover to orient it.
-
-
-
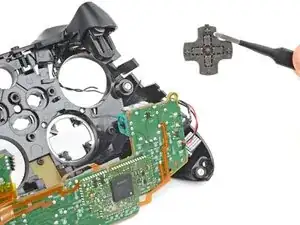
Use blunt nose tweezers to remove the plastic securing bracket, D‑Pad button, and metal washer.
-
Make sure the washer's arms are angled upward before putting it in its recess.
-
Use the alignment tabs to orient the washer and D-Pad button.
-


To reassemble your device, follow these instructions in reverse order.
Take your e-waste to an R2 or e-Stewards certified recycler.
Repair didn’t go as planned? Try some basic troubleshooting, or ask our Answers community for help.