Introduction
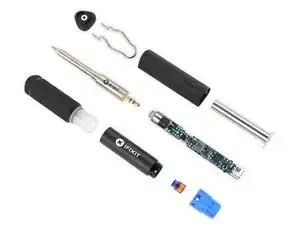
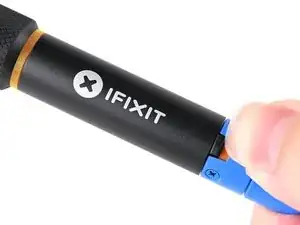
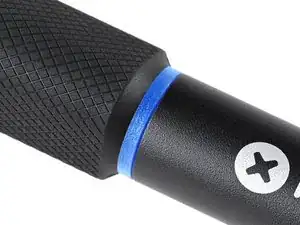
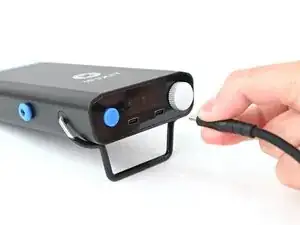
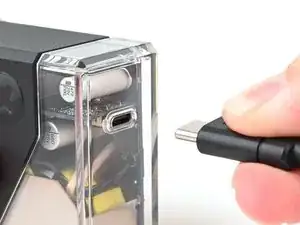
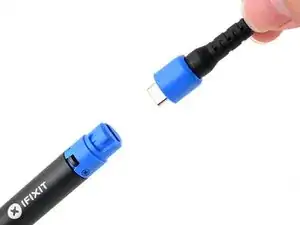
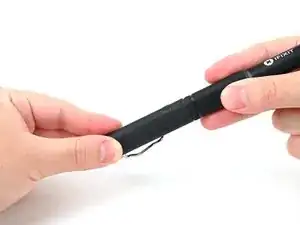
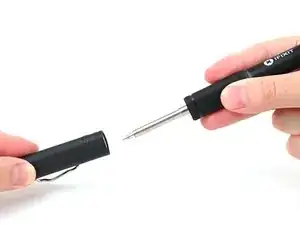
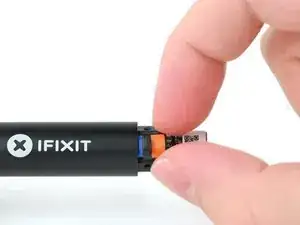
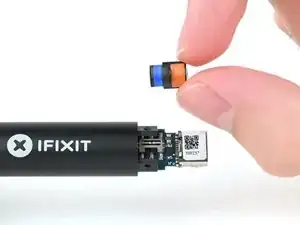
Follow this guide to fully disassemble your FixHub Smart Soldering Iron.
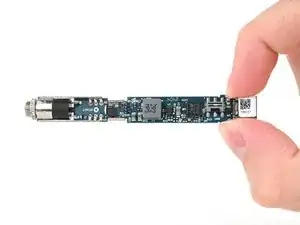
For an even closer look, check out the electrical schematics here.
Tools
-
-
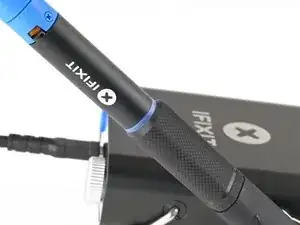
Blue LED: The iron has cooled below 40 °C (100 °F), and the tip is safe to touch.
-
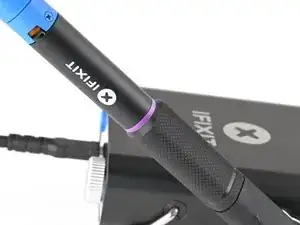
Purple LED: When pulsing, the iron is actively heating up or cooling down. When static, the iron is in Idle Mode. The iron tip is not safe to touch.
-
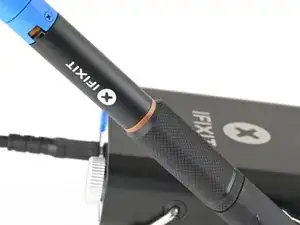
Orange LED: The iron has reached the set temperature and is ready to solder. The iron tip is not safe to touch.
-
-
-
Orange: ON
-
Blue: OFF
-
Slide the power switch to the blue OFF position.
-
Leave the soldering iron connected until the indicator ring turns blue, indicating it's now safe to touch the soldering iron tip.
-
-
-
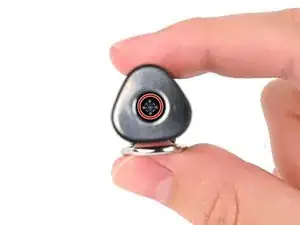
Use a Phillips screwdriver to remove the 8.0 mm‑long screw at the bottom of the opening of the soldering iron cap that secures the cap tip and clip spring to the cap.
-
-
-
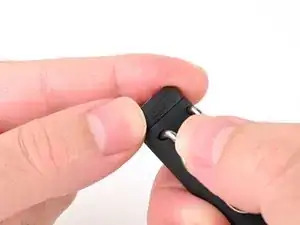
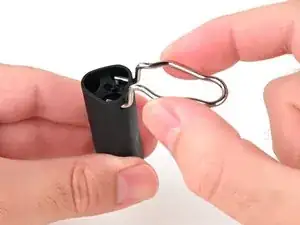
Pull up from the bottom of the cap spring clip.
-
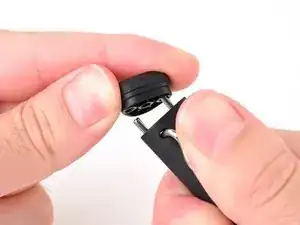
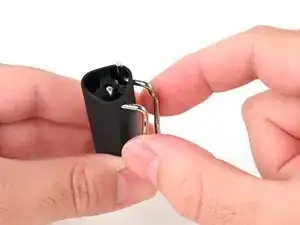
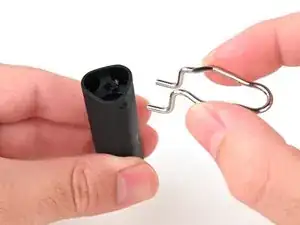
Pull the ends of the spring clip straight out through the holes in the cap to remove it.
-
-
-
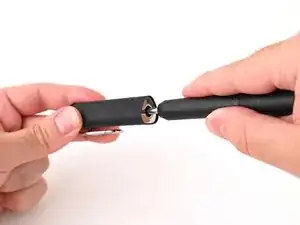
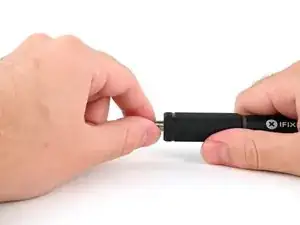
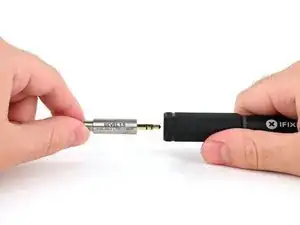
Firmly grasp the base of the tip and pull it away from the front of the iron handle to remove it.
-
-
-
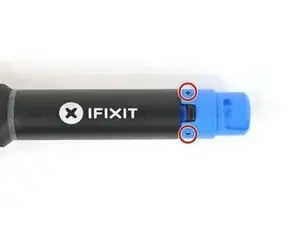
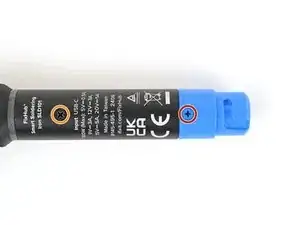
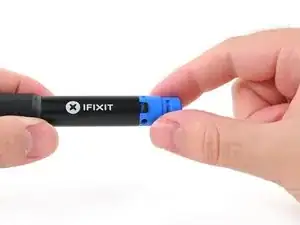
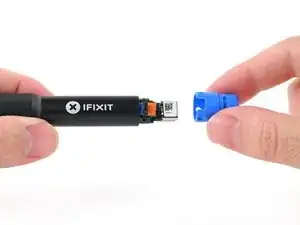
Use a Phillips screwdriver to remove the three blue 3.4 mm‑long screws securing the blue end cap.
-
Use a Phillips screwdriver to remove the one black 3.4 mm‑long screw at the base of the enclosure.
-
-
-
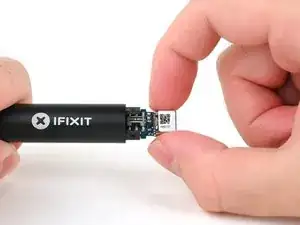
Grasp the end of the main board that sticks out from inside of the soldering iron handle.
-
Pull to slide the main board out of the handle.
-
-
-
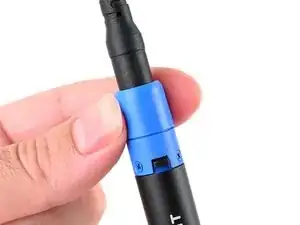
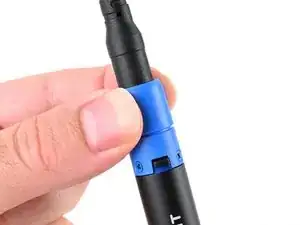
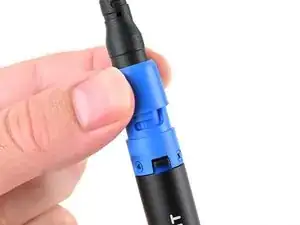
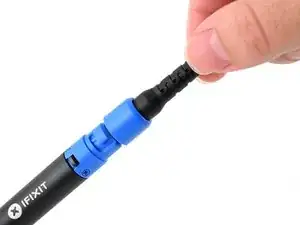
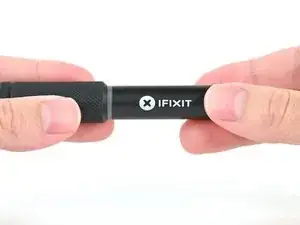
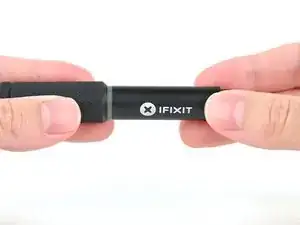
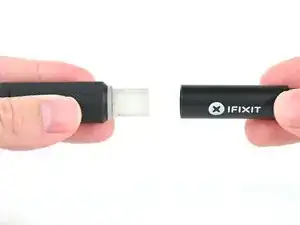
Twist the iron enclosure below the grip and pull to separate the grip from the enclosure. Just the grip remains.
-
To reassemble your Smart Soldering Iron, follow these instructions in reverse order.
Repair didn't go as planned? Try some basic troubleshooting, or ask our Answers community for help.
