Introduction
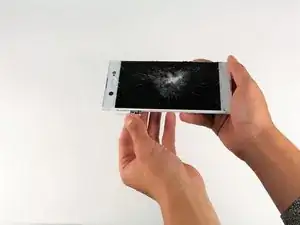
This guide will show you how to replace the LCD display touchscreen digitizer for your Sony Xperia XA1 Ultra if the display is cracked or unresponsive. A heat gun or hairdryer is needed to open the back panel, which can become hot and potentially damage the phone. In addition, a T5 screwdriver is needed to remove screws, while tweezers and a spudger are needed to remove different components of the phone.
-
-
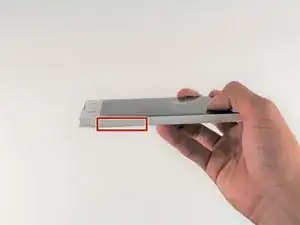
Wedge your finger under the bottom ridge of the SD card insert.
-
Pull outwards with your fingers to remove the SD card from the left side of device.
-
-
-
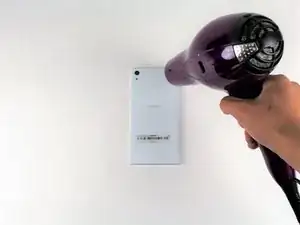
Use a hair dryer to heat each corner of the phone.
-
Alternate heating each corner for a minute to loosen the adhesive binding the back cover to the phone.
-
-
-
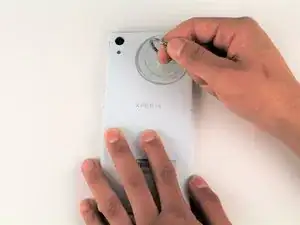
Press a suction cup on a heated corner of the device.
-
Hold the phone down and gently lift the suction cup to create a small gap.
-
-
-
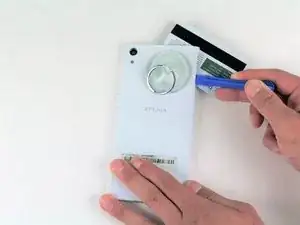
Insert your iFixit Opening Tool in the small gap between your phone and the back cover.
-
Lift up on the iFixit Opening Tool and insert your plastic card in the small gap between your phone and the back cover.
-
-
-
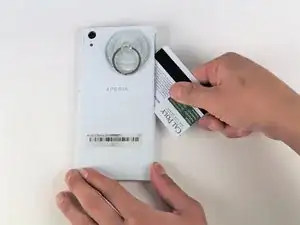
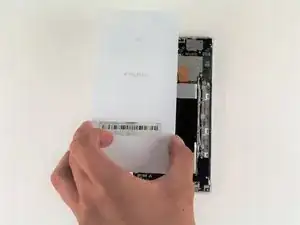
Slide your plastic card along the side of your phone to loosen the adhesive.
-
Move the card along the sides of the phone to lift all of the corners.
-
-
-
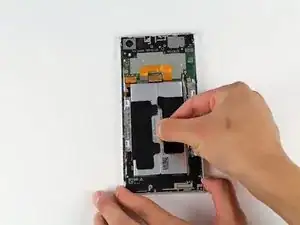
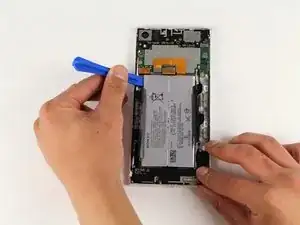
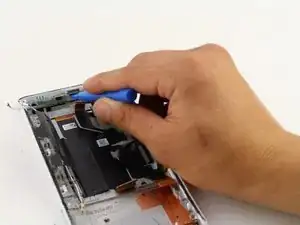
Use the iFixit Opening Tool to remove the flexible orange strip which connects the battery to the motherboard.
-
-
-
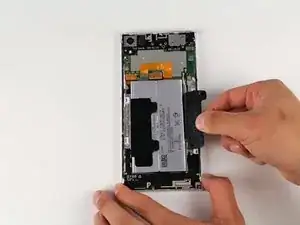
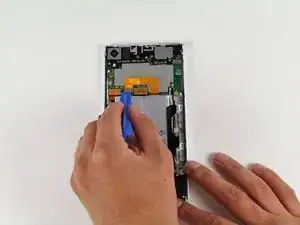
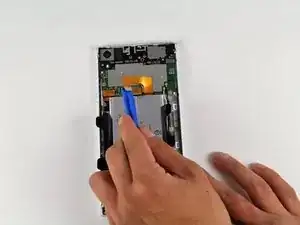
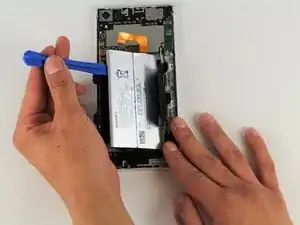
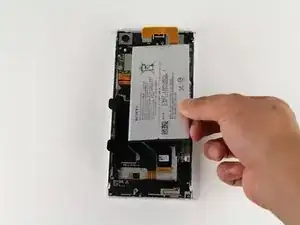
Wedge the iFixit Opening Tool underneath the battery.
-
Remove the battery by pulling up on the iFixit Opening Tool.
-
-
-
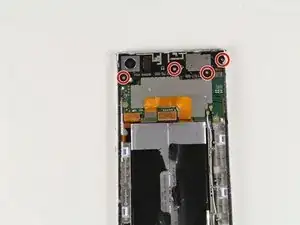
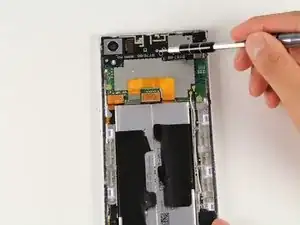
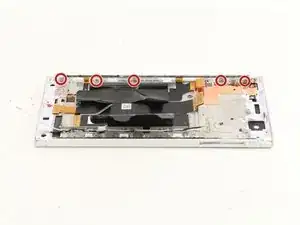
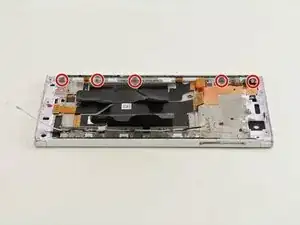
Remove the four 4mm T5 screws on the top of the black panel securing the antenna module to the device.
-
-
-
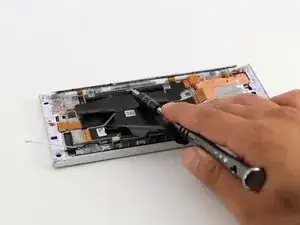
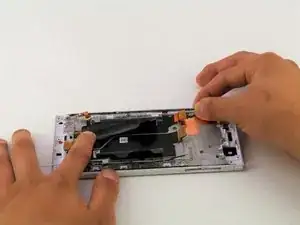
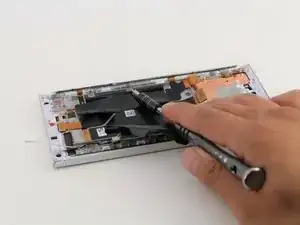
Insert your iFixit Opening Tool underneath the antenna module.
-
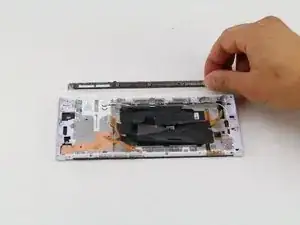
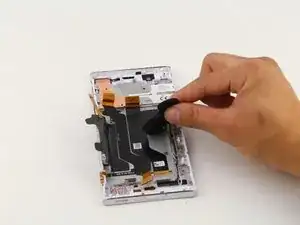
Lift up gently with the iFixit Opening Tool to remove the antenna module.
-
-
-
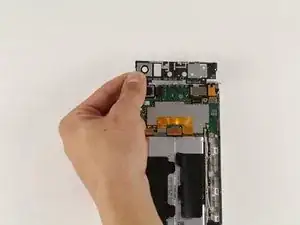
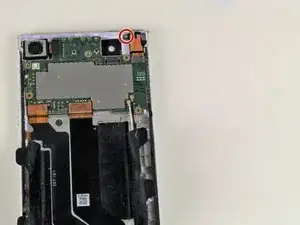
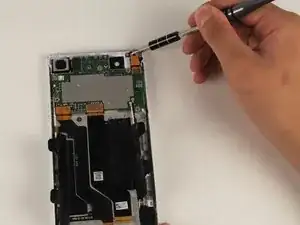
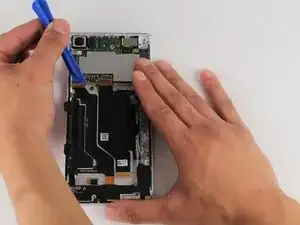
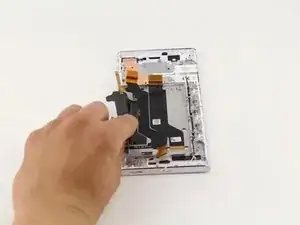
Insert your iFixit Opening Tool underneath the front camera and gently lift up.
-
Remove the front camera by lifting the front camera up with your hands.
-
-
-
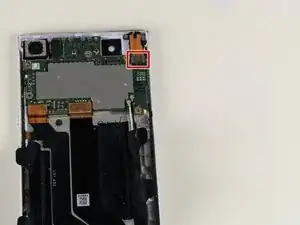
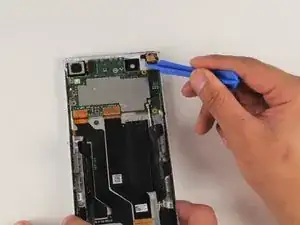
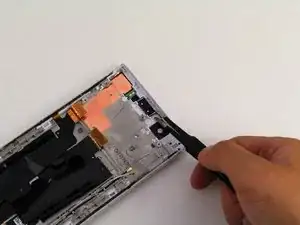
Insert your iFixit Opening Tool between the back camera and the motherboard and gently lift up.
-
Lift up with the iFixit Opening Tool until the back camera is removed from the device.
-
-
-
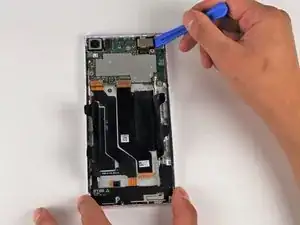
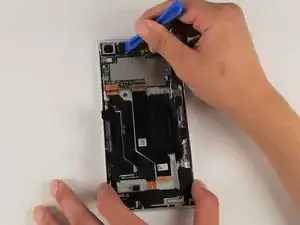
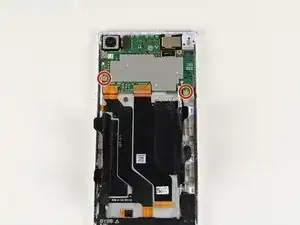
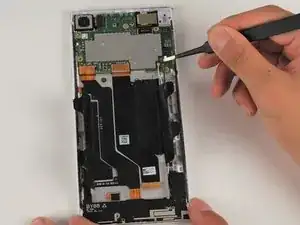
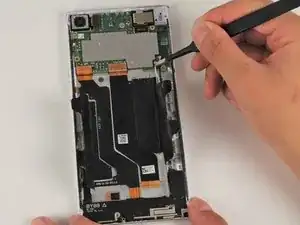
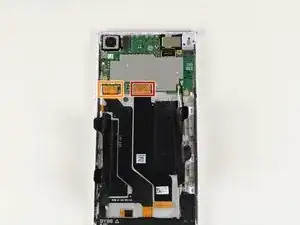
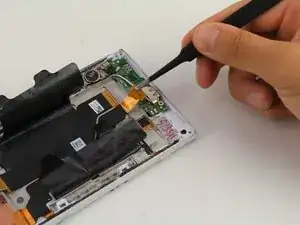
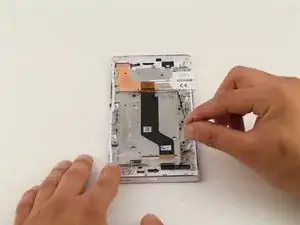
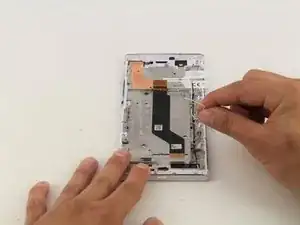
Use your iFixit Opening Tool to remove the main flex (the middle orange tab) from the motherboard.
-
Use your iFixit Opening Tool to remove the power button flex (the left orange tab) from the motherboard.
-
-
-
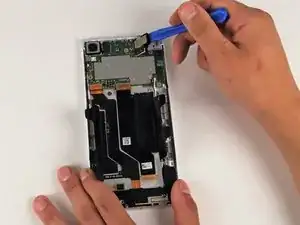
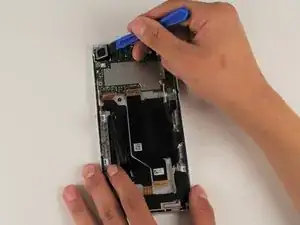
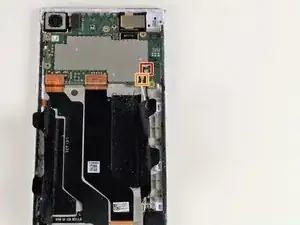
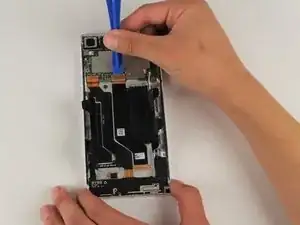
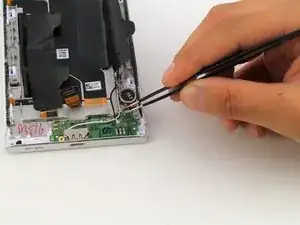
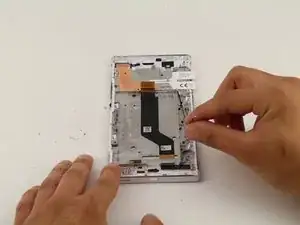
Wedge your iFixit opening tool under the motherboard.
-
Lift up with your iFixit Opening Tool to lift the motherboard from the device.
-
-
-
Wedge your flathead tweezers under the flashlight module.
-
Lift up with your flat head tweezers to remove the flashlight module from your device.
-
-
-
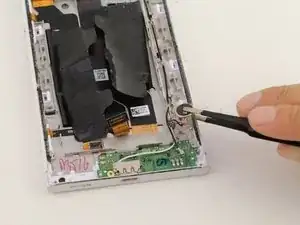
Grab the power flex from the charging port PCB board with your flathead tweezers.
-
Lift up with your flathead tweezers to remove the power flex from the charging port PCB board.
-
-
-
Grab the vibration motor connected to the charging port PCB board with your flathead tweezers.
-
Lift up with your flathead tweezers to remove the vibration motor.
-
-
-
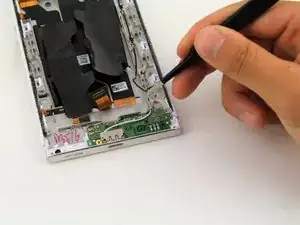
Grab the black wire connected to the charging port PCB board with your flathead tweezers.
-
Pull up on the black wire with your flathead tweezers to disconnect the black wire from the charging port PCB board.
-
-
-
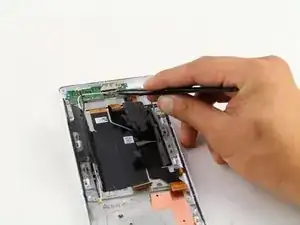
Grab the white wire connected to the charging port PCB board using your flathead tweezers.
-
Pull up on the white wire with your flathead tweezers to disconnect the white wire from the charging port PCB board.
-
-
-
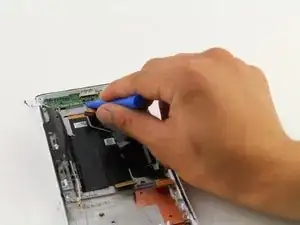
Wedge your iFixit Opening Tool under the charging port PCB board.
-
Pull up with your iFixit Opening Tool to remove the charging port PCB board.
-
-
-
Use your hands to grab the side panel of the device.
-
Pull your hands away from the device to remove the side panel.
-
-
-
Remove the SD card side panel from the device by grabbing the SD card side panel with your hands and sliding the SD card side panel away from the device.
-
-
-
Grab the two pieces of black tape holding down the battery with your hands.
-
Lift up with your hands to remove the two black pieces of tape that hold down the battery.
-


To reassemble your device, follow these instructions in reverse order.
2 comments
Thanks for the help! Any chance you know where to get the side panels/bars? searched everywhere and cant find them
Any chance one can replace the outta glass only? touch feature still works :(
How do you remove it? (Seems obvious but write for any audience, and say how to do things instead of just what to do)
Kyle Ladtkow -