Introduction
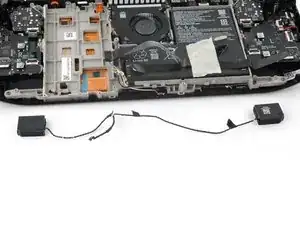
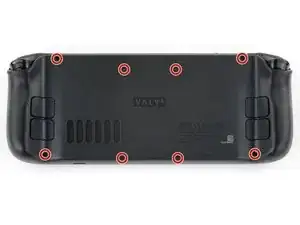
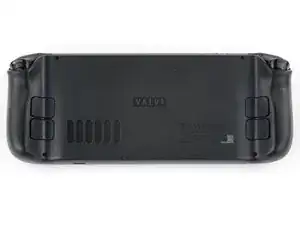
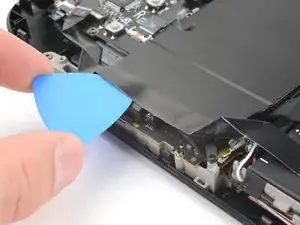
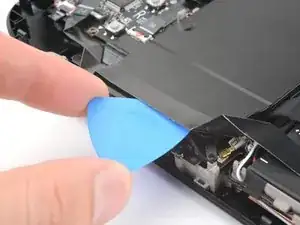
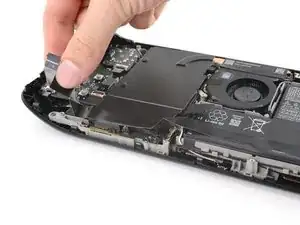
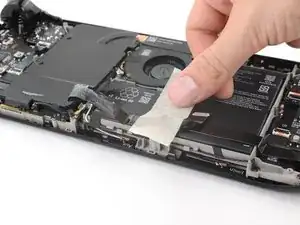
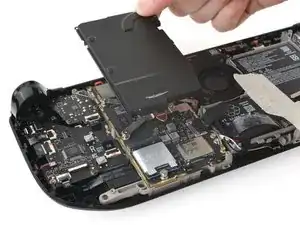
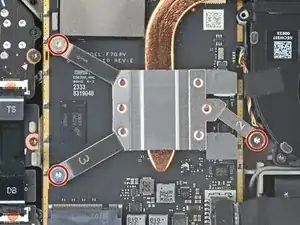
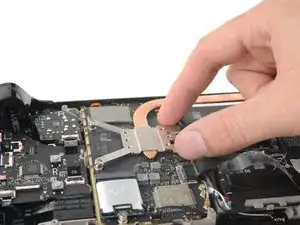
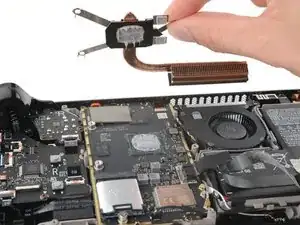
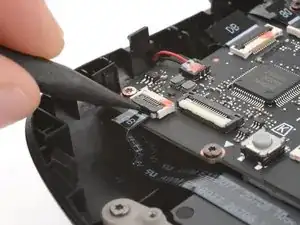
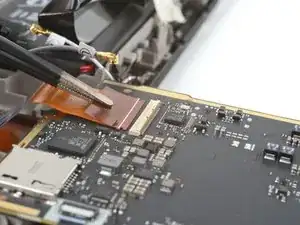
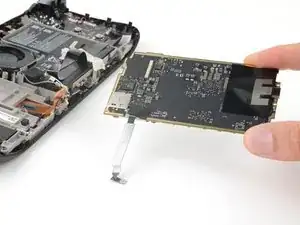
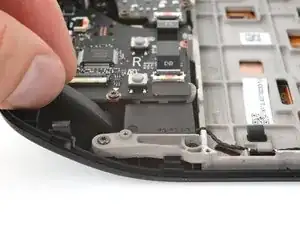
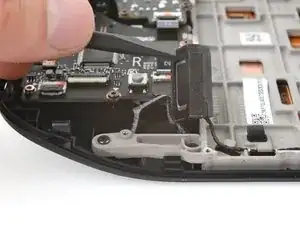
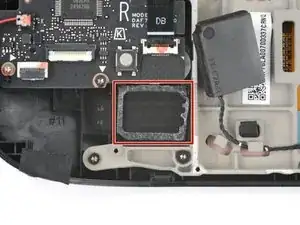
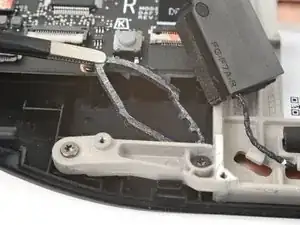
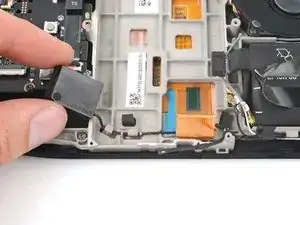
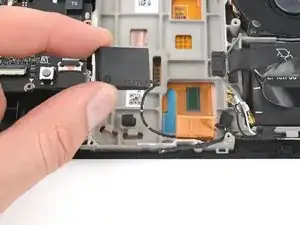
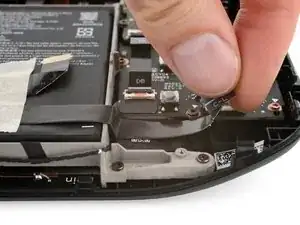
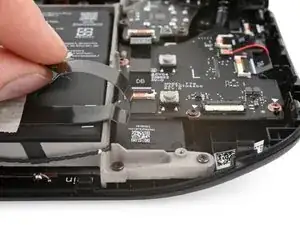
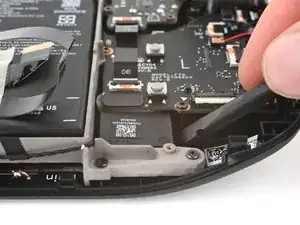
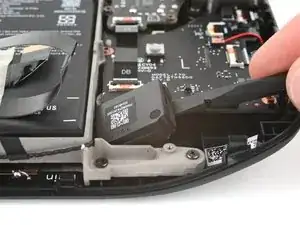
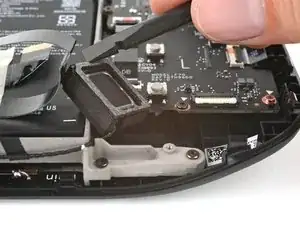
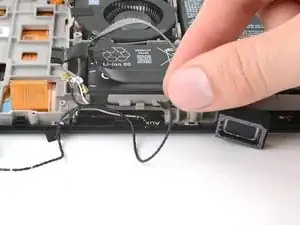
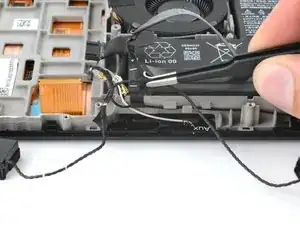
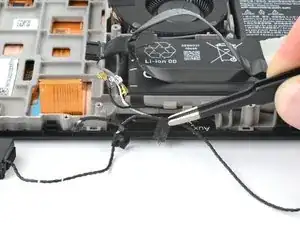
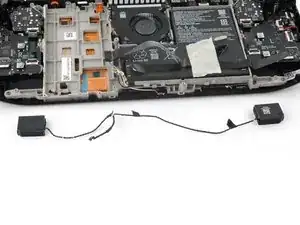
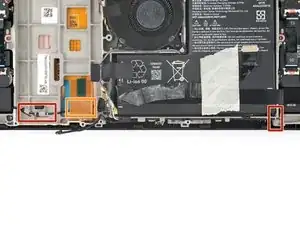
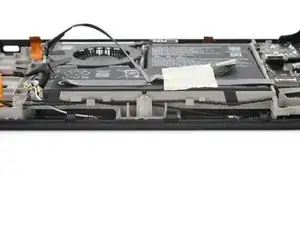
Use this guide to replace the speakers in your Steam Deck OLED.
The left and right speakers are tethered into a single cable, so they need to be replaced as a pair.
Remember to follow general electrostatic discharge (ESD) safety procedures while repairing your device.
You'll need replacement thermal paste and speaker adhesives to complete this repair.
Tools
Parts
-
-
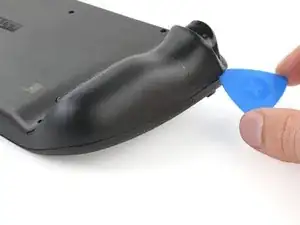
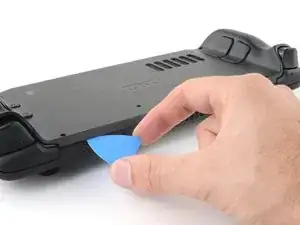
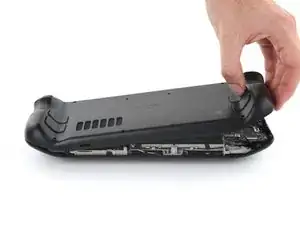
Insert an opening pick at an upward angle between the back cover and the front shell near one of the triggers.
-
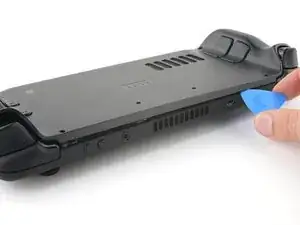
Slide your pick along the edge of the handle to release the clips securing it to the front shell.
-
-
-
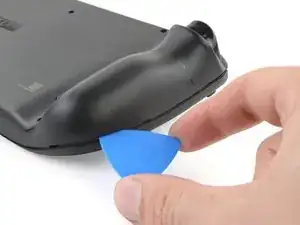
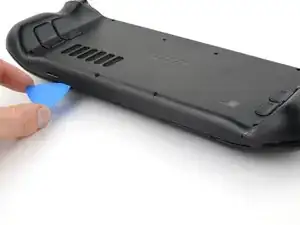
Reinsert your pick and slide it along the top and bottom edges until the back cover feels loose.
-
-
-
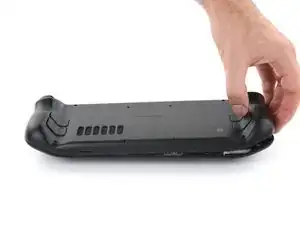
Grip the unclipped handle and pull it away from the front shell to release the remaining clips.
-
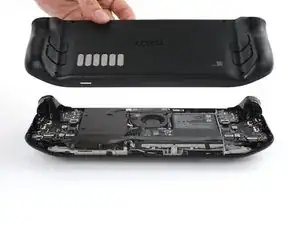
Remove the back cover.
-
-
-
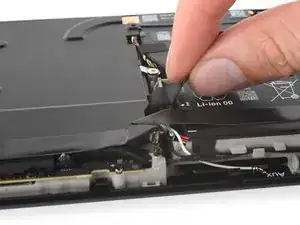
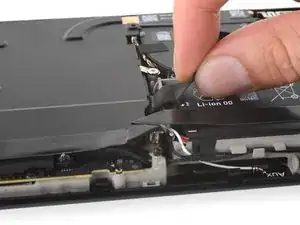
Grip the battery cable pull tab, located to the left of the battery.
-
Firmly pull the battery cable straight away from the motherboard shield (toward the battery) to disconnect it.
-
-
-
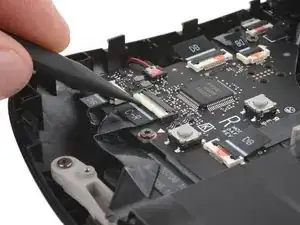
Use a spudger to flip up the small white locking flap on the right button board interconnect cable ZIF connector.
-
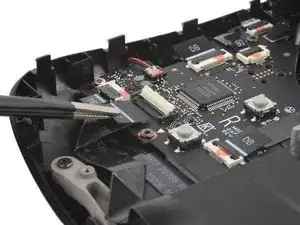
Use tweezers or your fingers to grip the cable's pull tab and slide it straight out of its socket to disconnect it.
-
-
-
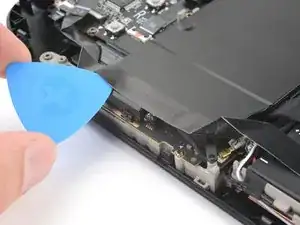
Insert an opening pick between the interconnect cable and the motherboard shield.
-
Slide your pick along the shield to separate the cable.
-
-
-
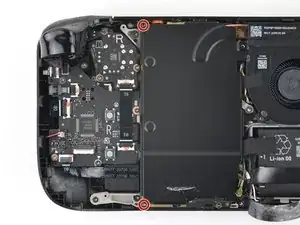
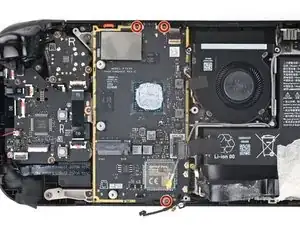
Use your T6 Torx driver to remove the two 3.8 mm‑long screws securing the top left and bottom left corners of the motherboard shield.
-
-
-
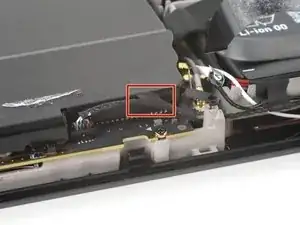
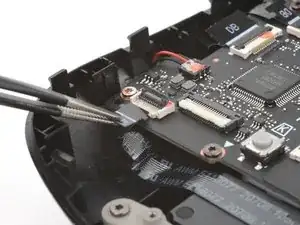
If the speaker cable is taped to the bottom edge of the motherboard shield, gently peel it off.
-
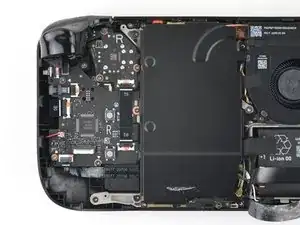
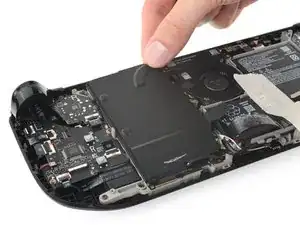
Remove the motherboard shield.
-
-
-
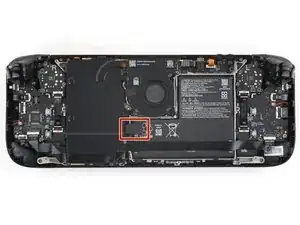
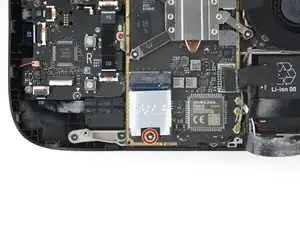
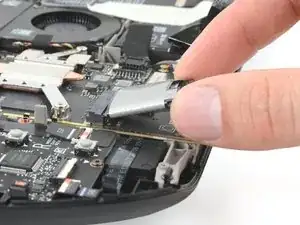
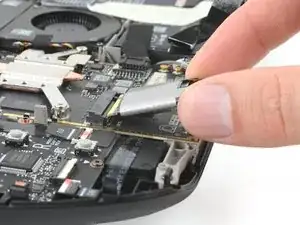
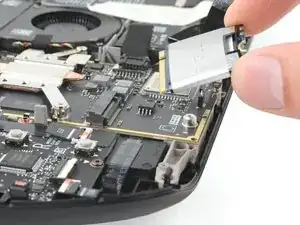
Grip the end of the SSD and pull it away from its M.2 board connector to remove it.
-
Remove the SSD.
-
-
-
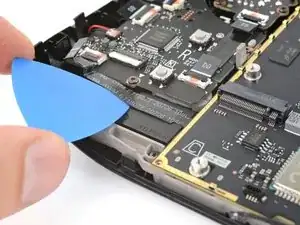
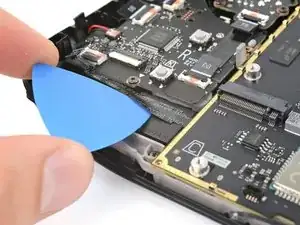
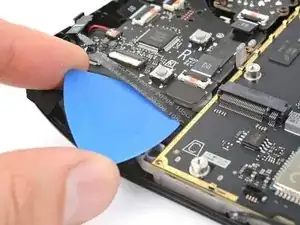
Slide an opening pick between the left side of the cable and the speaker.
-
Slide your pick toward the motherboard to separate the adhesive securing the cable.
-
-
-
Use blunt nose tweezers to grip the edges of the fan connector and walk it side-to-side out of its socket to disconnect it.
-
-
-
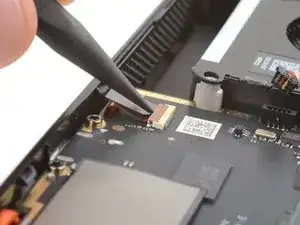
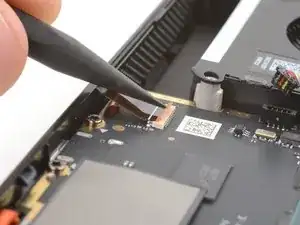
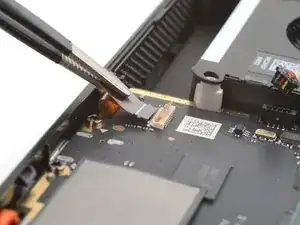
Use the point of your spudger to flip up the small locking flap on the audio board ZIF connector in the upper right corner of the motherboard.
-
Use tweezers or your fingers to grip the cable's pull tab and pull it straight out of its socket to disconnect it.
-
-
-
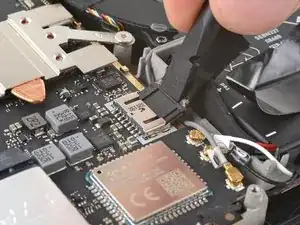
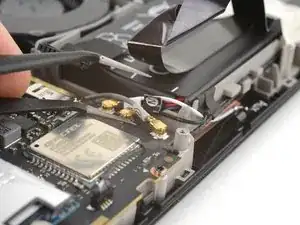
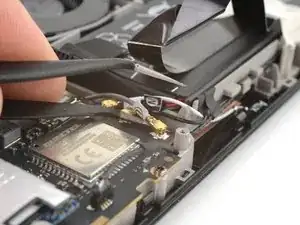
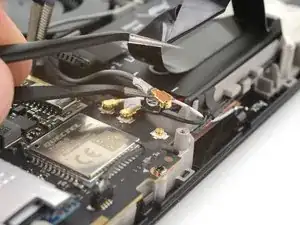
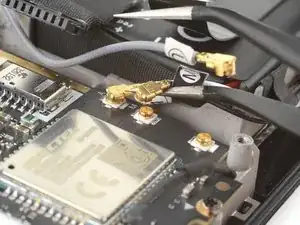
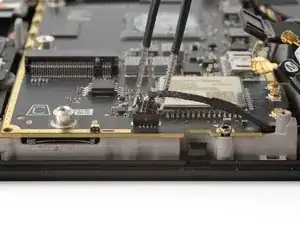
Slide one arm of angled tweezers under the metal neck of the gray antenna cable connector in the bottom right corner of the motherboard.
-
Gently lift the connector to disconnect it.
-
-
-
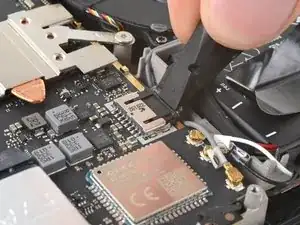
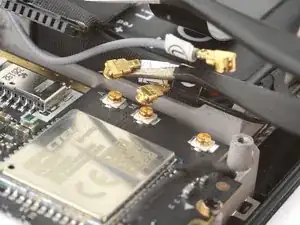
Repeat the previous step to disconnect the white and black antenna cable connectors.
-
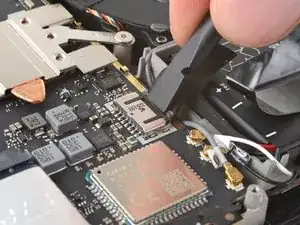
Hold each connector in place over its socket and press down with the flat end of your spudger until the connector snaps into place.
-
-
-
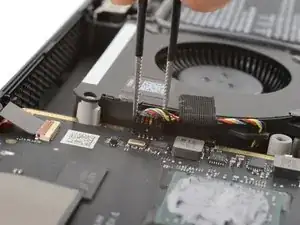
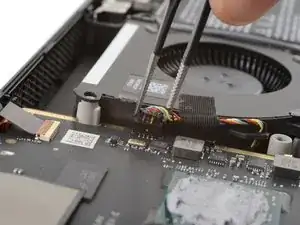
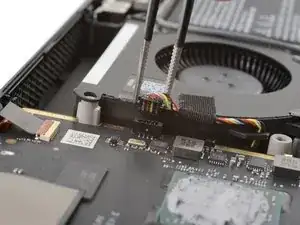
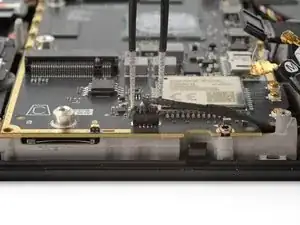
Use blunt nose tweezers to grip the edges of the speakers connector and walk it side-to-side out of its socket to disconnect it.
-
-
-
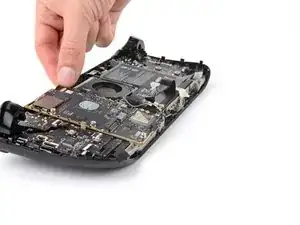
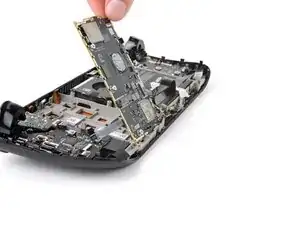
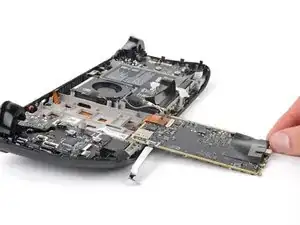
Lift the top edge of the motherboard and flip it over the bottom edge of the frame to access the screen cable underneath.
-
-
-
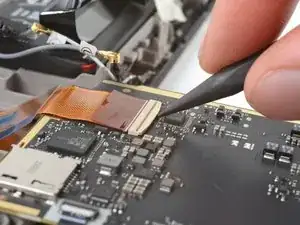
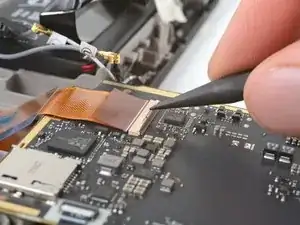
Use the point of your spudger to flip up the locking flap on the outside edge of the screen ZIF connector.
-
Use tweezers or your fingers to grip the screen cable pull tab and slide the cable straight out of its socket to disconnect it.
-
-
-
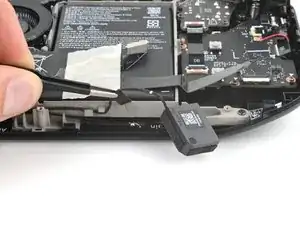
Insert the flat end of your spudger between the right speaker and the frame.
-
Slowly pry up the speaker to separate the adhesive securing it.
-
-
-
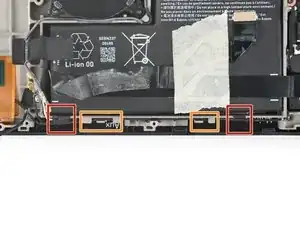
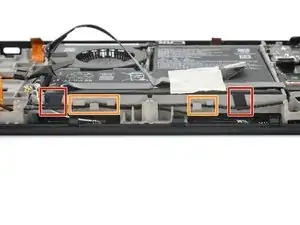
Grab the right speaker and unhook its cable from the two retaining tabs in the midframe.
-
Peel the cable and its tape from the midframe, just to the left of the battery.
-
-
-
As you remove the left speaker in the next three steps, hold the interconnect cable out of the way as necessary.
-
-
-
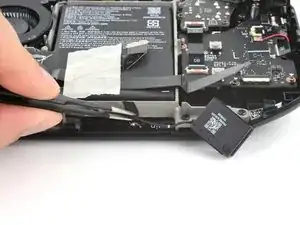
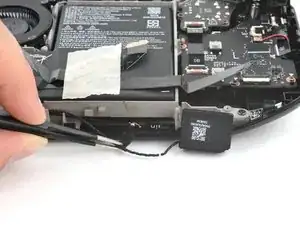
Insert the flat end of your spudger between the left speaker and the frame.
-
Slowly pry up the speaker to separate the adhesive securing it.
-
-
-
Use your fingers to unhook the middle of the speakers cable from the retaining tabs along the midframe.
-
-
-
Remove the speakers.
-
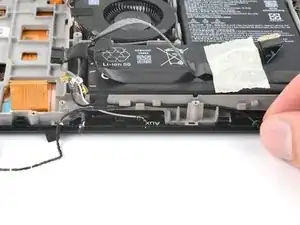
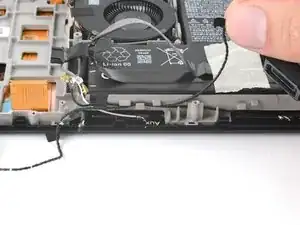
Use the white lines on the cable near the speakers as markers to align the length of the cable with the notches in the frame.
-
Route the left side of the cable underneath the screen cable.
-
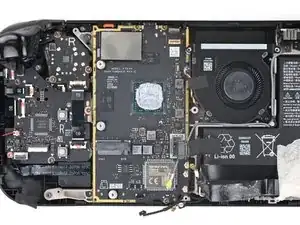
Use the third photo as a reference to route the cables through the retaining tabs and notches in the midframe.
-
To reassemble your device, follow these instructions in reverse order.
Take your e-waste to an R2 or e-Stewards certified recycler.
Repair didn’t go as planned? Try some basic troubleshooting, or ask our Steam Deck OLED answers community for help.
