Introduction
This guide will include a walkthrough of how to change the screen of your tablet. It will include step by step process with notes on tools and materials needed.
-
-
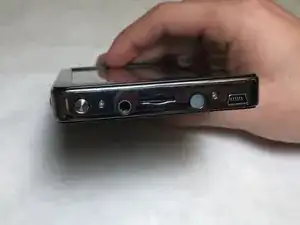
Hold the device so the left side is facing towards you (like in the picture shown) so the two 4mm PH001 screws are exposed and easier to access.
-
-
-
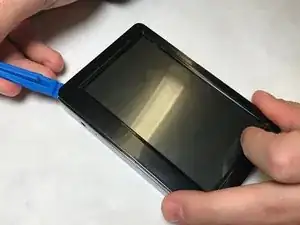
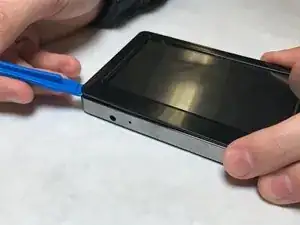
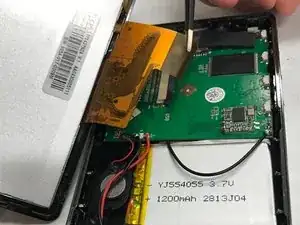
Carefully pry up one of the top corners of the screen with a plastic spudger (prying tool). Slide the tool along the edges to release it from the housing.
-
The screen is still connected to the motherboard. Use force with caution.
-
-
-
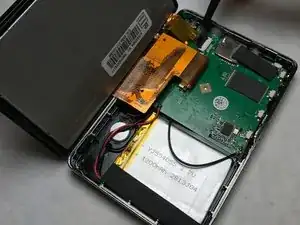
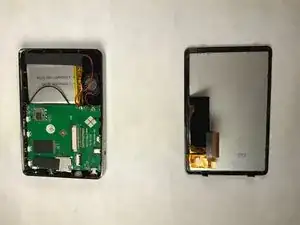
Gently turn screen over, to the side, to reveal the ZIF connector attached to the motherboard.
-
-
-
Using the prying tool, slide the black clip out. Pull the ZIF connector out and to the left, the screen is now detached from the motherboard.
-


To reassemble your device, follow these instructions in reverse order.