Introduction
This guide provides step by step instructions on how to replace the internal fan.
-
-
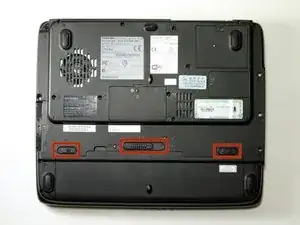
Flip the laptop over so the bottom is facing up.
-
Slide each of the three tabs on the bottom half of the assembly into the unlocked position.
-
-
-
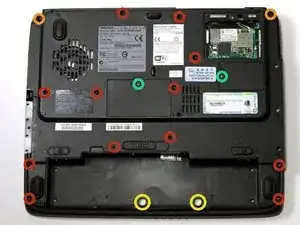
Remove the twelve 8mm button head Phillips #00 B8 screws.
-
Remove the two 14 mm button head Phillips #00 B14 screws.
-
Remove the two 10 mm Phillips #00 battery compartment screws.
-
Remove the two 8 mm Phillips #00 screws.
-
-
-
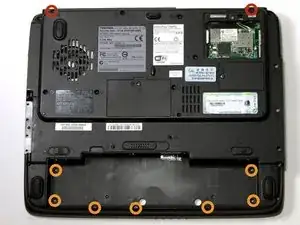
Remove the seven 4mm flat Phillips #00 screws.
-
Remove the seven 20mm button head Phillips #00 screws.
-
-
-
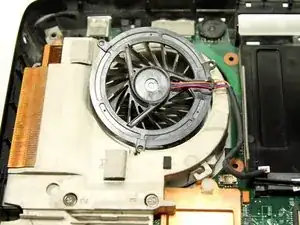
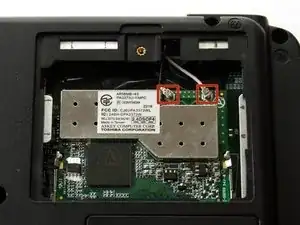
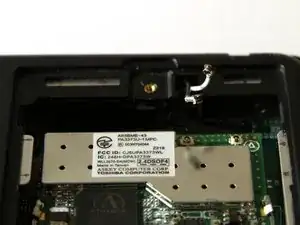
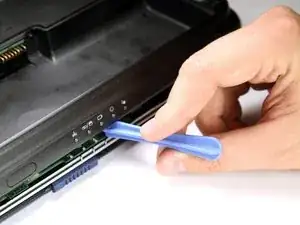
Remove the small plug connecting the fan power cable to the motherboard.
-
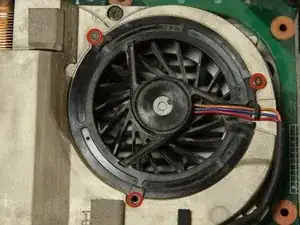
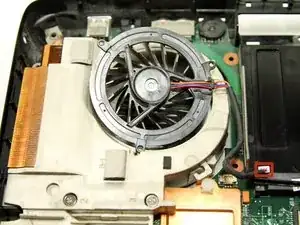
Carefully lift the fan out of the computer.
-

Conclusion
To reassemble your device, follow these instructions in reverse order.