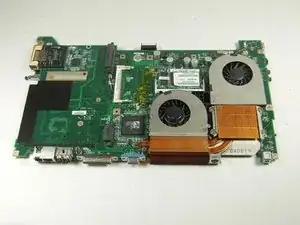
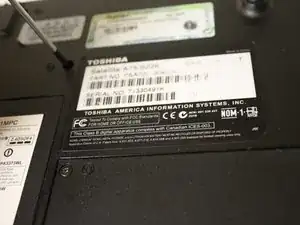
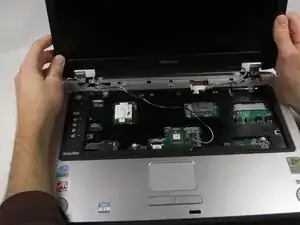
Introduction
-
-
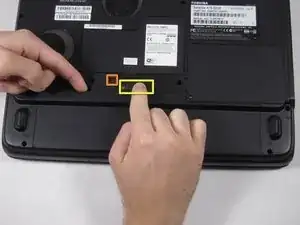
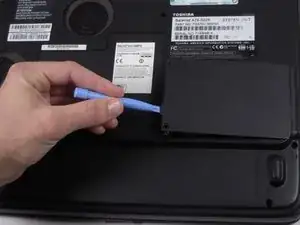
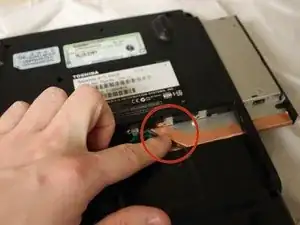
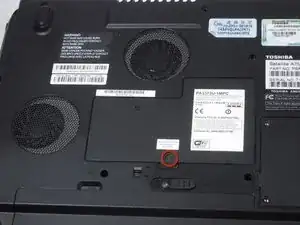
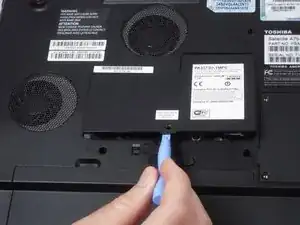
Remove the optical drive cover.
-
A plastic opening tool or a fingernail may be helpful in lifting it from its groove.
-
-
-
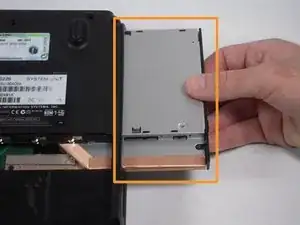
Push the bottom left corner of the CD Drive until the drive protrudes from the case.
-
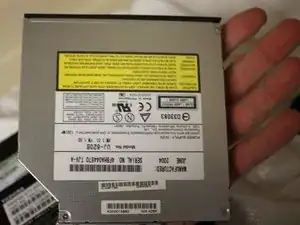
When a good amount of the CD Drive is showing on the right side, gently pull it out completely.
-
-
-
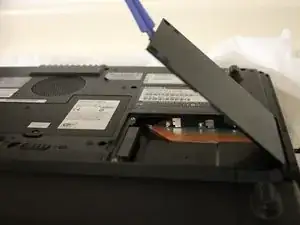
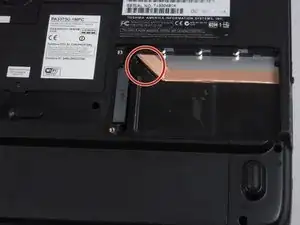
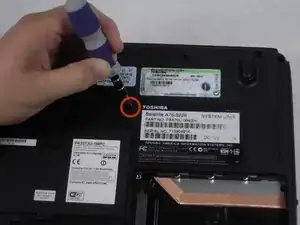
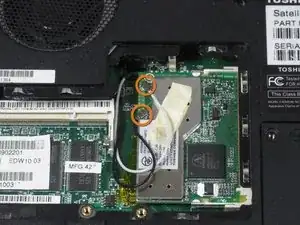
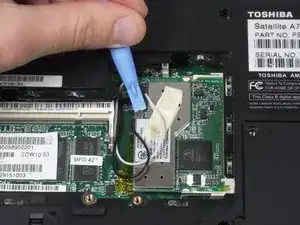
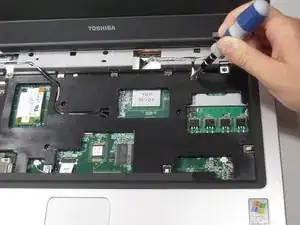
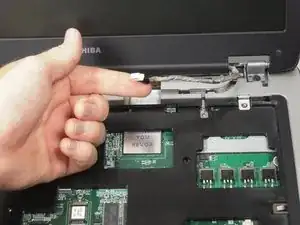
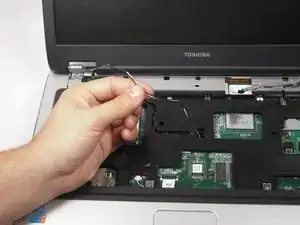
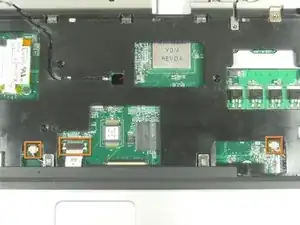
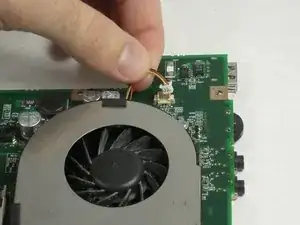
Use a plastic opening tool to disconnect the black and white antenna cable's connectors from the Wi-Fi card.
-
-
-
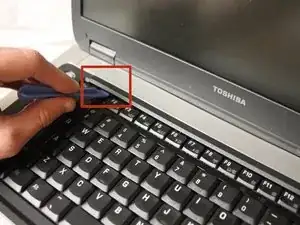
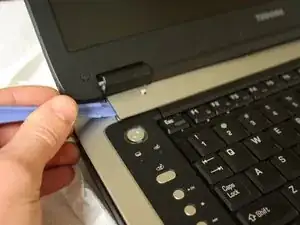
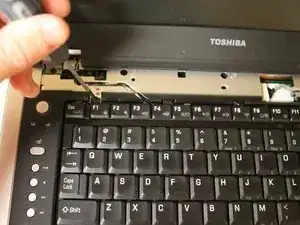
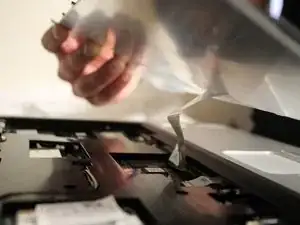
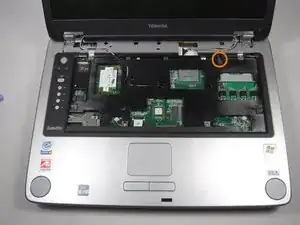
Use the plastic opening tool to lift up the top panel all the way along the keyboard until it loosens.
-
-
-
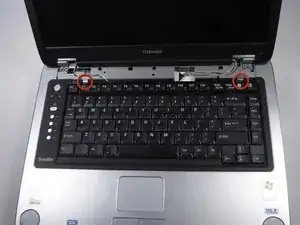
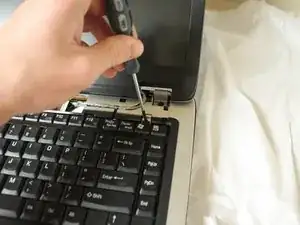
Remove the top panel by popping the panel out the top left socket, then do the same with the right side.
-
-
-
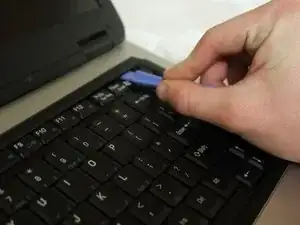
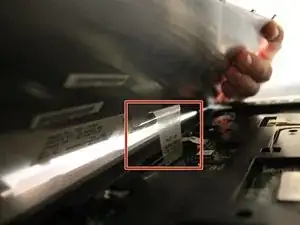
Remove the cable connecting the keyboard with the motherboard.
-
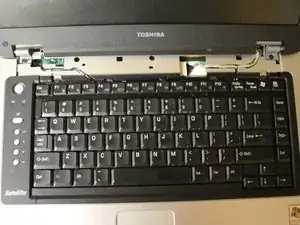
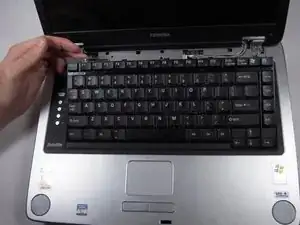
Lift up and remove the keyboard.
-
-
-
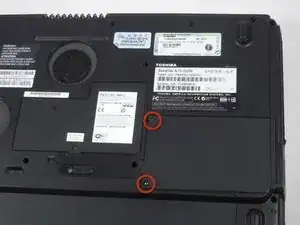
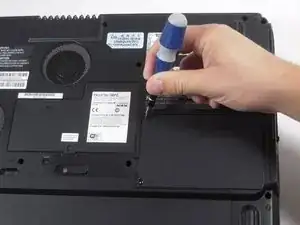
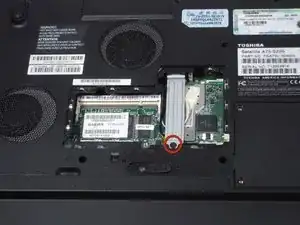
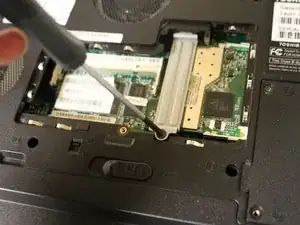
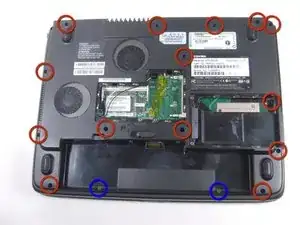
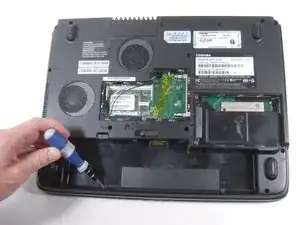
Use the Phillips screwdriver to remove the two 3.7 mm screws from the battery compartment.
-
Then remove the fourteen 8.6 mm screws from the bottom of the case.
-
-
-
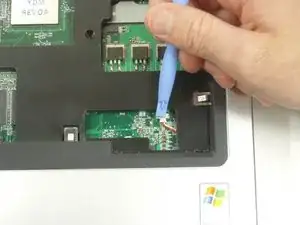
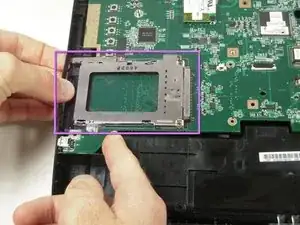
Use the plastic opening tool to remove the two speaker wire connectors and the trackpad connector from the motherboard.
-
-
-
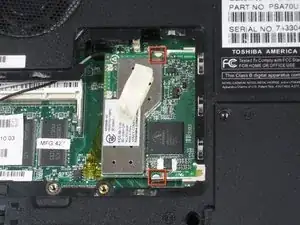
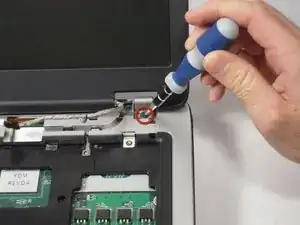
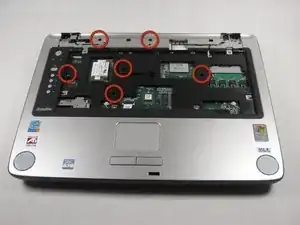
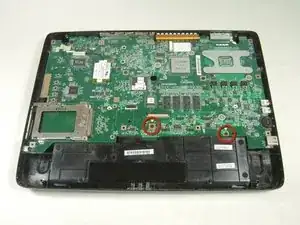
Using the Phillips Screwdriver, remove the two 8.6 mm screws from the front edge of the motherboard.
-
-
-
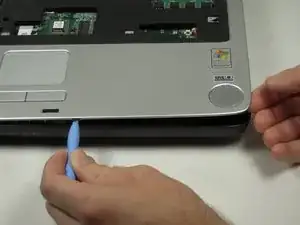
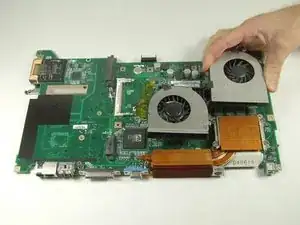
Lift up on the front edge of the motherboard while gently prying the case away from the ports on the right side of the computer.
-
Repeat with the left side.
-


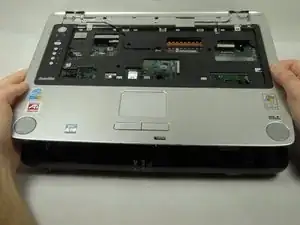


To reassemble your device, follow these instructions in reverse order.
2 comments
Thanks Garrett...
Your time and effort in putting this guide together is much appreciated (and helpful!)
Rick
I found this guide to be very helpful, well written and easy to follow.
Close up pics of any connectors, wires and cables that are disconnected help me a lot in that many of my projects have been previously attempted by others who have damaged or wrongly re-assembled the items.
Steve -