Introduction
This guide will help you replace a broken motherboard in your laptop. It is a detailed process but this guide will allow you to easily remove and replace your motherboard.
-
-
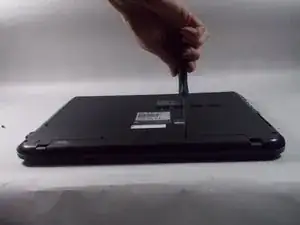
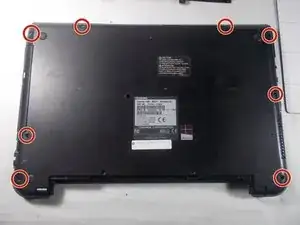
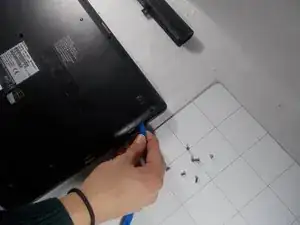
Remove all 6.5 mm Philips head screws on the back cover of the laptop with a Philips #00 screwdriver.
-
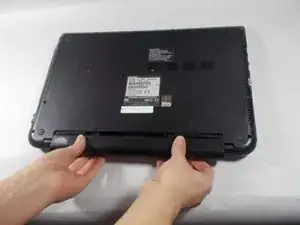
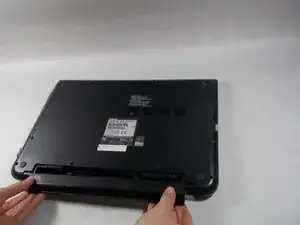
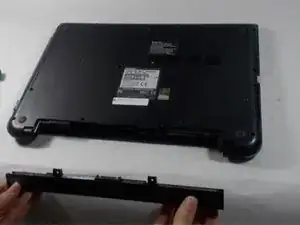
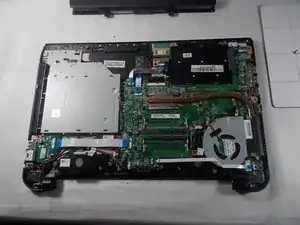
Use the plastic opening tool to remove the back cover from the laptop.
-
-
-
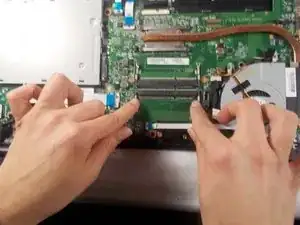
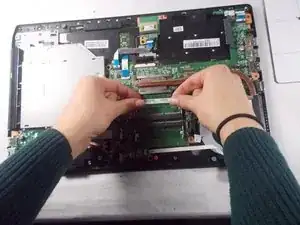
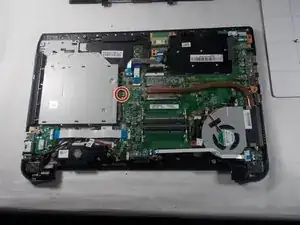
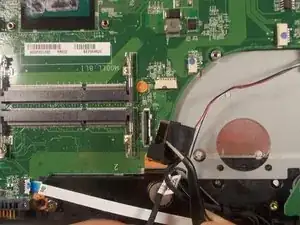
Evenly press down on the clips on either side of the RAM stick.
-
To pull out the RAM stick, be sure to align the notches on the RAM stick with the notches in the RAM holder.
-
-
-
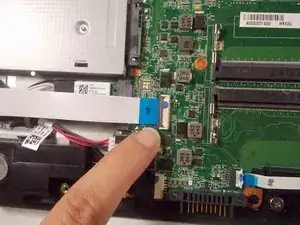
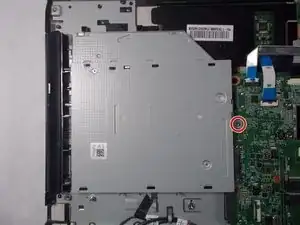
Remove the 3 mm Philips head screw that connects the CD drive to motherboard with a Phillips #00 screwdriver.
-
-
-
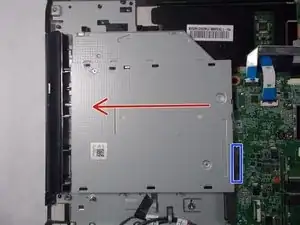
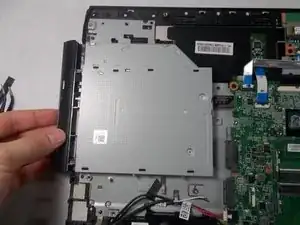
Gently pull the CD drive out, disconnecting it from the motherboard connector marked in blue.
-
-
-
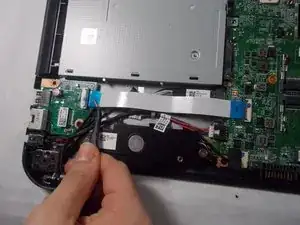
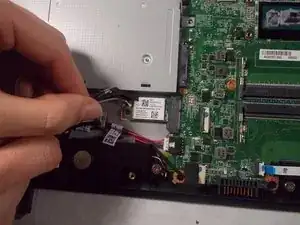
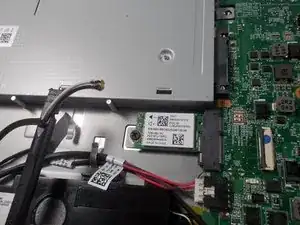
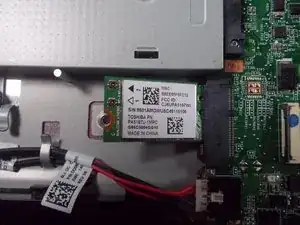
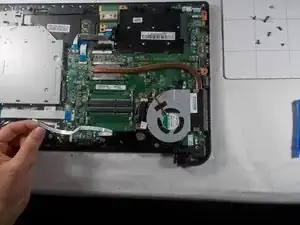
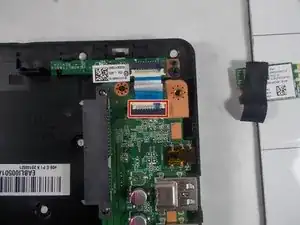
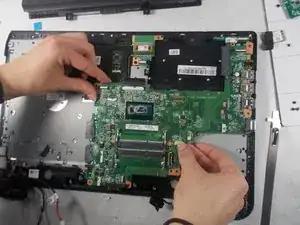
Using a black tweezer tool, lift the tab holding the ribbon in place and then gently pull it out.
-
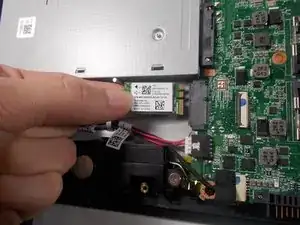
Using the same tweezer tool, again lift the tab holding the wires in place and gently pull them out.
-
-
-
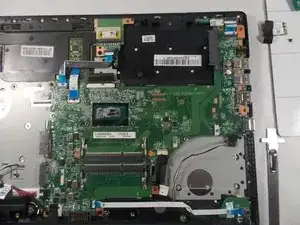
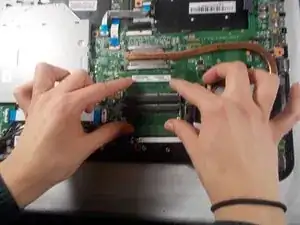
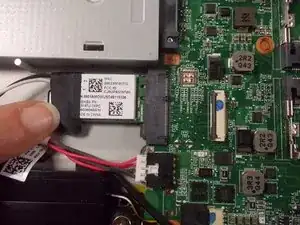
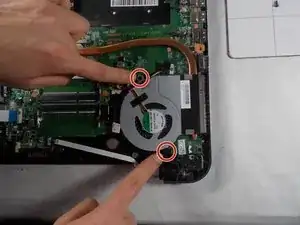
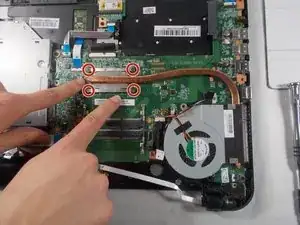
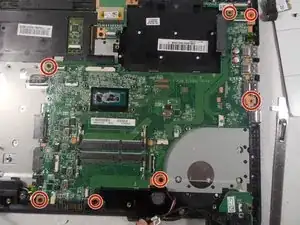
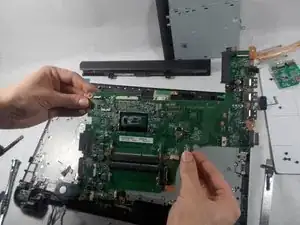
Unscrew the four, 3mm Phillips head screws holding the last piece to the laptop using a Phillips #00 screwdriver.
-
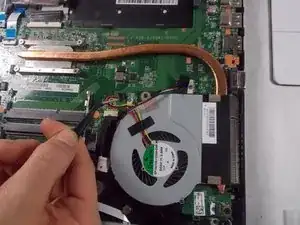
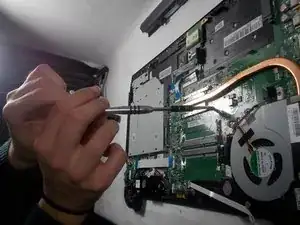
Gently pull the cooling fan with heat sink off the laptop and set aside.
-


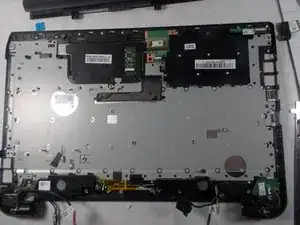
To reassemble your device, follow these instructions in reverse order.