Introduction
Tools
-
-
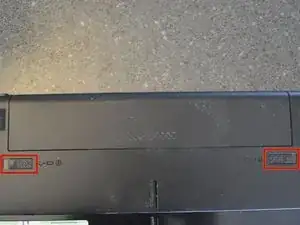
With the battery away from you, slide the locking clips out.
-
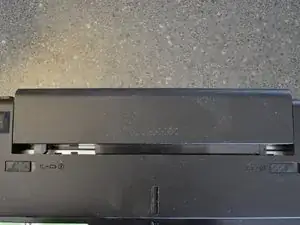
Slide the battery away from you.
-
-
-
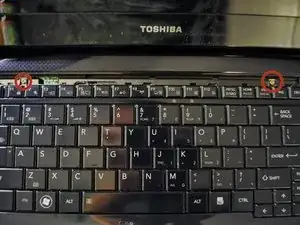
Carefully tilt the keyboard towards you and release the ribbon cables.
-
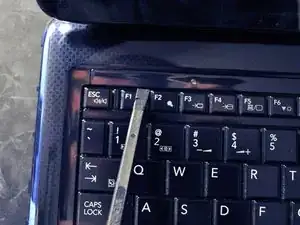
Use a spudger if needed to release the latch. The latch slides out.
-
The keyboard is now free and can be set aside.
-
-
-
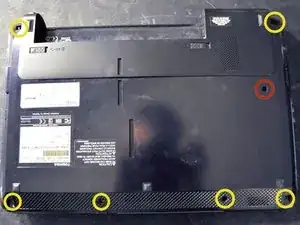
Flip the laptop over so the bottom is facing up.
-
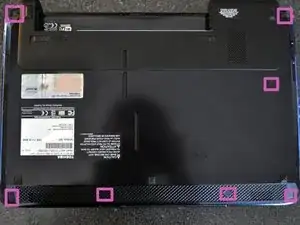
Using a spudger, remove the seven rubber inserts.
-
-
-
Stand the laptop up on end.
-
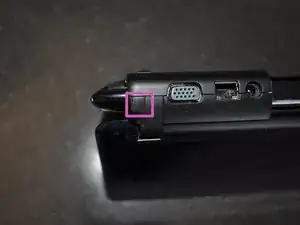
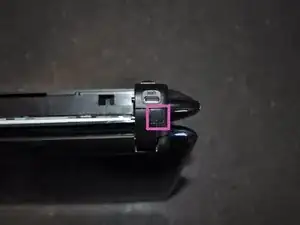
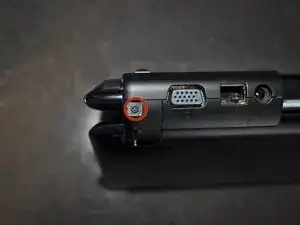
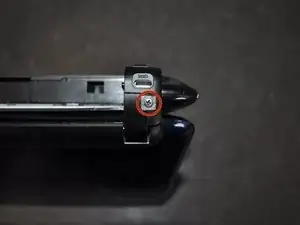
Remove the two rubber inserts from the back of the laptop. One insert is on each side of the laptop.
-
-
-
Carefully work a spudger in the crack at the back of the laptop and separate the small rubberized section from the bottom of the laptop.
-
-
-
The bottom of the laptop is now ready to lift off.
-
Carefully work a spudger around the seam of the laptop separating the bottom from the rest of the laptop.
-
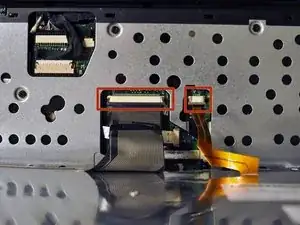
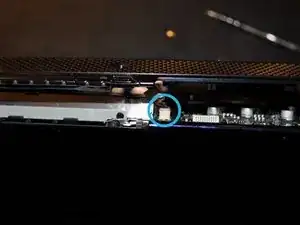
Use a spuder to carefully disconnect the wire from the motherboard. Once this is free the bottom will come off.
-
-
-
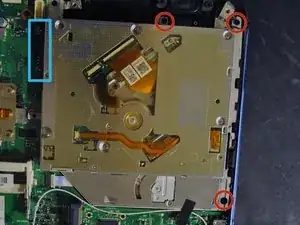
Locate optical drive
-
Remove the three screws securing the optical drive.
-
Slide the optical drive away from the motherboard, and carefully lift up.
-
To reassemble your device, follow these instructions in reverse order.

