
Introduction
If a fan stops working all together on this device, then replacing it can be a good way to save money over buying a new projector. This guide will show how to get to and replace this part.
-
-
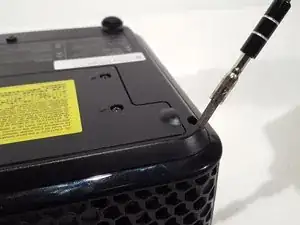
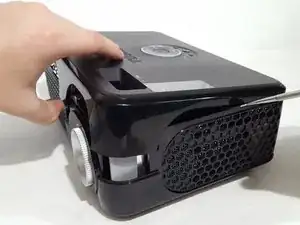
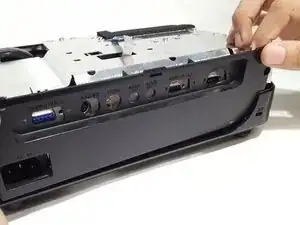
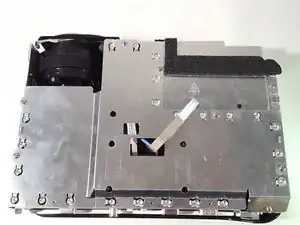
Remove the top plastic cover from the device. The back is snapped on so it would help to have leverage from a prying tool.
-
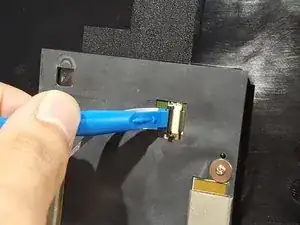
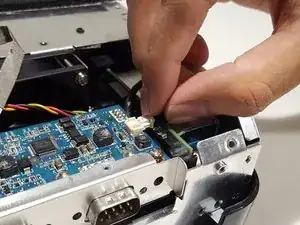
Remove the ribbon cable attached to the plastic piece just removed. Remember its orientation for re-assembling later.
-
-
-
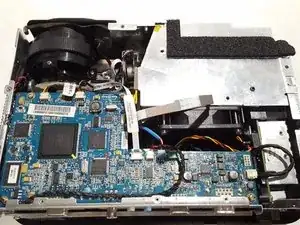
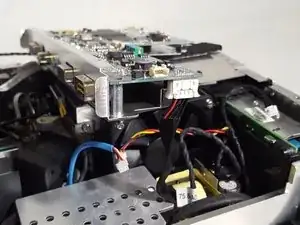
Remove cables from the power supply board.
-
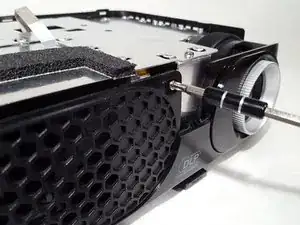
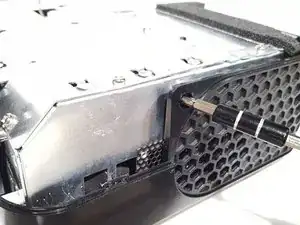
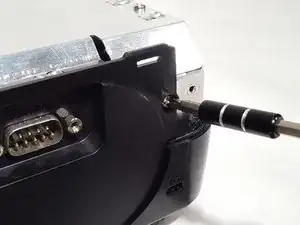
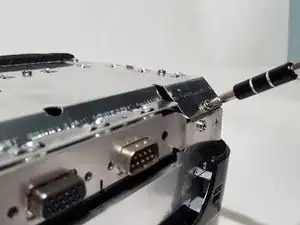
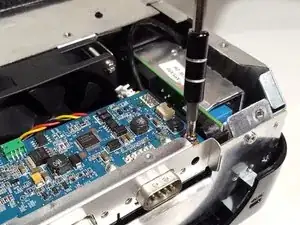
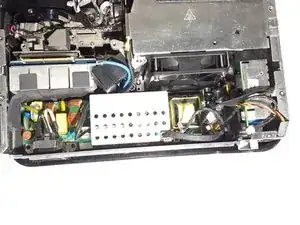
Remove the screws located around the board to un-mount it.
-
-
-
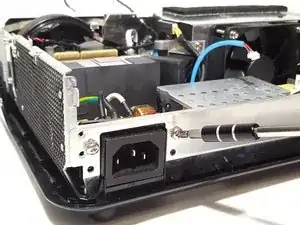
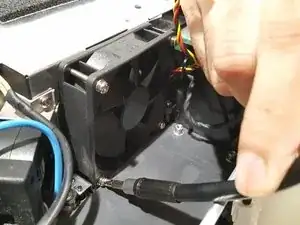
Remove the power board to reveal the bottom two screws to the fan.
-
Unscrew the fan and replace it with an equivalent one.
-


Conclusion
To reassemble your device, follow these instructions in reverse order.