Introduction
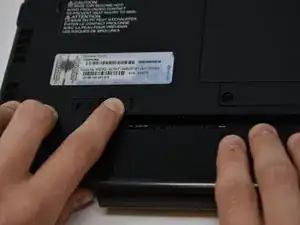
There are several access panels that make up the entire back panel of the Toshiba Tecra R940-S9421. You will learn how to replace all of them.
Completing this guide will also show you how to access all of the internal components of the laptop.
-
-
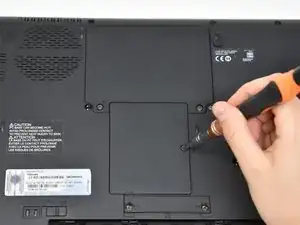
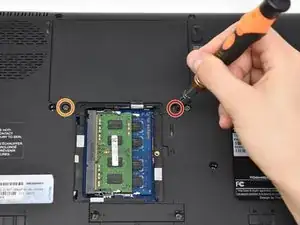
Unscrew the single screw on the RAM access panel using a Phillips #0 screwdriver.
-
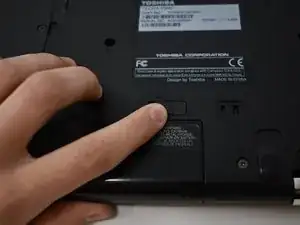
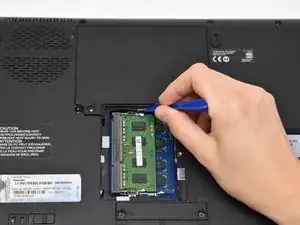
Use a plastic opening tool to pry off the access panel.
-
-
-
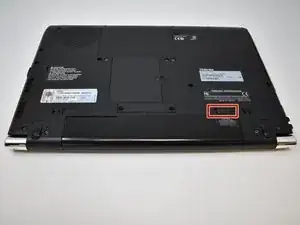
Remove the 11 mm screw from the right side of the hard drive access panel using a Phillips #0 screwdriver.
-
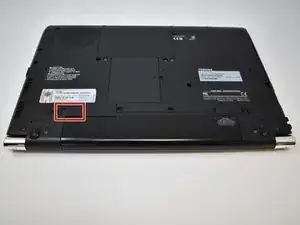
Remove the 3.5 mm screw from the left side of the access panel using a Phillips #0 screwdriver.
-
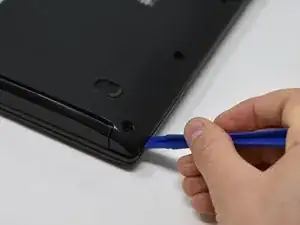
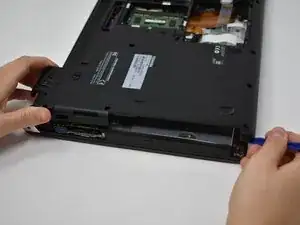
Use a plastic opening tool to pry off the access panel from the bottom.
-
-
-
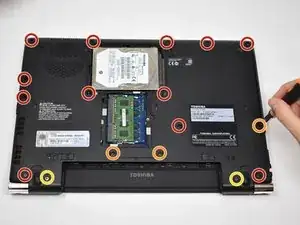
Remove twelve 5.5 mm screws from the main back cover using a Phillips #0 screwdriver.
-
Remove three 11 mm screws from main back cover and mini access panel using a Phillips #0 screwdriver.
-
Remove two 9.5 mm screws from the main back cover using a Phillips #0 screwdriver.
-
-
-
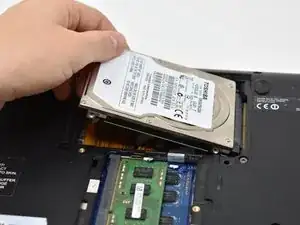
Lift the hard drive out of the access panel.
-
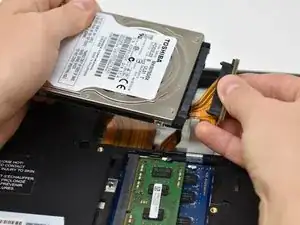
Disconnect the SATA connector from the hard drive by pulling straight out.
-

To reassemble your device, follow these instructions in reverse order.