
Introduction
Parts
-
-
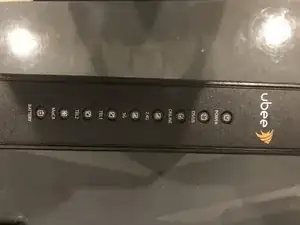
The DVW32C(B) (The B is only present when provided by certain ISPs) is an easily user-serviceable device
-
It won't turn on and you want to replace the PSU? This guide will show you how.
-
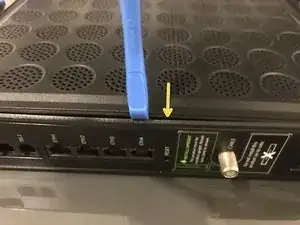
Let's get started. You need a T10 Torx Screwdriver for this guide.
-
-
-
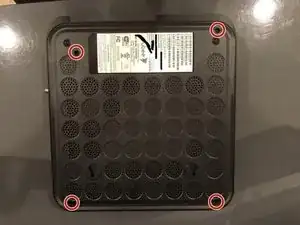
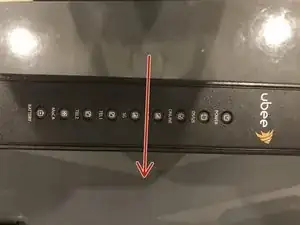
Take a pry tool and pull the cover off, on the side facing up from the last step. This is the side without the label.
-
-
-
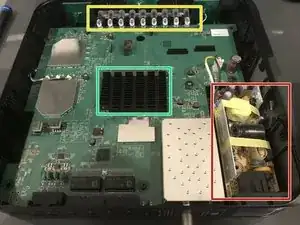
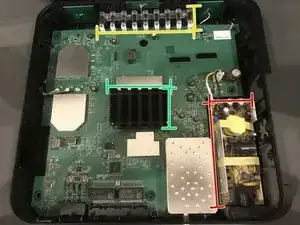
You can now see inside.
-
The PSU is marked in red
-
The lights are marked in yellow
-
The Broadcom Chip is marked in green
-
-
-
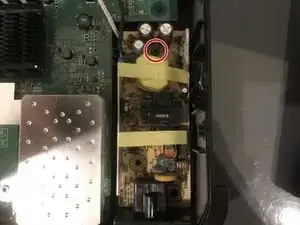
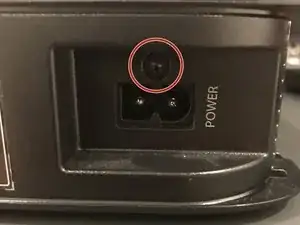
Unscrew the 2 screws marked in red.
-
WARNING: The screw by the connector is a different size than the chassis screw. Keep PSU screws and chassis screws separate.
-
Disconnect the PSU Cable from the motherboard.
-
-
-
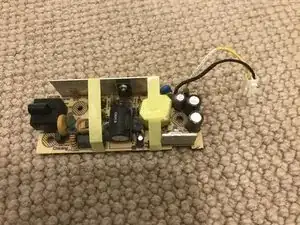
You can now remove the PSU.
-
Great job! Make sure you properly reconnect the cable connecting the motherboard and PSU after replacement.
-

To reassemble your device, follow these instructions in reverse order, and plug in the PSU into the motherboard.
