Introduction
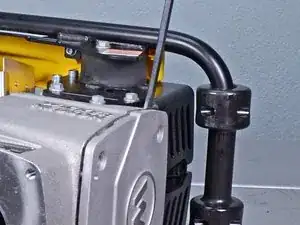
Use this guide to remove or replace the clutch drum on a Wacker BS50-4AS REV 101 (2019) Vibrator/Rammer.
This model requires up to 0.7 liters of SAE 10W-40 oil to replace drained oil.
Tools
Parts
-
-
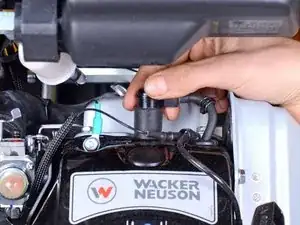
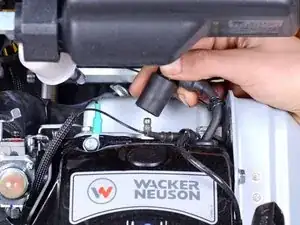
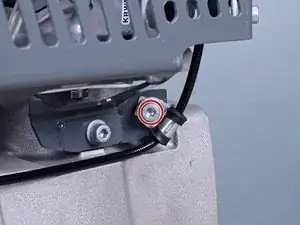
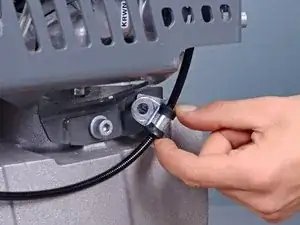
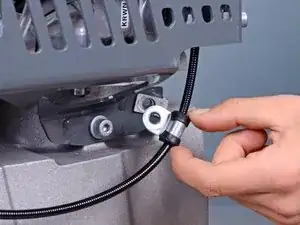
Firmly grip the base of the spark plug wire's connector and pull it away from the spark plug to disconnect it.
-
-
-
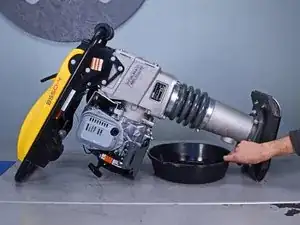
Lay the device down horizontally with the oil sight gauge facing down.
-
Position a shallow oil drain pan underneath the sight gauge.
-
-
-
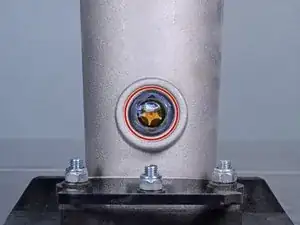
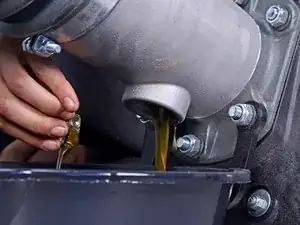
Remove the oil sight gauge.
-
Let the oil drain until drips are infrequent.
-
Replace and retighten the oil sight gauge.
-
-
-
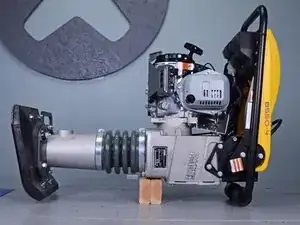
Flip the device onto the work surface such that the motor and handles face up.
-
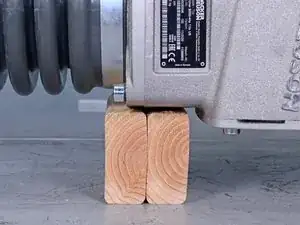
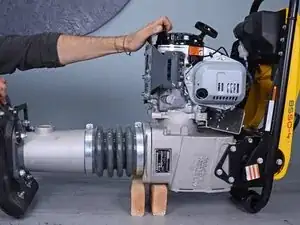
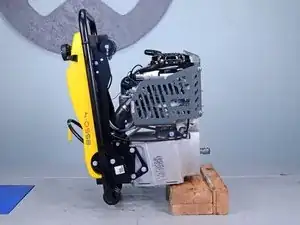
Place two separate blocks of wood underneath the seam between the leg assembly and crankcase.
-
-
-
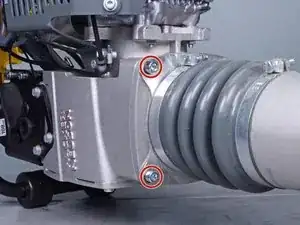
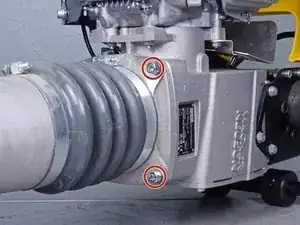
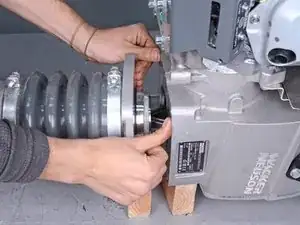
Use an 8 mm hex key socket to remove the four bolts securing the leg's guiding cylinder to the crankcase.
-
-
-
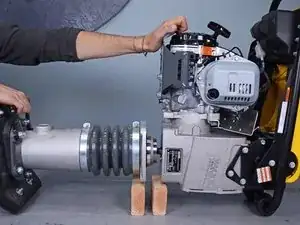
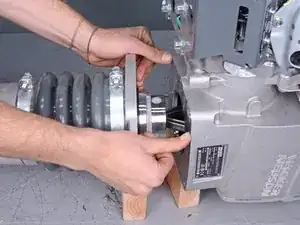
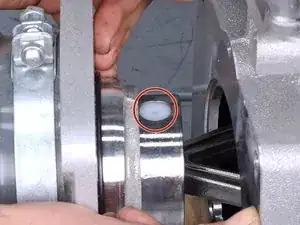
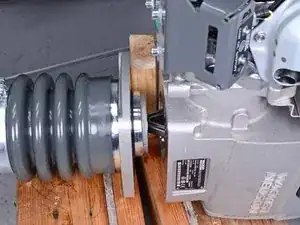
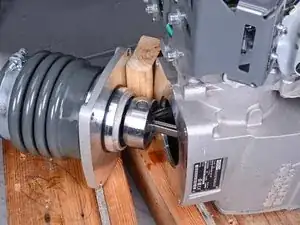
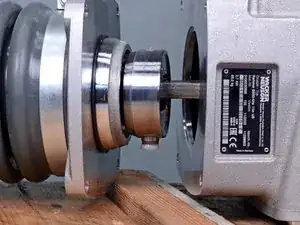
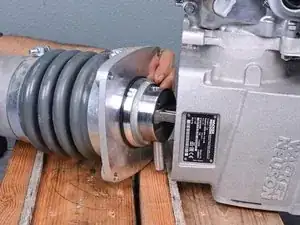
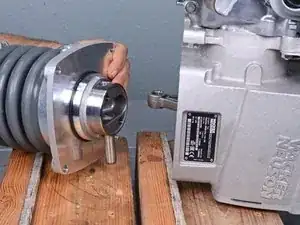
Continue to separate the two halves by compressing the bellows until the nylon plug covering the piston pin is visible.
-
-
-
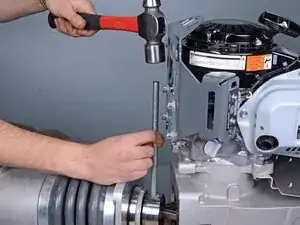
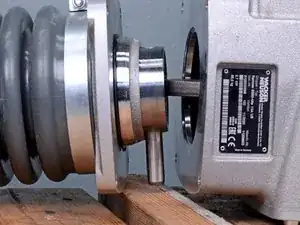
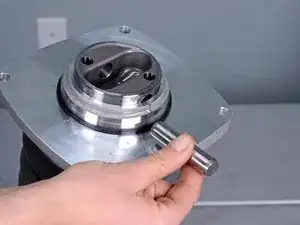
Use an appropriately-sized punch and a ball-peen hammer to tap the pin out of its hole on the guide piston until it is no longer securing the connecting rod.
-
-
-
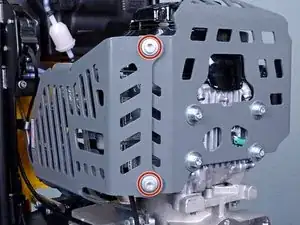
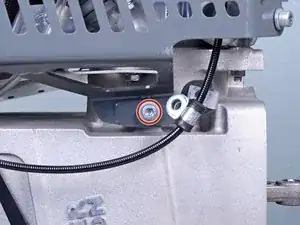
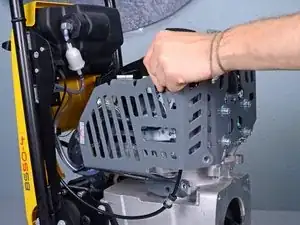
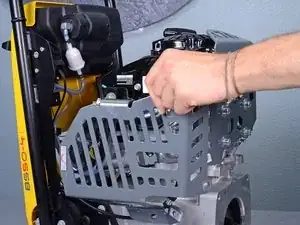
Use a 6 mm hex socket to remove the three remaining bolts securing the engine guard: two on the outer edge and one near the crankcase.
-
-
-
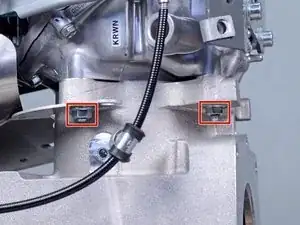
Use a 13 mm wrench to remove the four nuts securing the motor to the crankcase, two on each side.
-
-
-
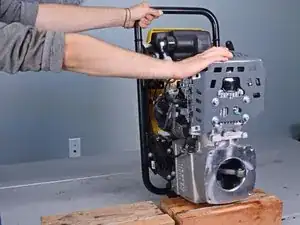
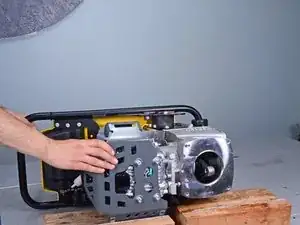
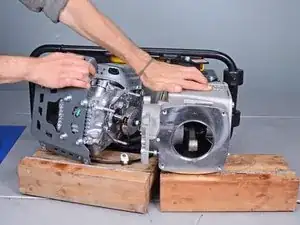
Tilt the device down onto its side, supporting both the crankcase and motor with blocks of wood.
-
-
-
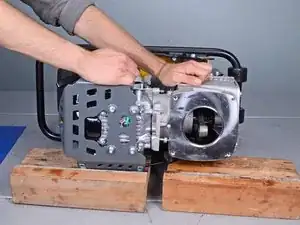
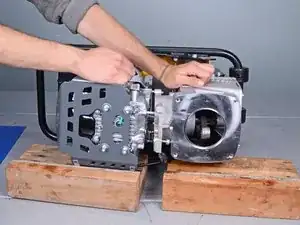
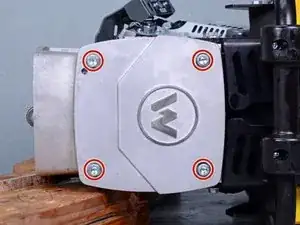
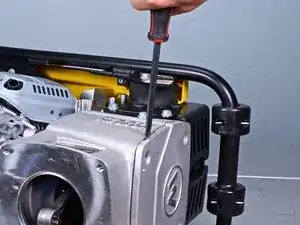
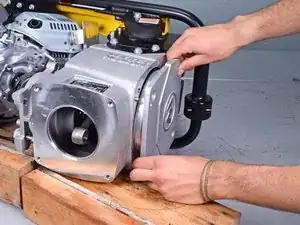
Insert a flathead screwdriver into one of the side gaps between the crankcase cover and the crankcase.
-
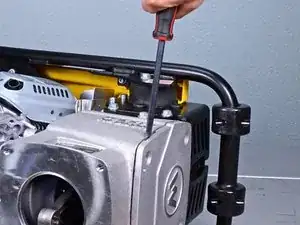
Twist the screwdriver to begin to pull the crankcase cover away from the crankcase.
-
Repeat for the opposite side gap, and repeat until the crankcase cover comes loose from the crankcase.
-
-
-
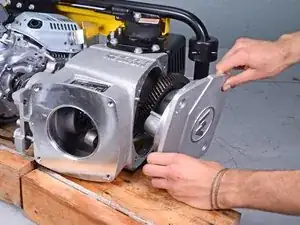
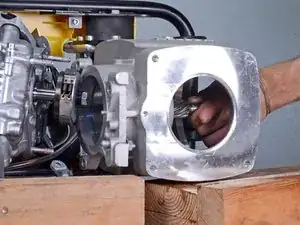
Use your fingers to pull the crankcase cover off of the crankcase.
-
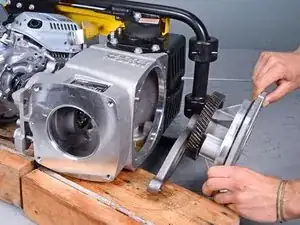
Feed the connecting rod around the clutch drum shaft and out through the crankcase cover hole.
-
-
-
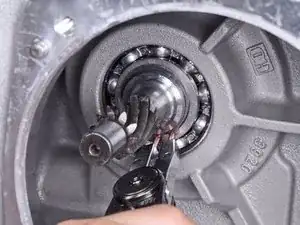
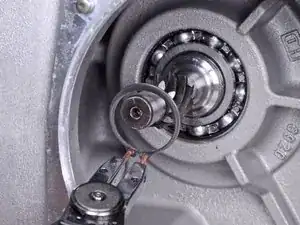
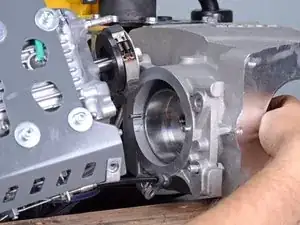
Use a pair of snap ring pliers to remove the snap ring securing the clutch drum to the crankcase bearing assembly.
-
-
-
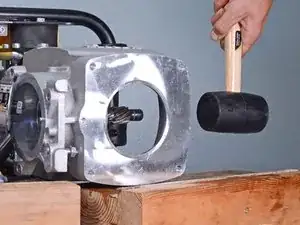
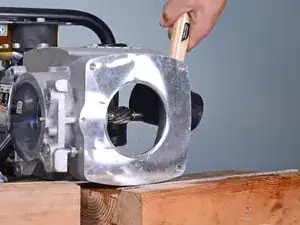
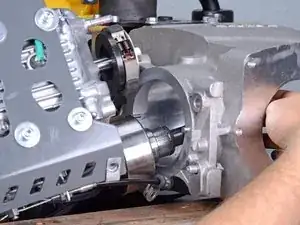
Use a rubber mallet to tap the end of the clutch drum shaft through its hole on the top of the crankcase until it becomes loose enough to be moved by hand.
-
-
-
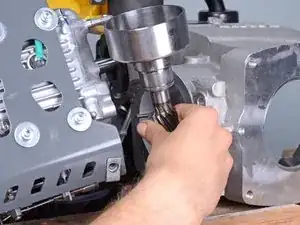
Push the clutch drum shaft with your fingers until it can be gripped from the top of the crankcase.
-
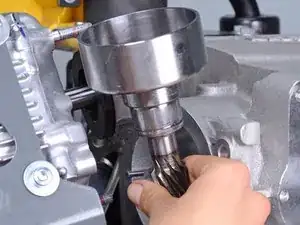
Remove the clutch drum.
-
To reassemble your device, follow these instructions in reverse order.
After reassembly, tilt the device upright and check the oil level through the sight glass. The oil should cover 1/2 to 3/4 of the sight glass to be considered full. This model requires up to 0.7 liters of SAE 10W-40 oil.
