Introduction
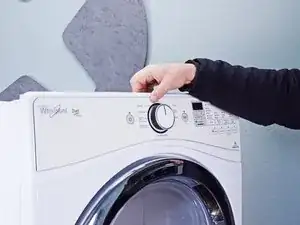
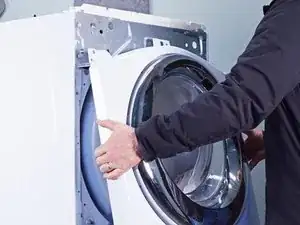
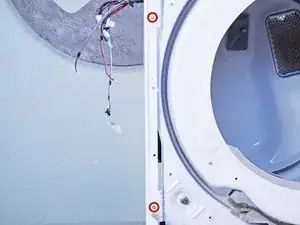
Use this guide to replace the drive belt on your Whirlpool Duet WED87HED Dryer.
The drive belt is a critical component of your dryer, and the clothes will not tumble at all if it's broken. Clothes will also not tumble properly if it's slipping on its belt.
-
-
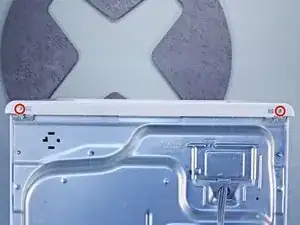
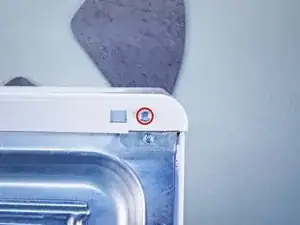
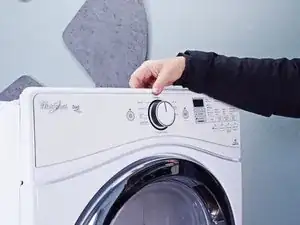
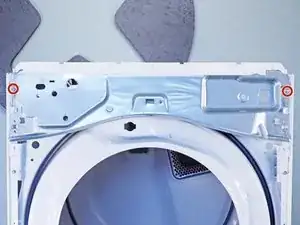
Use a 5/16 inch nut driver to remove the two 15.7 mm-long screws securing the top panel to the rear panel bracket.
-
-
-
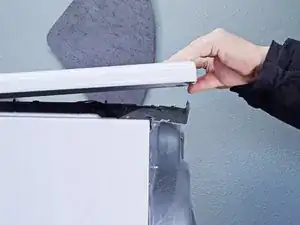
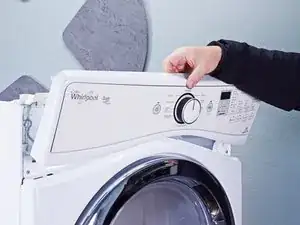
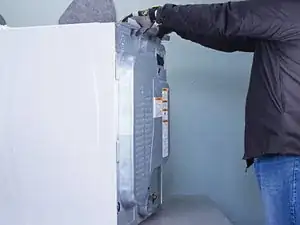
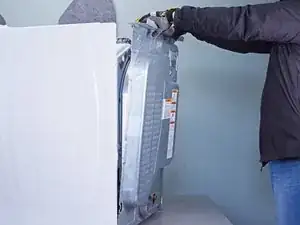
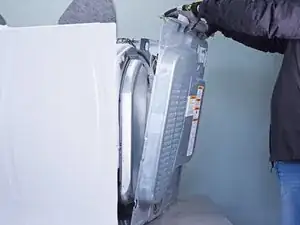
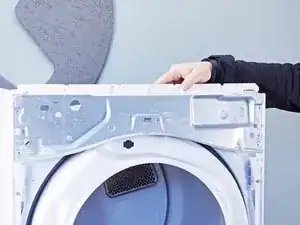
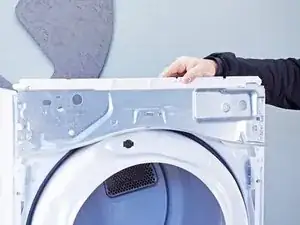
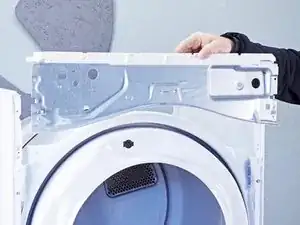
Lift the top panel upward to separate it from the chassis.
-
Remove the top panel from the machine.
-
-
-
Use a 1/4 inch nut driver to remove the two 16.3 mm‑long sheet metal screws located at each end of the control panel.
-
-
-
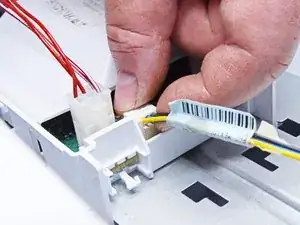
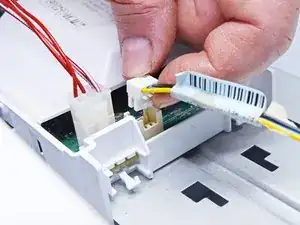
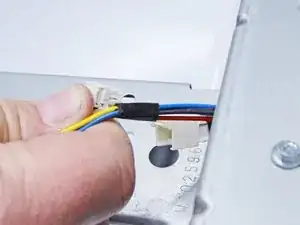
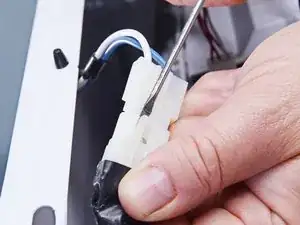
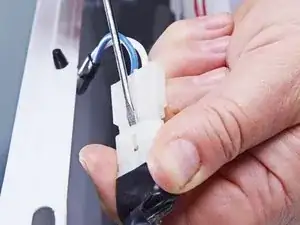
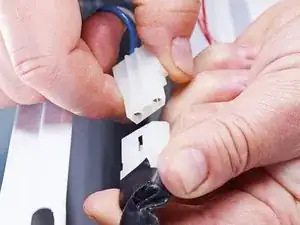
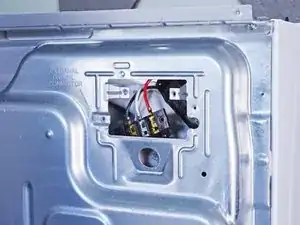
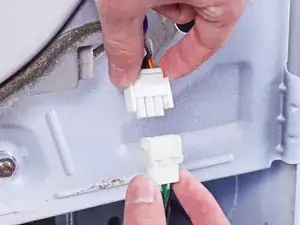
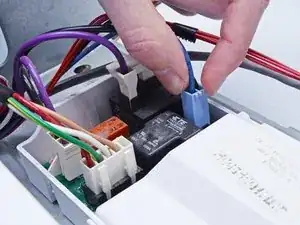
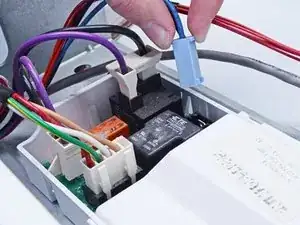
Use a small flat blade screwdriver or a spudger to unlatch both sides of the door switch connector.
-
Unplug the connector.
-
-
-
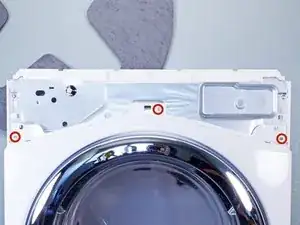
Use a 1/4 inch nut driver to remove the three upper front panel 16.4 mm-long sheet metal screws.
-
Tilt the machine backwards and prop it securely, or have a friend hold it.
-
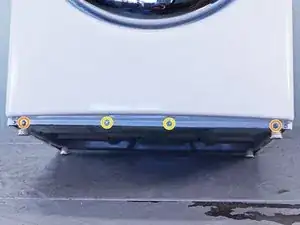
Use a 1/4 inch nut driver to remove the four sheet metal screws on the bottom edge of the panel:
-
Two 16.4 mm screws
-
Two 13 mm screws
-
-
-
Use a Phillips driver to remove the two 15.8 mm‑long screws inside the door area below the drum opening.
-
-
-
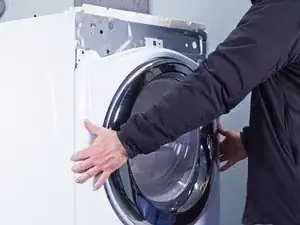
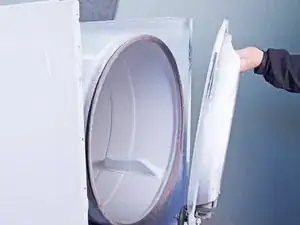
Pull the bottom of the panel away from the chassis about two to three inches.
-
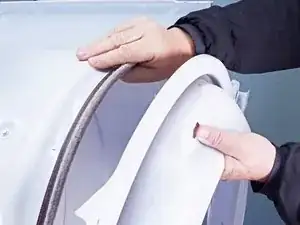
Lift the front panel off the small tabs on the chassis near the top of the panel and remove it.
-
-
-
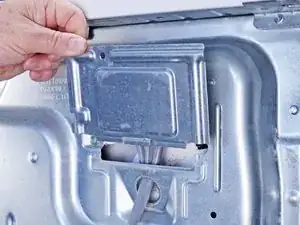
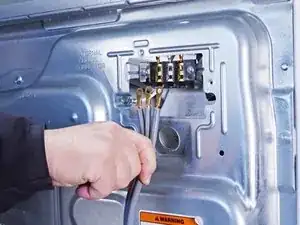
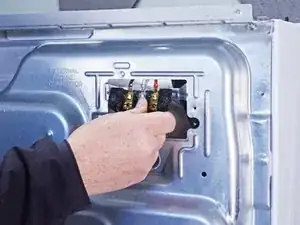
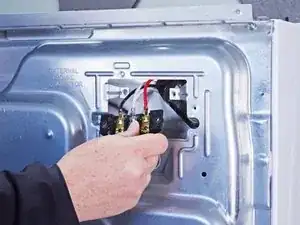
Use a 5/16 inch hex driver to remove the 16.5 mm-long green ground screw.
-
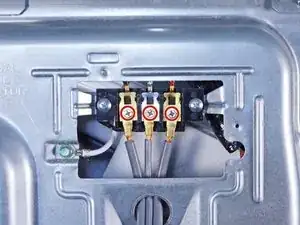
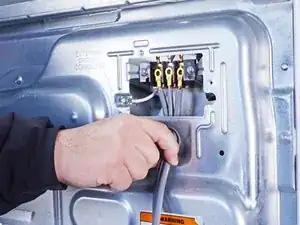
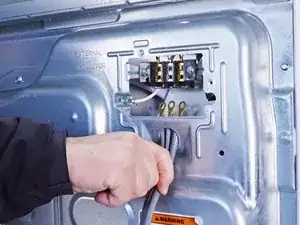
Use a Phillips driver to remove the two 15.3 mm‑long cord terminal block screws.
-
-
-
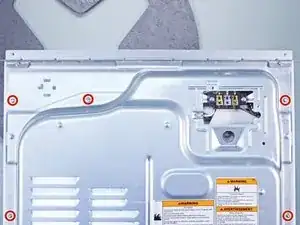
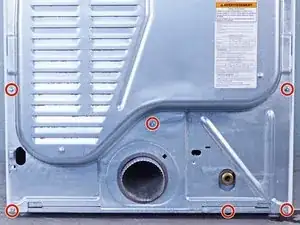
Use a 1/4 inch nut driver to remove the eleven rear panel screws.
-
Ten 20 mm-long screws
-
One 12.9 mm-long screw under the water inlet.
-
-
-
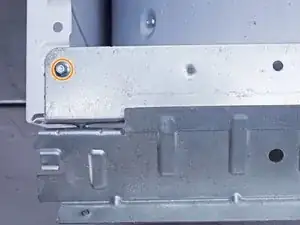
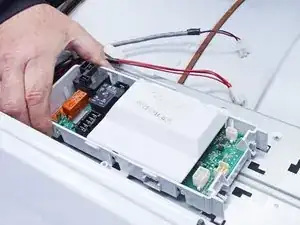
Use a 1/4 inch nut driver to remove the 16.4 mm-length screw holding the main board bracket to the chassis.
-
Use a 1/4 inch nut driver to remove the two 20 mm-long screws from the top rear of the machine.
-
-
-
Lift the panel about 1/2 inch and tilt it to the rear to release it from the vent pipe.
-
Slide the panel off the vent pipe and remove it.
-
-
-
Make sure that the vent pipe is fitted into the collar on the panel.
-
Make sure the tabs at the bottom are aligned to the bottom rim of the chassis.
-
Position the panel so its screw holes match with the chassis.
-
-
-
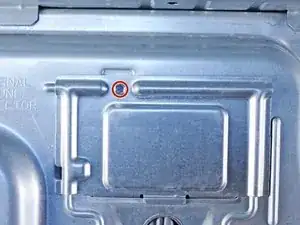
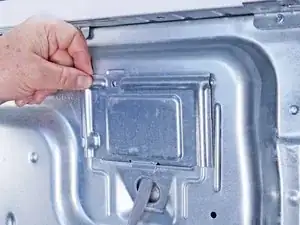
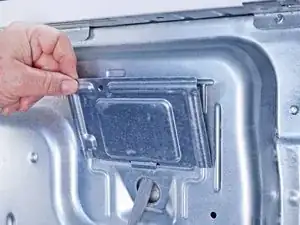
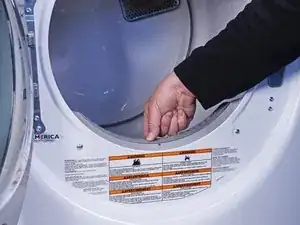
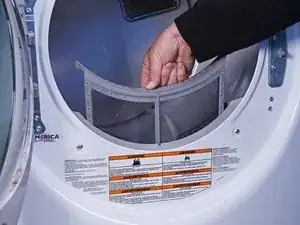
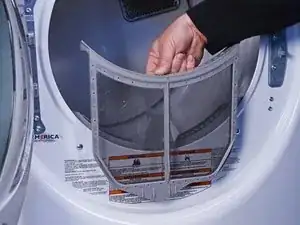
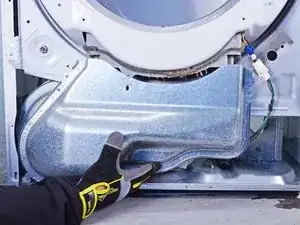
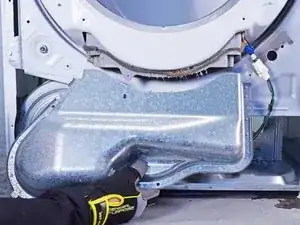
Use a 1/4 inch nut driver to remove the 16.4 mm‑long mounting screws securing the lint filter housing.
-
-
-
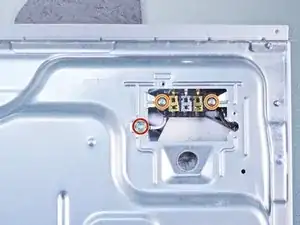
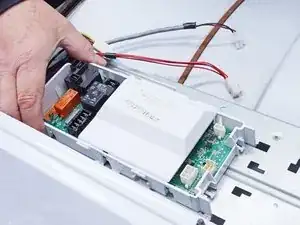
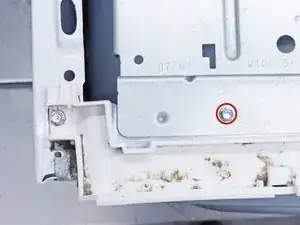
Use a 1/4 inch nut driver to remove the 12.8 mm‑long sheet metal screw that retains the main board to the main board bracket.
-
-
-
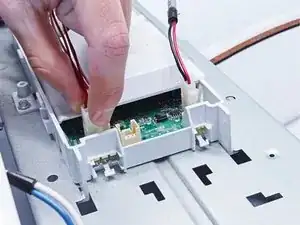
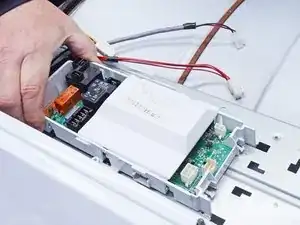
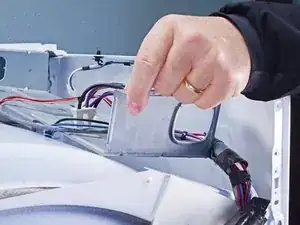
Lift the rear corner of the main board nearest to the side walls of the chassis.
-
Slide the main board toward the front of the dryer to release the tabs securing it to the main board bracket.
-
-
-
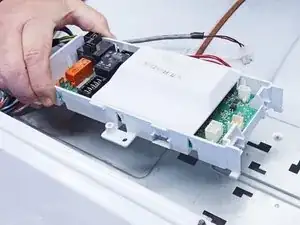
Use a 1/4 inch nut driver to unfasten the 16.4 mm‑long sheet metal screw holding the main board bracket.
-
-
-
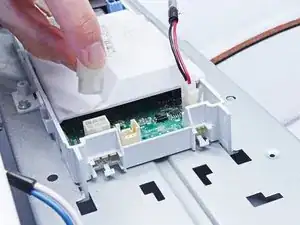
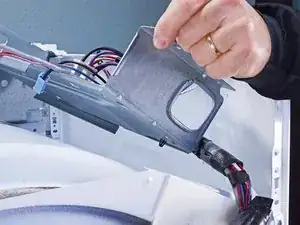
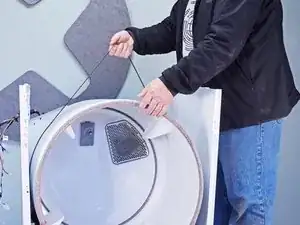
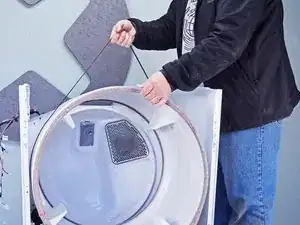
Lift off the main board bracket from the chassis and turn it so the bottom is exposed.
-
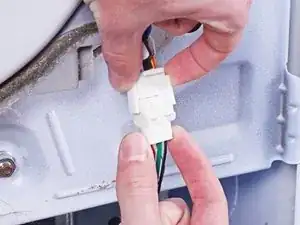
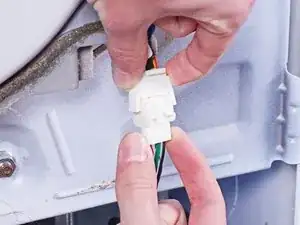
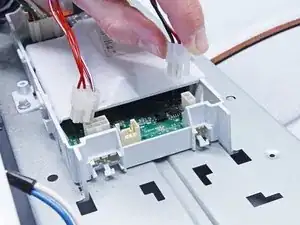
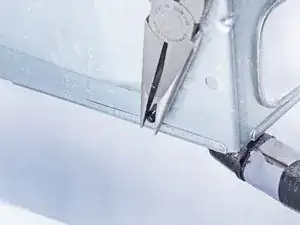
Using long nose or slip joint pliers, pinch the locking wings of the harness retainer clamp.
-
Separate the harness from the main board bracket and remove the main board bracket.
-
-
-
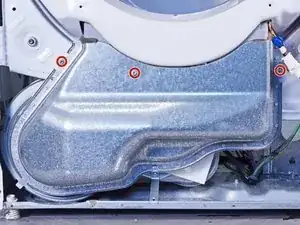
Use a 1/4 inch nut driver to remove the two screws securing the upper front bulkhead to the front of the chassis.
-
One 16.4 mm-long sheet metal screw
-
One 19.8 mm-long sheet metal screw
-
Use a 1/4 inch nut driver to remove the two 16.5 mm‑long sheet metal screws securing the top plastic portion to the upper front bulkhead.
-
-
-
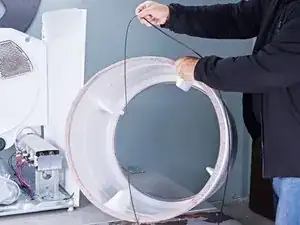
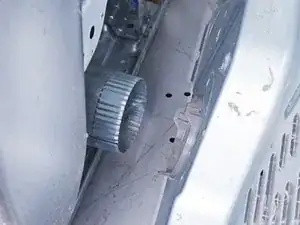
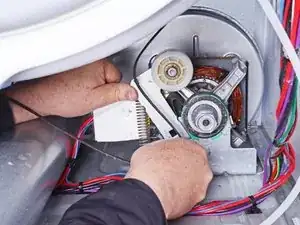
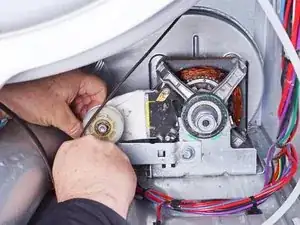
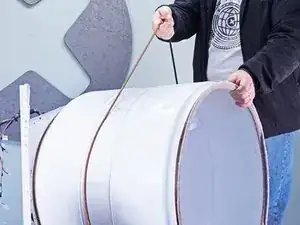
Push the idler arm (the metal upside-down "L") up to relieve the tension on the drive belt.
-
Remove the belt from the motor pulley.
-
Gently lower the idler arm until it rests parallel to the dryer floor.
-
-
-
Use a 1/4 inch nut driver to remove the four screws securing the lower front bulkhead.
-
Two 16.1 mm-long sheet metal screws on the left side of the lower front bulkhead.
-
Two 13.2 mm-long sheet metal screws on the right side of the lower front bulkhead.
-
-
-
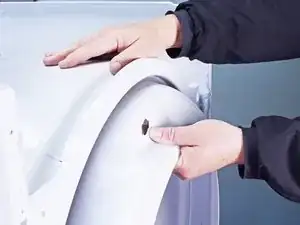
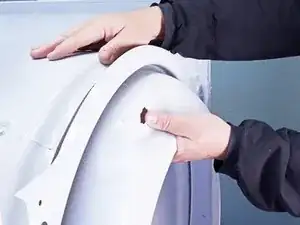
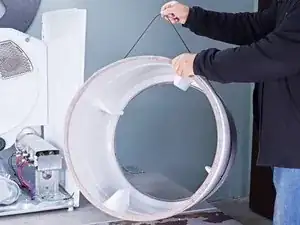
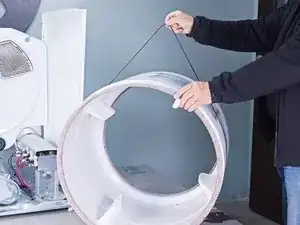
Lower the bulkhead about 2 inches to free the drum rollers tucked under the drum.
-
While supporting the drum, remove the lower front bulkhead.
-


To reassemble your device, follow these instructions in reverse order.
Repair didn’t go as planned? Ask our Answers community for help.