Introduction
The screen replacement on a phone becomes essential when the display suffers damage from drops, cracks, or malfunctions such as unresponsive touch or dead pixels. A damaged screen not only affects the visual experience but also impedes usability and may lead to further issues if left unaddressed.
Swapping the screen restores the phone's functionality, ensuring a clear display, responsive touch, and preserving the overall user experience.
Tools
-
-
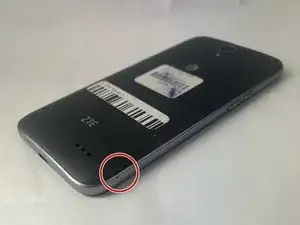
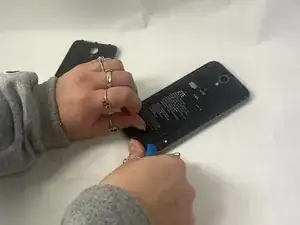
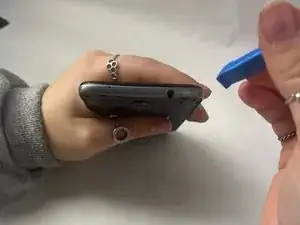
Locate the small indent on the back right bottom corner of the phone.
-
Put the pry tool or your fingertip inside the small gap on the bottom right of the back of the phone and pop up the cover.
-
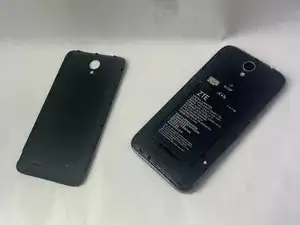
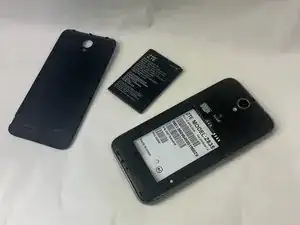
Continue to go around the phone until the cover is completely off the back of the pull and put it aside.
-
-
-
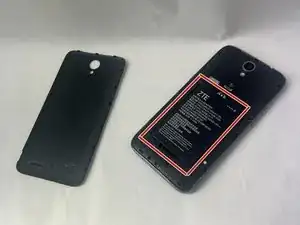
Locate the battery in the middle of the back of the phone.
-
Push in and up on the battery to remove it from its slot.
-
Put the battery aside.
-
-
-
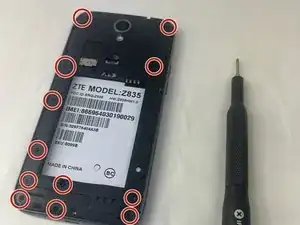
Use a Phillips #00 screwdriver to remove twelve 2 mm screws along the back outer edges of the phone.
-
-
-
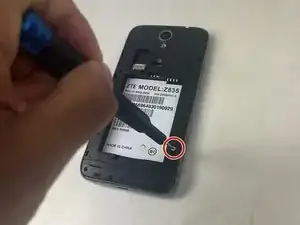
There’s a 13th 2 mm screw with a lock sticker over it on the bottom right corner. Insert the #00 Phillips screwdriver in the middle, breaking the sticker, and take the screw out.
-
-
-
Slide the pry tool into the middle of the connection between the screen and the back of the phone.
-
Once in, slide the pry tool around the phone, separating the screen and the back of the phone.
-
The detached piece is the midframe, and you can place it aside when detached.
-
-
-
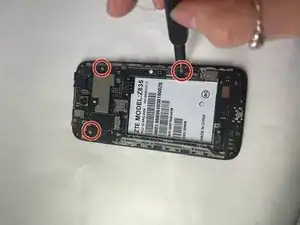
Use the Phillips #00 screwdriver and remove the four 2 mm screws that are located around the edges.
-
-
-
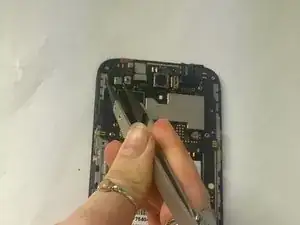
Using the tweezers, carefully detach the six ribbon cables also located along the edges.
-
2 adhesive ribbon cables (green circles).
-
One ribbon cable that slides out (orange circles).
-
Three ribbon cables that pop in and out (yellow circles).
-
-
-
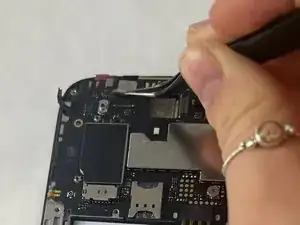
You will also have to detach the two cameras by detaching the ribbon cable using the tweezers as well. Put those off to the side.
-
-
-
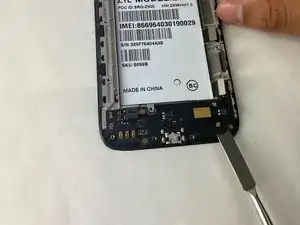
Grab the opening pick and work it into the edges of the motherboard.
-
Make sure you are firmly pushing the pick to loosen the motherboard since it is placed with adhesive.
-
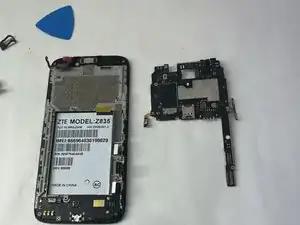
Remove the motherboard and put it aside.
-
-
-
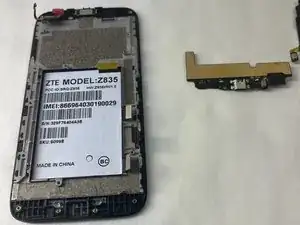
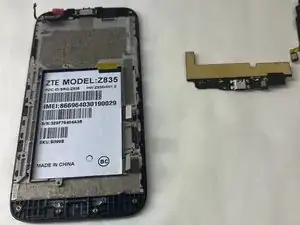
What is left in your hand is now the screen, and any replacement screen will be just as what is in your hand.
-
To reassemble your device, follow these instructions in reverse order.
