Introduction
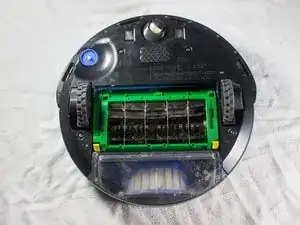
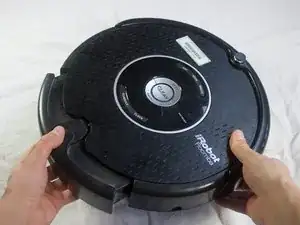
This guide explains how to remove the main brush motor from your Roomba.
-
-
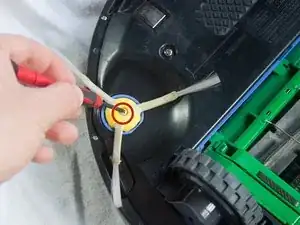
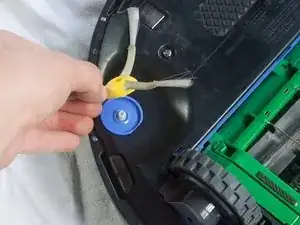
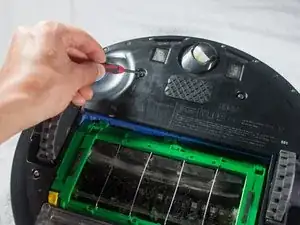
While holding the side brush in place, use a Phillips #1 screwdriver to remove the 4.5mm screw from the center of the brush.
-
-
-
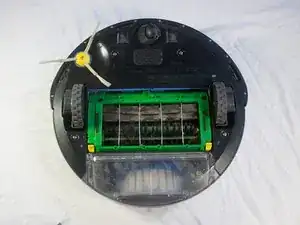
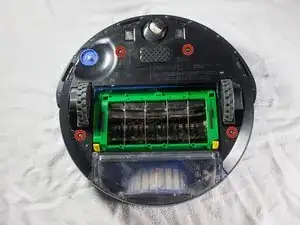
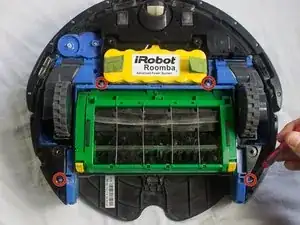
Using a Phillips #2 screwdriver, remove the captive screws that hold the bottom plate in place.
-
-
-
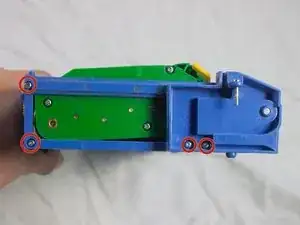
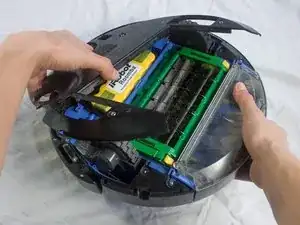
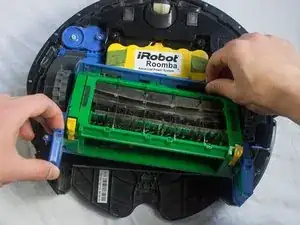
Use a Phillips #1 screwdriver to remove the 9.5mm screws from the side of the brush case, and pull to detach.
-
Repeat for the opposite side of the brush case.
-
-
-
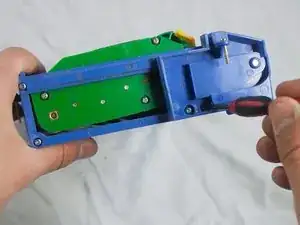
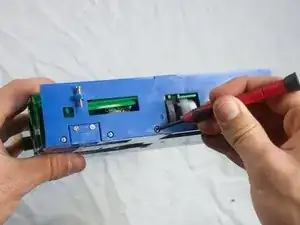
Use a Phillips #1 screwdriver to remove the three 5.0mm screws from the back of the brush case.
-
Pull off the back of the brush case.
-
-
-
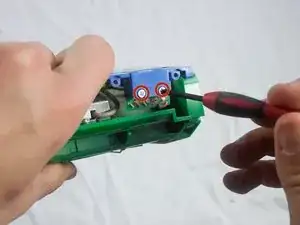
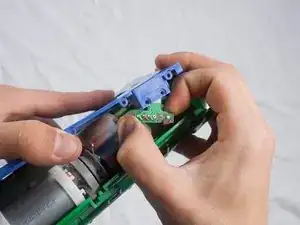
Use a Phillips #1 screwdriver to remove the two 1.5mm screws securing the chip in place.
-
Remove the chip from its housing in the blue brush case.
-
-
-
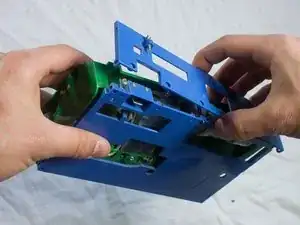
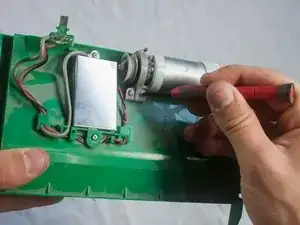
Use a Phillips #1 screwdriver to remove the two 4.5mm screws on the top and bottom of the metal plate.
-
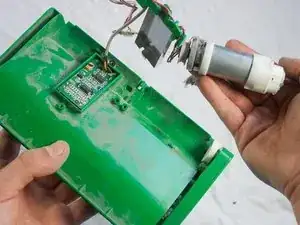
Pull out the motor and metal covering.
-
-
-
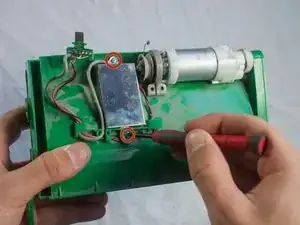
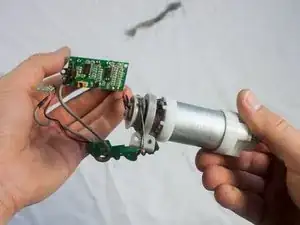
Use a Phillips #1 screwdriver to remove the two 3.5mm screws on the corners of the circuit board.
-
Gently pull out the circuit board.
-


To reassemble your device, follow these instructions in reverse order.
If all you need off is the faceplate, skip all of the screwdriver-based steps, and just remove the dirt bin(step 7) and start from step 11 at the rear.
David Forrest -