Introduction
This guide gives instructions on removing the side brush motor in the Roomba 870. There are a lot of screws that need to be taken out to replace the motor, so make sure you set aside a spot for the screws so that they are not lost.
-
-
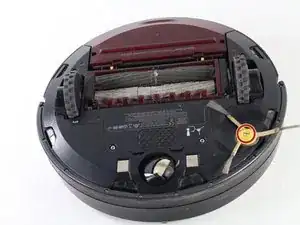
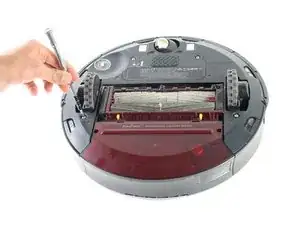
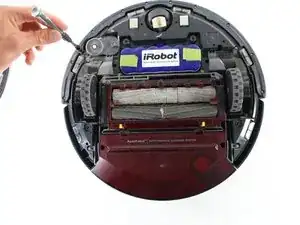
Turn the Roomba over so that the back side is facing up.
-
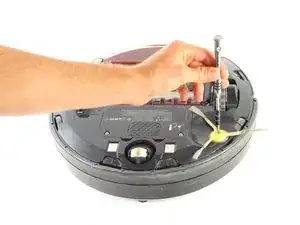
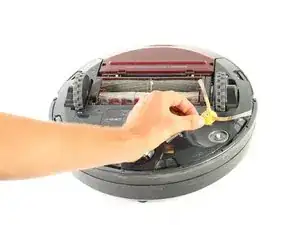
Using the Phillips #00 screwdriver, remove the 4.0mm screw in the center of the yellow side brush and lift the part out.
-
-
-
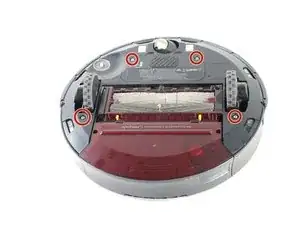
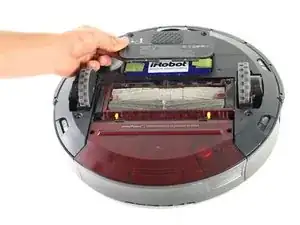
Use the Phillips #00 screwdriver to remove the four 3.5mm screws that hold down the battery panel and rear panel.
-
-
-
First remove the battery panel, which is the small rectangular.
-
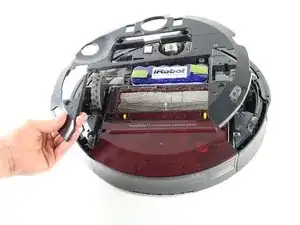
After removing the battery panel, remove the rear panel.
-
-
-
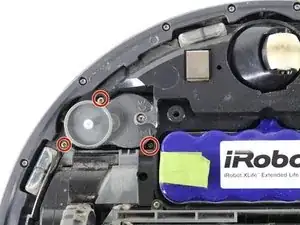
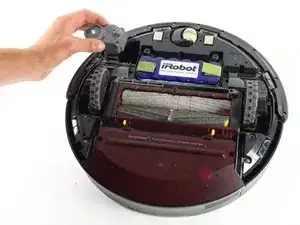
Remove the three small 3.5mm screws fastened to the motor housing.
-
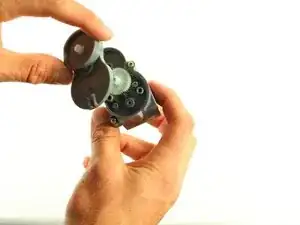
After removing the screws, remove the motor housing from the rest of the Roomba.
-
-
-
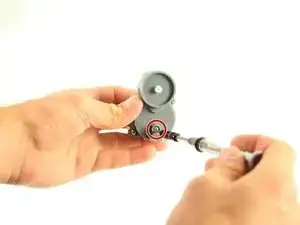
Remove the 2.5mm screw in the center of the motor housing using a Tri-Wing Y1 screwdriver.
-
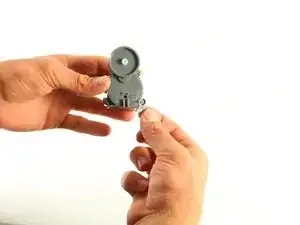
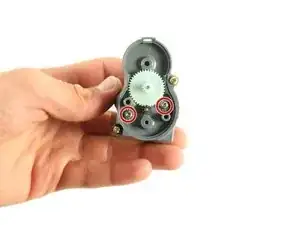
After removing the screw, remove the top shell casing of the motor housing. Underneath, you will see a white gear with two screws next to it.
-
-
-
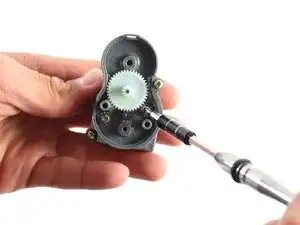
Remove the two 2.5mm screws in the inner motor housing using a Phillips #00 screwdriver.
-
After removing the two screws, the motor will slide right out the back, and it can be replaced.
-

To reassemble your device, follow these instructions in reverse order.