Introduction

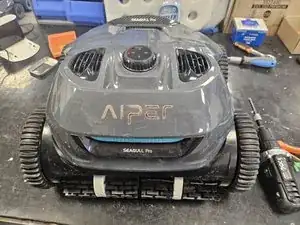
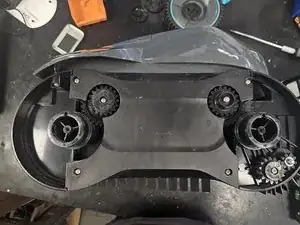
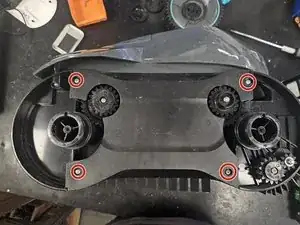
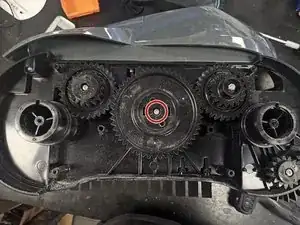
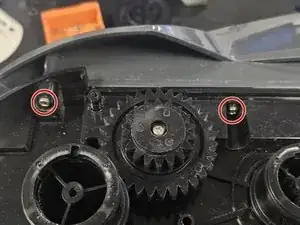
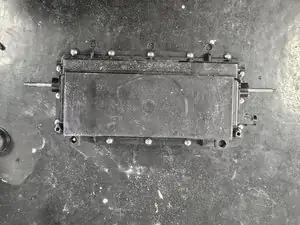
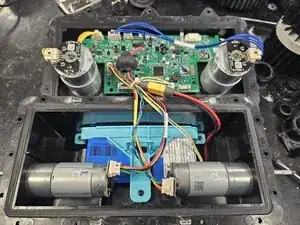
This is just a general teardown guide for the cordless robotic pool cleaner Aiper Seagull Pro.

  1. HURUSwLggjwTZre5
    HURUSwLggjwTZre5
    6sBEFmySCF2RWhrn
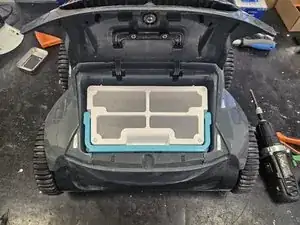
    • Start by removing the trash bin from the robot.

  2. uOoIJyiNFPxANYXf
    uOoIJyiNFPxANYXf
    WUwkd6cltZSwtXlY
    mltFHtcSTADUyvZC
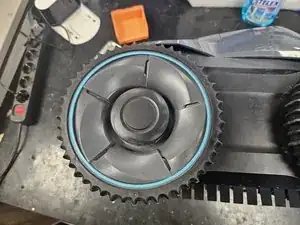
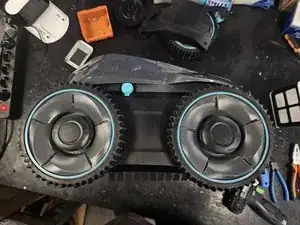
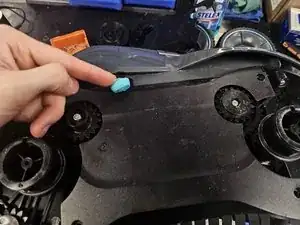
    • Put it on its side, then pry off the black plastic cap from the wheels.

    • Should be able to do this with your hand, but you could use a flathead screwdriver for some extra leverage.

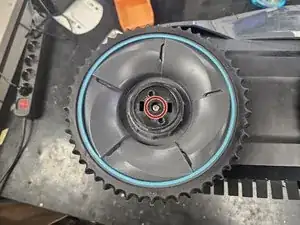
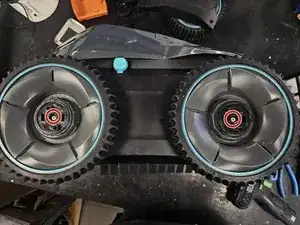
    • Once the cap is removed, remove the screw.

    • Then remove the wheels.

  3. ithK1IEmrOPWI6V2
    ithK1IEmrOPWI6V2
    OgkLMJuauYU4JBEG
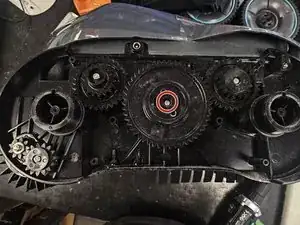
    • Remove the screws, then remove the plastic cover.

    • Remove the screw from the middle cog, then remove the cog.

  4. 5tyrO1J1c13xfy1t
    5tyrO1J1c13xfy1t
    wHghTRKLMFQ6rrv2
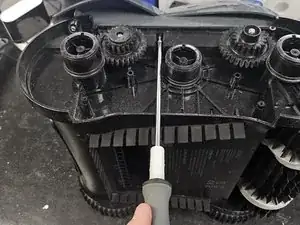
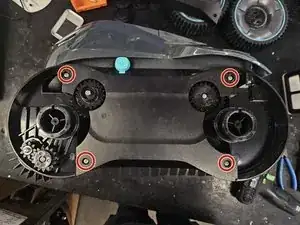
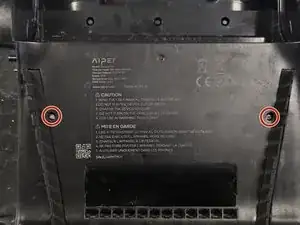
    • Remove the screws holding the chassis together.

    • I recommend a looong PH2 screwdriver for this task.

  5. R6xjWaqooT1GQkAU
    R6xjWaqooT1GQkAU
    EQFdiWKGFSbxdvVy
    5pDswyaDDJqxt5h6
    • Flip it over and remove the wheels.

    • Then remove the side cover screws.

  6. rJOMWRDeNnbIlKlV
    rJOMWRDeNnbIlKlV
    ruJBnFCbCUDKWvZJ
    p6O5Ag4NfHXxQFwi
    • Make sure to open the charging port cover, so that it doesn't stop you from remove the side cover.

    • Remove the side cover and the middle cog.

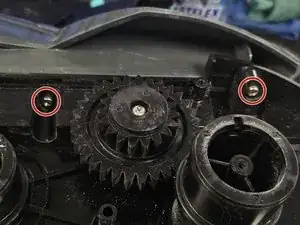
    • Remove the 2 screws holding the chassis together.

  7. kfXZZdFxZhdOcQru
    kfXZZdFxZhdOcQru
    hcJV4AMtp2aTgOby
    Hcdnymf5LXfiIowx
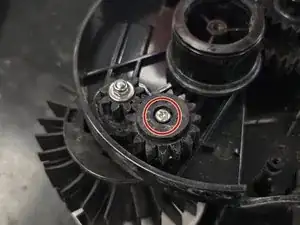
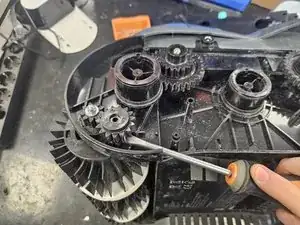
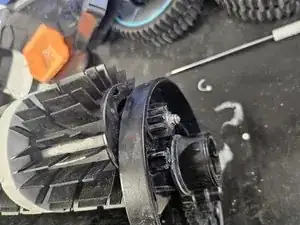
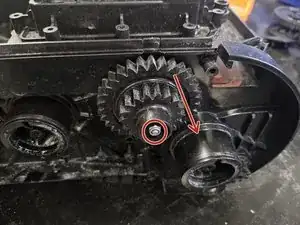
    • Remove the screw holding the side cog in place.

    • Use some leverage to remove the cog. It usually gets stuck in place due to limescale buildup.

    • Flip it on its back.

  8. cs4KInH1mUhIscjW
    cs4KInH1mUhIscjW
    LRkPxprEwb2tBmfs
    QwLWdXoPGMuXZui2
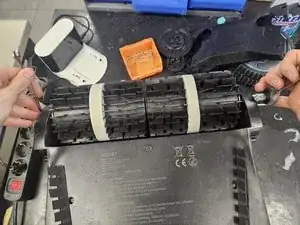
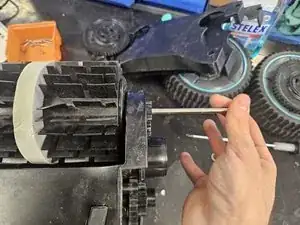
    • Use 2x 7mm wrenches to loosen the bolts on the rod going through the front brushes.

    • Remove the rod.

    • Do not lose the washers. One is on each side.

    • On the side that you removed the other cog, remove the now removable cog.

  9. tahimgOHJVVIVBiG
    tahimgOHJVVIVBiG
    dPOoXW3WruDjHKUH
    oKTUaOvetKJOfA1U
    • Remove the brushes by tilting them up on one side, then pulling them off.

    • If this is too difficult or the brushes are too tight due to wear, remove the 2 cogs on the other side and the brushes should just fall off.

    • Remove the 2 screws that were covered by the brushes.

    • Remove the top half of the chassis.

  10. unVvTOxPaiyWYXFp
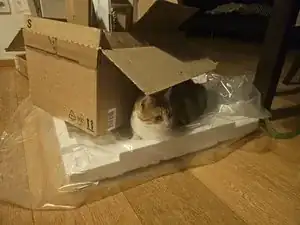
    • Under the box, of course.

  11. jcBgGEh4lnRTesDb
    jcBgGEh4lnRTesDb
    OSWnNVCBSO2ngMPl
    bcAbOOUyaDa6pLnZ
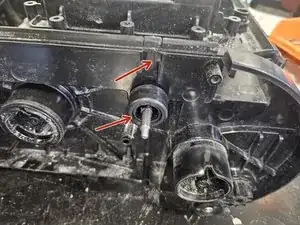
    • Use a 7mm wrench (or other tool) to remove this nut from the cog.

    • Then remove the plastic circle thing, as it covers it and prevents you from removing the cog.

    • Then remove the cog.

  12. CRtkWT4aWVJYU2xa
    CRtkWT4aWVJYU2xa
    yJcWafTsxe4ijA2E
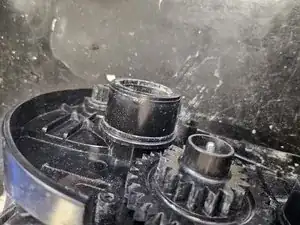
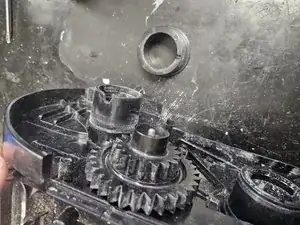
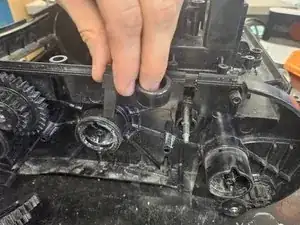
    • Remove the plastic circle and tab.

    • The tab may be a bit stuck. I usually help myself with some pliers.

    • Repeat this and the previous step on the other side as well.

  13. EypYeIn4E1EV4hLN
    EypYeIn4E1EV4hLN
    XcYKC3KeDRkkbDfH
    FARJ6NcNAeVqPt5g
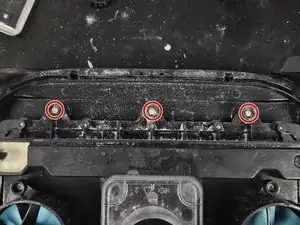
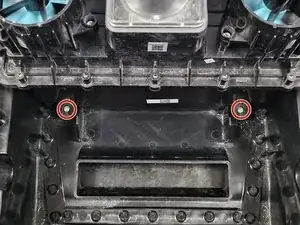
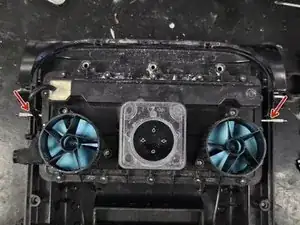
    • Remove all of the marked screws.

  14. P1JYWuQhHgUMHosK
    P1JYWuQhHgUMHosK
    iZPRQIWFcPQCpN63
    YHvFQT4LjdZvDvJI
    • Pull on the 2 rods to remove the assembly from the chassis.

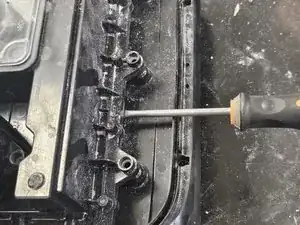
    • If the assembly is stuck to the chassis, use some frontal or side leverage to get it free.

    • It can get stuck due to limescale, dirt, sand buildup. And it can stick like glue.

  15. RYWquxquvmRAmTeg
    RYWquxquvmRAmTeg
    3oCyJMnnCT2crOyx
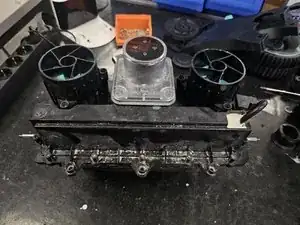
    • Unscrew all of the screws in the assembly, and voila!

    • It's open.

DegenFixer

Member since: 18/09/24

4249 Reputation

0 comments