Introduction
This product teardown will require pliers, a Phillips head screwdriver, a Y-head screwdriver, and a flathead screwdriver. Certain components will require some prying, so be prepared. You will also need some grip paste available, as some screws are placed very tightly in their spots.
-
-
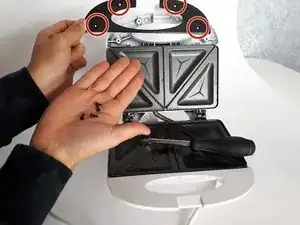
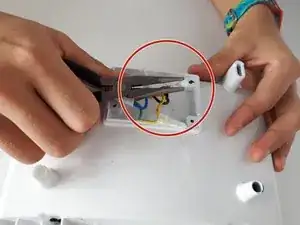
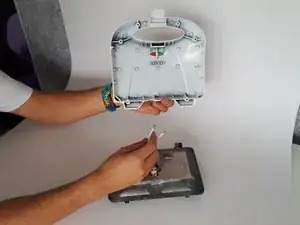
Unscrew the metal hot plates from the plastic covering using a size PH1 screwdriver.
-
The screws are 12 mm long.
-
-
-
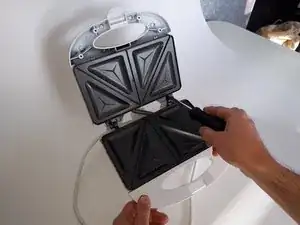
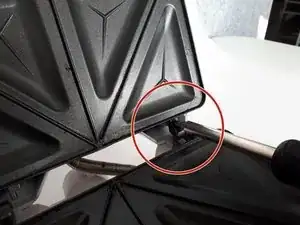
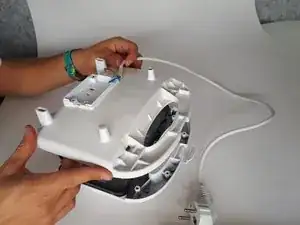
Now the metal plates are loose from the plastic cover. The plates need to be moved until the end of their hinge slots to slide them apart.
-
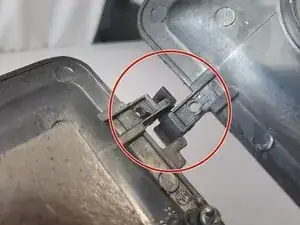
The hinges are very easy to take apart, once it is loose from the plastic cover.
-
-
-
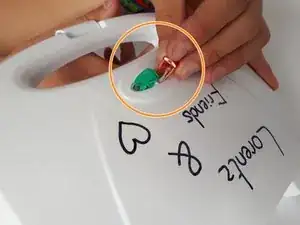
Separate the snap fit and remove the light covers.
-
Remove the cords of the lights by pulling them out of their snap fit.
-
Remove the light covers by pushing them out of the plastic cover.
-
The lights are being taken out very easily with not much pressure.
-
-
-
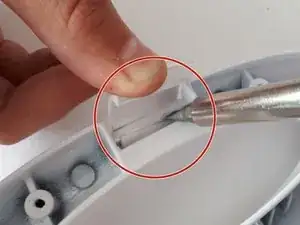
Remove the press latch by using a screwdriver; add some pressure to it to get the latch loose.
-
-
-
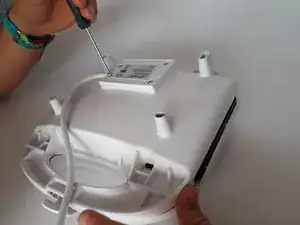
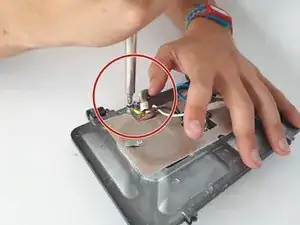
Unscrew the heating element covers using a size PH1 screwdriver.
-
Remove the heating element covers from the plates.
-
The screws are 5 mm long.
-
-
-
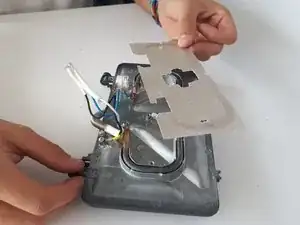
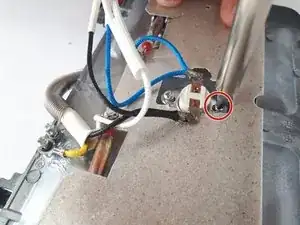
Unscrew the heating element wires from the hot plates using a PH1 screwdriver. The screws are 5 mm long.
-
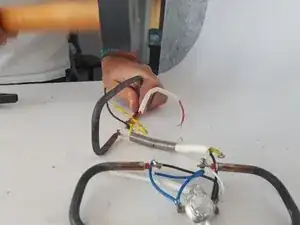
Remove the heating elements using a Phillips head screwdriver, and put this screwdriver under the heating elements.
-