Introduction
Prereq for disconnecting the motherboard for the screen guide only.
Tools
Parts
-
-
Lay your eReader down so the back cover is facing up.
-
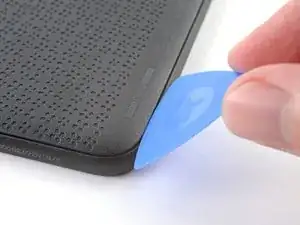
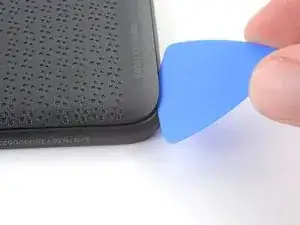
Insert the flat edge of an opening pick between the frame and the bottom left corner of the back cover.
-
Push the pick downwards at a slight angle until it slides under the back cover.
-
-
-
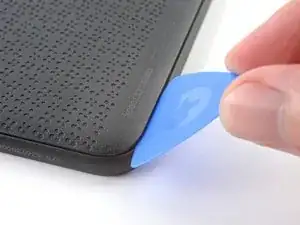
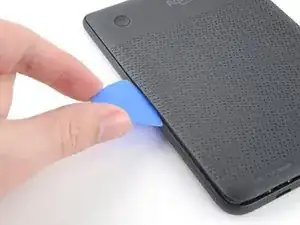
Remove the pick and reinsert it under the bottom left corner.
-
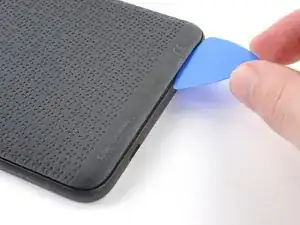
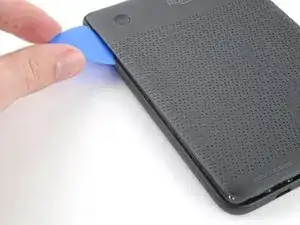
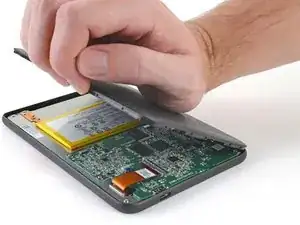
Angle the pick flat under the back cover and rotate it around the bottom left corner to release its clips.
-
-
-
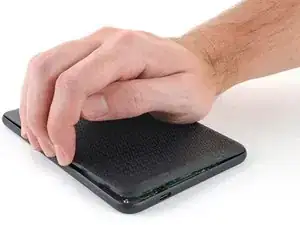
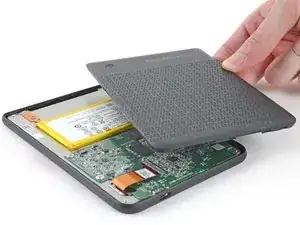
Grip the left edge of the back cover and lift it away from the eReader to release the remaining clips.
-
Remove the back cover.
-
-
-
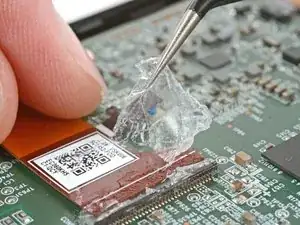
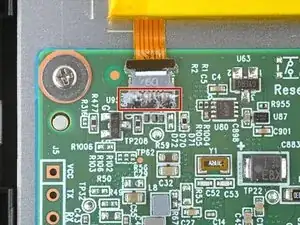
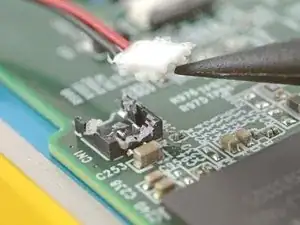
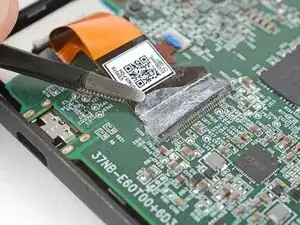
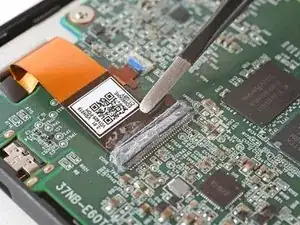
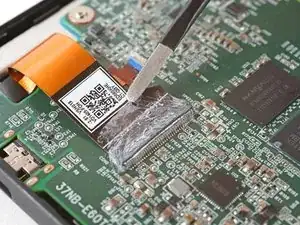
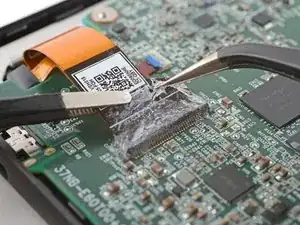
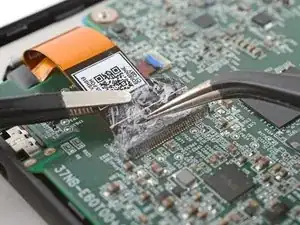
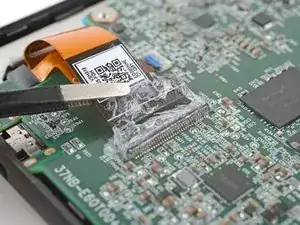
The coating is brittle and can flake into many small pieces. Heating the coating helps, but working with it is still a time-consuming process.
-
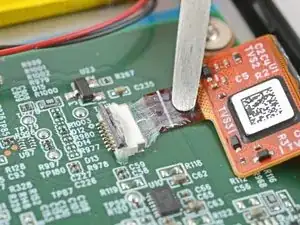
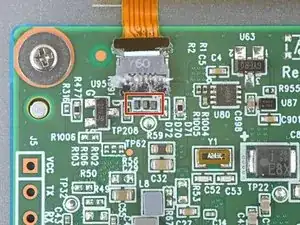
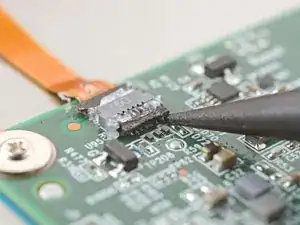
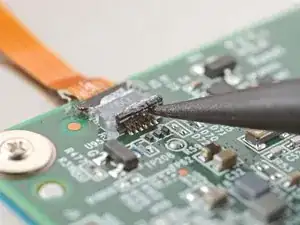
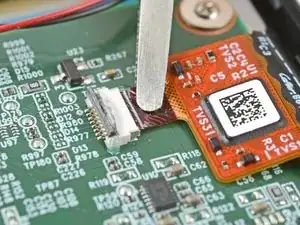
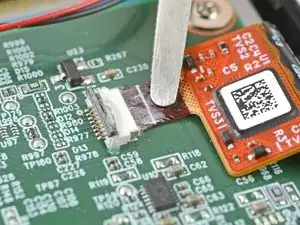
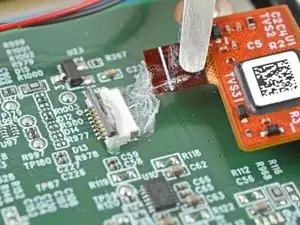
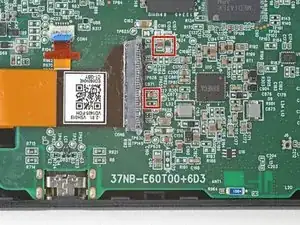
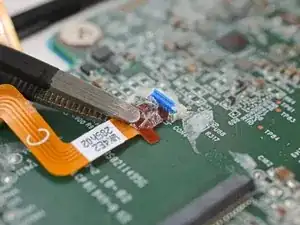
The ZIF connector locking tabs are coated in a gel that can jam the hinge and keep the locking tab from completely unlocking. Make sure the tabs are completely upright before disconnecting any cables.
-
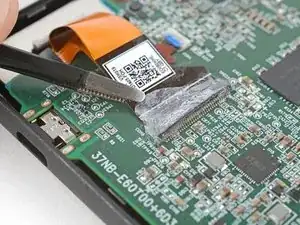
Depending on your repair, you might have to remove the coating from ZIF connectors and their cables.
-
-
-
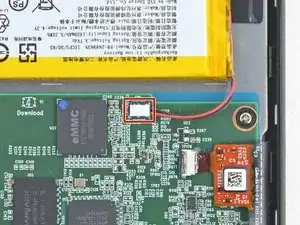
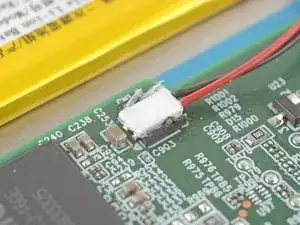
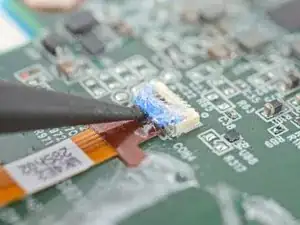
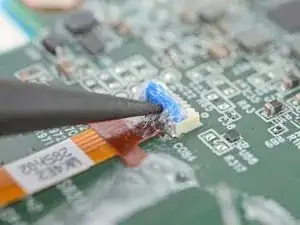
Use the tip of a spudger to scrape up the coating along the white battery connector head—enough so you can grab clumps of it with pointed tweezers.
-
-
-
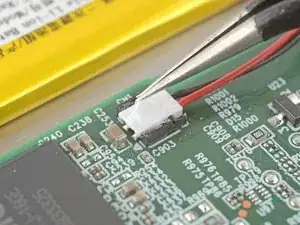
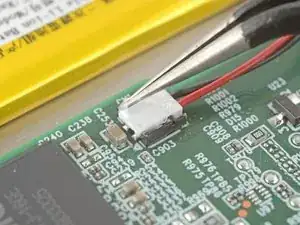
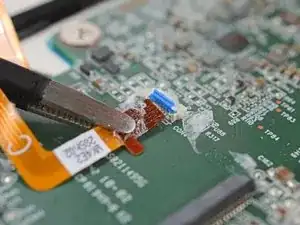
Use pointed tweezers to peel off all of the coating around the battery connector head and its socket.
-
-
-
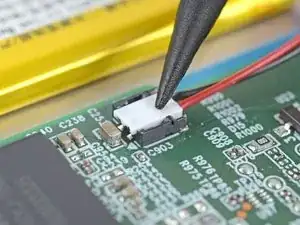
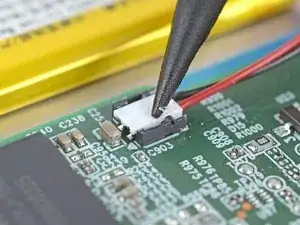
Insert the point of a spudger under the edge of the battery connector head opposite of the cable.
-
Lift up the connector with the spudger to separate the rest of the coating and disconnect the battery.
-
Inspect the connector head and its socket for any remaining coating that could prevent a good connection.
-
Peel off the coating, heating the area when the coating becomes too brittle.
-
-
-
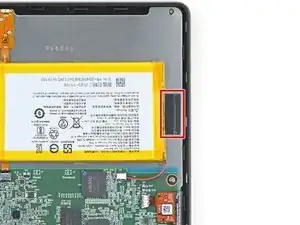
If your battery comes with stretch release adhesive, follow the next two steps to remove them.
-
Otherwise, skip ahead three steps to remove the normal adhesive.
-
-
-
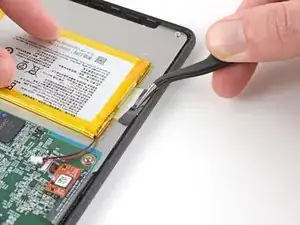
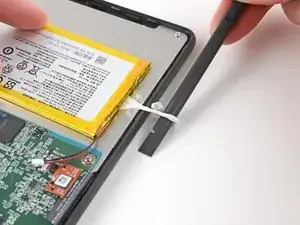
Use tweezers to pull on the battery adhesive strip's pull tab until you can grip it with your fingers.
-
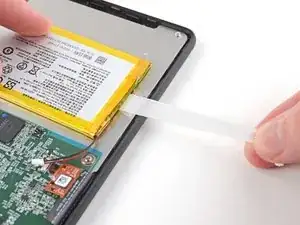
While holding the battery in place, pull the strip out slowly and steadily at a low angle. Give it plenty of time to stretch and un-stick from under the battery.
-
If the adhesive strip breaks off, try to retrieve it using your fingers and continue pulling—but don’t pry under the battery.
-
-
-
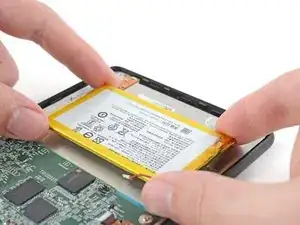
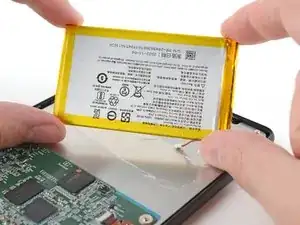
Lift the battery out of the frame and remove it.
-
If you're transferring the battery to a new screen, inspect the battery for any dents or deformations.
-
-
-
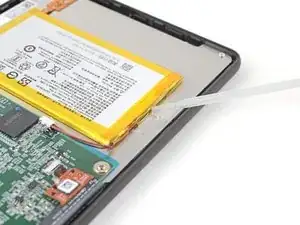
Apply a few drops of isopropyl alcohol under the right edge of the battery.
-
Tilt the eReader up to let the isopropyl alcohol flow under the battery and wait one minute for it to soften the adhesive.
-
-
-
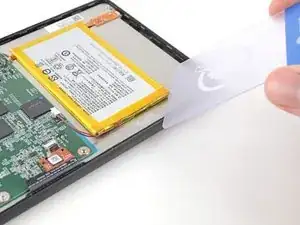
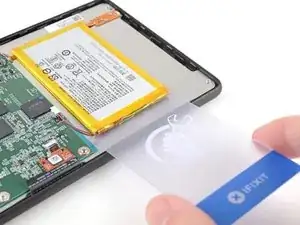
Slide a plastic card a half an inch (~13 mm) under the top right corner of the battery.
-
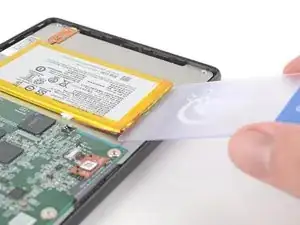
Rotate the plastic card so its short edge sits under the right edge of the battery.
-
-
-
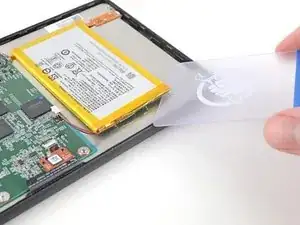
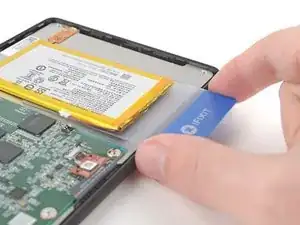
Slide the plastic card under the battery to separate the adhesive and the thin layer of coating.
-
-
-
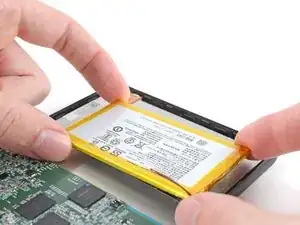
Lift the battery off the frame and remove it.
-
If you're transferring the battery to a new screen, inspect the battery for any dents or deformations.
-
-
-
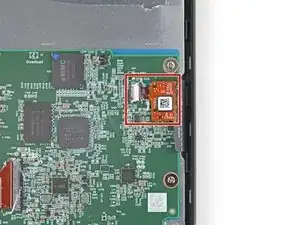
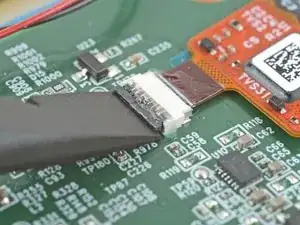
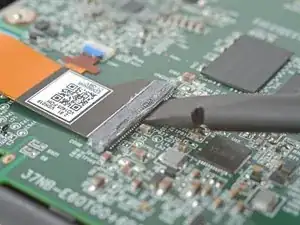
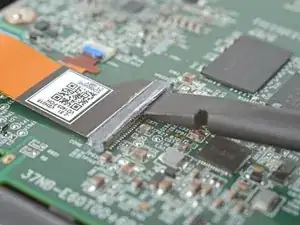
Insert the tip of a spudger under the right side of the power button ZIF connector's black locking tab.
-
Lift up the locking tab with the spudger to unlock it.
-
-
-
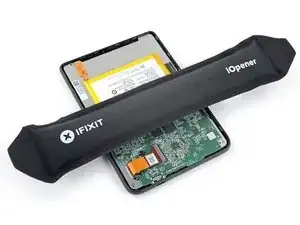
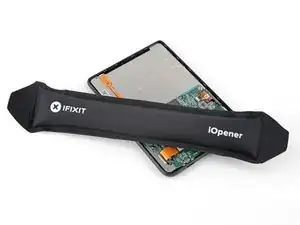
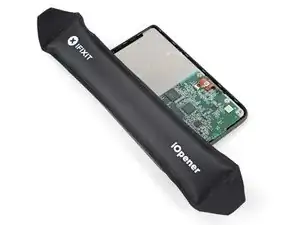
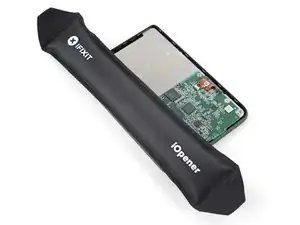
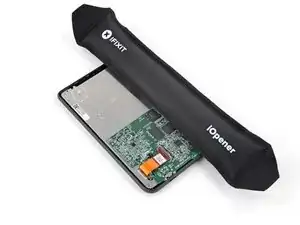
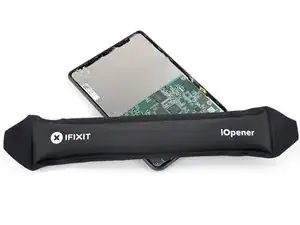
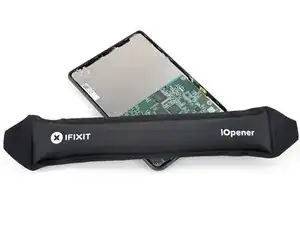
Heat an iOpener and lay it on the power button connector for 90 seconds to soften the coating.
-
-
-
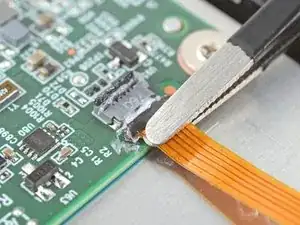
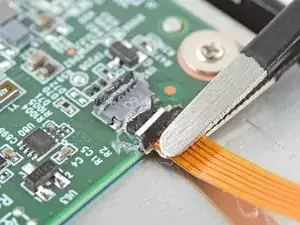
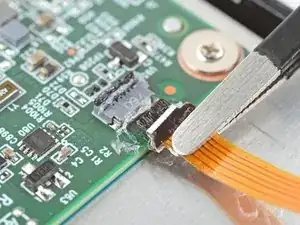
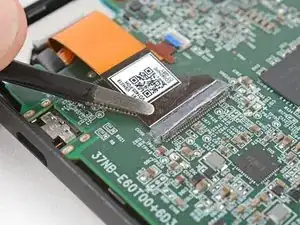
Use blunt nose tweezers to grip the cable close to the head and pull it away from its ZIF connector slowly and steadily to separate the coating.
-
Keep pulling on the cable until the cable comes completely out of its socket.
-
Inspect the head of the cable and the ZIF connector for any remaining coating that could prevent a good connection.
-
Peel off the coating—heating the cable and the ZIF connector when the coating becomes too brittle.
-
-
-
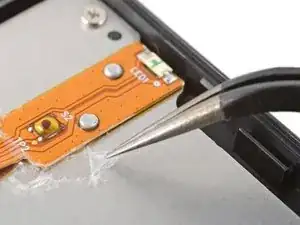
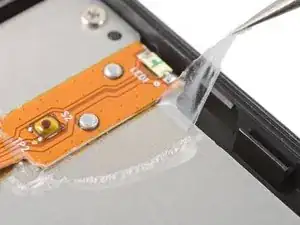
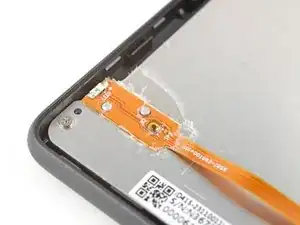
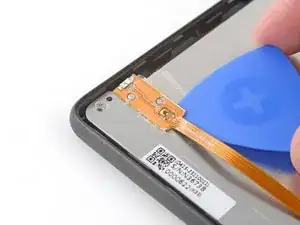
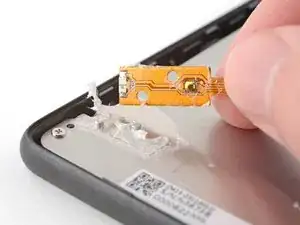
Use the tip of a spudger to scrape the coating along the base of the power button board—enough so you can grab clumps of it with tweezers.
-
-
-
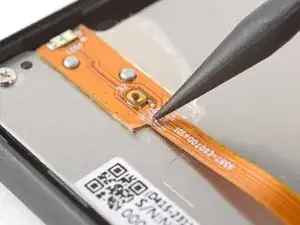
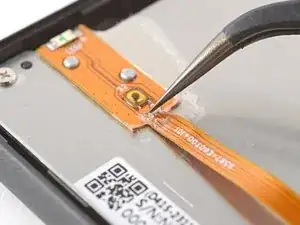
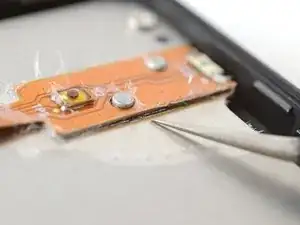
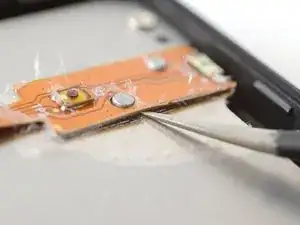
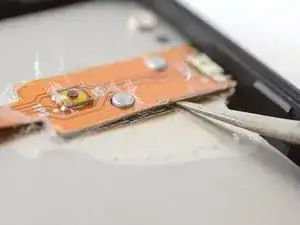
Insert an arm of pointed tweezers under the edge of the power button board that you separated the coating from.
-
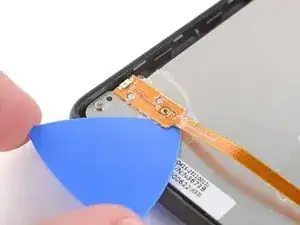
Slide the arm along the edge of the board to separate enough adhesive to fit an opening pick under the board.
-
-
-
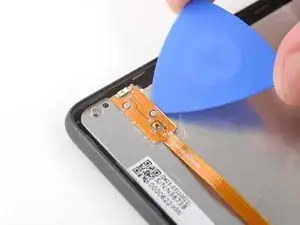
Remove the tweezers and immediately replace it with the tip of an opening pick to prevent the adhesive from resealing.
-
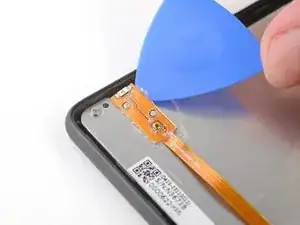
Slide the pick along the edge of the power button board to separate the adhesive.
-
-
-
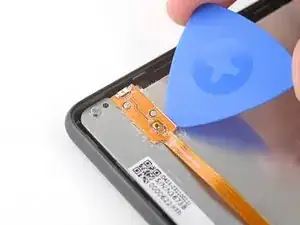
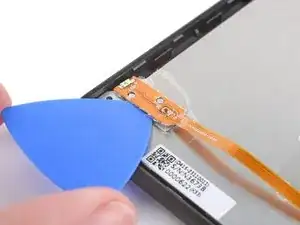
Rotate the opening pick under the bottom of the power button board and under its cable.
-
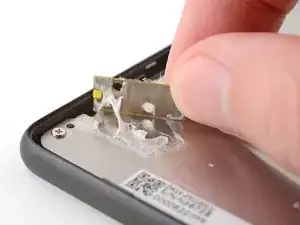
Slide the opening pick along the other edge of the board to separate the remaining adhesive.
-
-
-
Use the flat end of a spudger to lift up the locking tab on the digitizer cable ZIF connector.
-
-
-
Apply a heated iOpener to the digitizer cable ZIF connector for 90 seconds to soften the coating.
-
-
-
Grip the digitizer cable close to the head and pull it away from its ZIF connector slowly and steadily to separate the coating.
-
Keep pulling on the cable until it comes completely out of its socket.
-
Inspect the head of the cable and the ZIF connector for any remaining coating that could prevent a good connection.
-
Peel off the coating—heating the cable and the ZIF connector when the coating becomes too brittle.
-
-
-
Insert the flat end of a spudger under the right side of the ZIF connector's black locking tab.
-
Lift up the locking tab with the spudger to unlock it.
-
-
-
Apply a heated iOpener and lay it on the display connector for 90 seconds to soften the coating.
-
-
-
Use blunt nose tweezers to grip the corner of the display cable closest to the charging port.
-
Pull the cable away from the ZIF connector slowly and steadily at a level angle to separate the coating at the corner.
-
-
-
Repeat the previous step for the other corner until the the cable comes completely out of its socket.
-
-
-
Lift up the display cable and peel off any remaining coating holding it to the motherboard.
-
Inspect the ends of the cable and the ZIF connectors for any remaining coating that could prevent a good connection.
-
Peel off the coating—heating the cable and the ZIF connector when the coating becomes too brittle.
-
-
-
Lift the display cable out of the way of the backlight cable underneath.
-
Use the point of a spudger to lift up the blue locking tab on the backlight cable ZIF connector.
-
-
-
Apply a heated iOpener and lay it on the backlight connector for 90 seconds to soften the coating.
-
-
-
Use blunt nose tweezers to grip the cable close to the head and pull it away from its ZIF connector slowly and steadily to separate the coating.
-
Keep pulling on the cable until it comes completely out of its socket.
-
Inspect the head of the cable and the ZIF connector for any remaining coating that could prevent a good connection.
-
Peel off the coating—heating the cable and the ZIF connector when the coating becomes too brittle.
-
To reassemble your device, follow these instructions in reverse order.
